The Building of a back garden brewery

I never set out to build a brewery in my back garden but  trying to find a premises that was suitable and within our very limited budget was impossible. Thus we gave up and decided that building it ourselves was the best option. I had the space, no building experience at all and with two other careers already, no time to do any of it. Which, of course, is why I ignored the obvious issues and started anyway! 

Design

As a commercial brewery a planning application was required. Whilst the building itself would have otherwise have been within the permitted development scope, the nature of the premises and the fact that the top end of our garden was within the conservation area meant planning permission was essential. A quick bit of home CAD and the plans were ready for submission. This had the advantage that I could get everything where I wanted it.

Materials

The building needed to be appropriate for a conservation area and have utility and use long term. Not everyone wants a brewery in their back garden! However, a garden or artists studio / man cave - no brainer!

The building was therefore going to need to look good long term so we went for pure western red cedar cladding. All the internal walls were constructed to be able to be pulled down leaving the external structure unaffected to enable easy reuse.

The height of the building was set to ensure it could not be easily seen from neighbouring gardens and it has a lovely view down the lawn to the house.

Planning Hurdles

Our main challenge was to ensure the character of the area was unaffected and noise / anti-social behaviour would not impact neighbours. Our choice of a sympathetic structure that would enhance the area, use of natural materials and good insulation ensured there were no issues with the building itself although a tree survey was required to demonstrate no risk to the premises or to the trees nearby. A few operational matters do need specifying. 

Our spent grain was planned to (and does) go to a local small holder to feed pigs and chickens, waste cardboard is shredded to be used as packaging for boxed deliveries and our bottles reused when returned which all helps keep our environmental footprint low. We connected the brewery to mains drainage so our cleaning water enters the main sewers for treatment and is not discharged into the garden. Most of our beer is delivered, not collected to minimize traffic, visitors  are by appointment only and deliveries of goods infrequent.


Ground works

Large holes, mini diggers & good friends

Planning achieved by late summer it was time to begin the ground works. Apparently a third of the work is in the ground before you see anything emerge! A few exploratory afternoons digging and it was clear a mini digger was required.  Down the pub, a few beers, one mini digger procured. Don't you love your village local!

In case you are wondering, we manually removed 10 tonnes of soil by wheel barrow all the way down the garden into a trailer to be used as top soil on another building project and that piece of wood is essential for ensuring the base is level at the correct depth.  Building merchants sell such devices called laser spirit levels but as demonstrated by Pete and Des - we used a different spirit level - its thirsty work!.

Aggregate

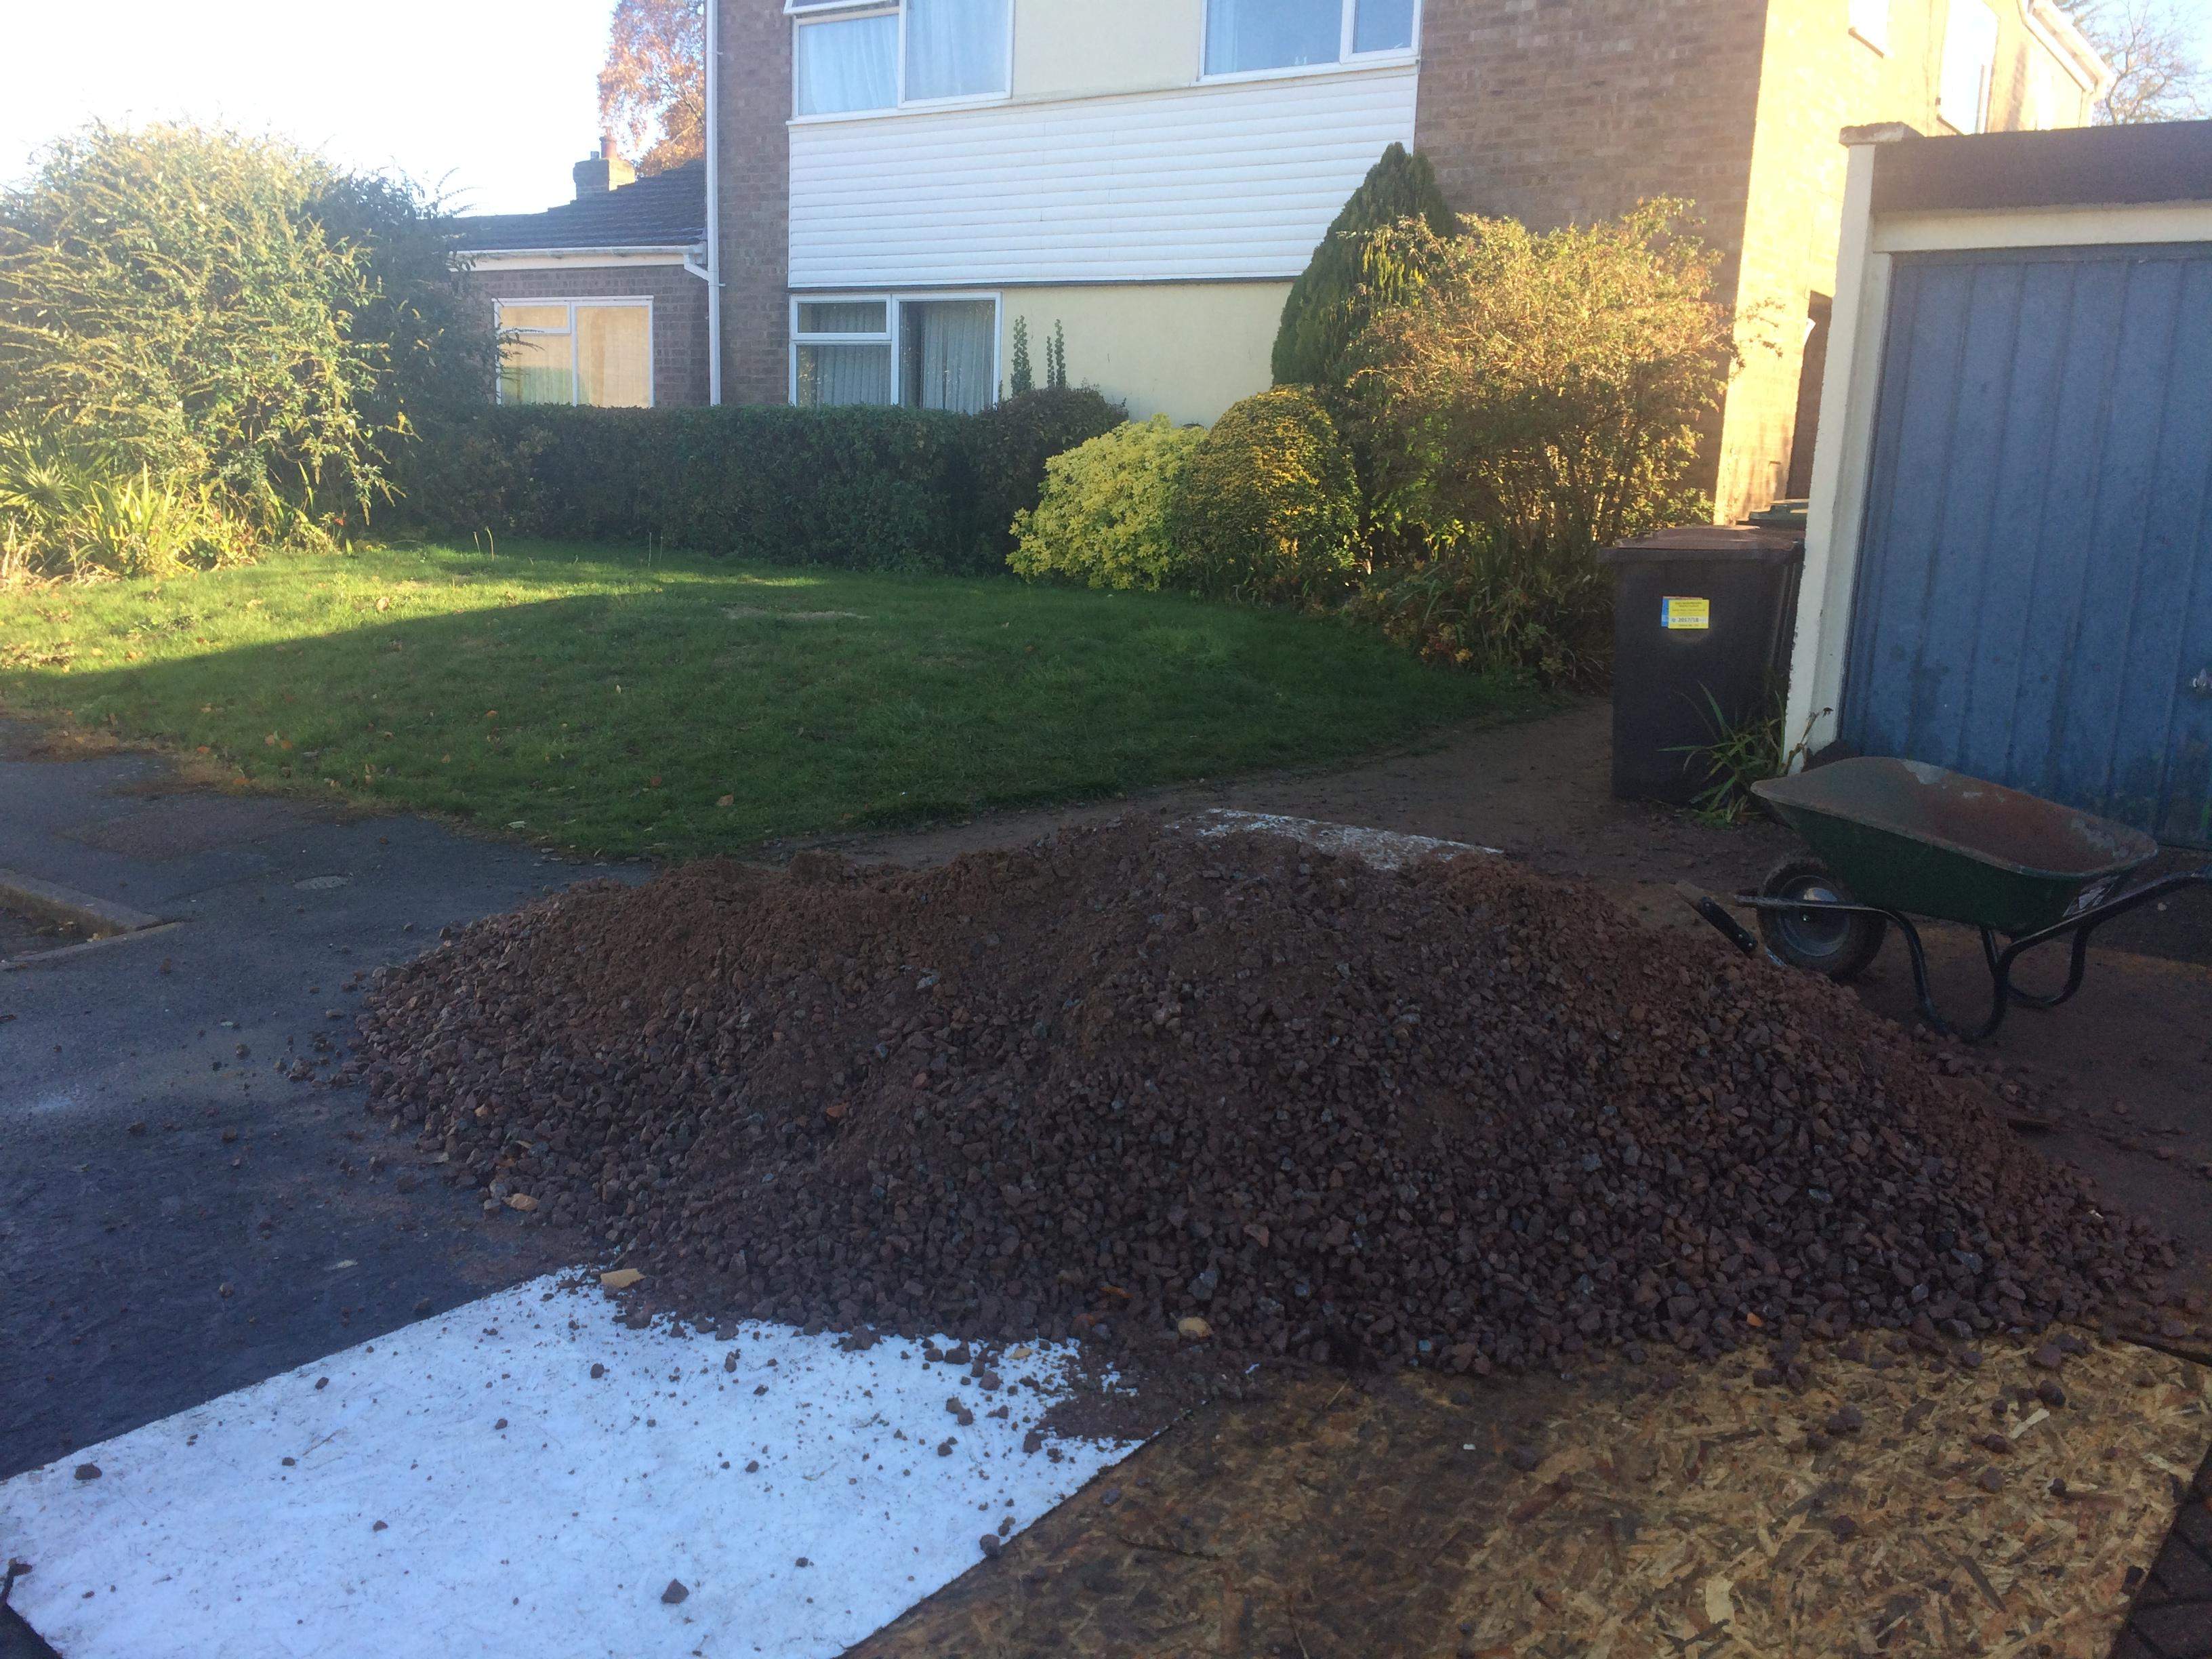
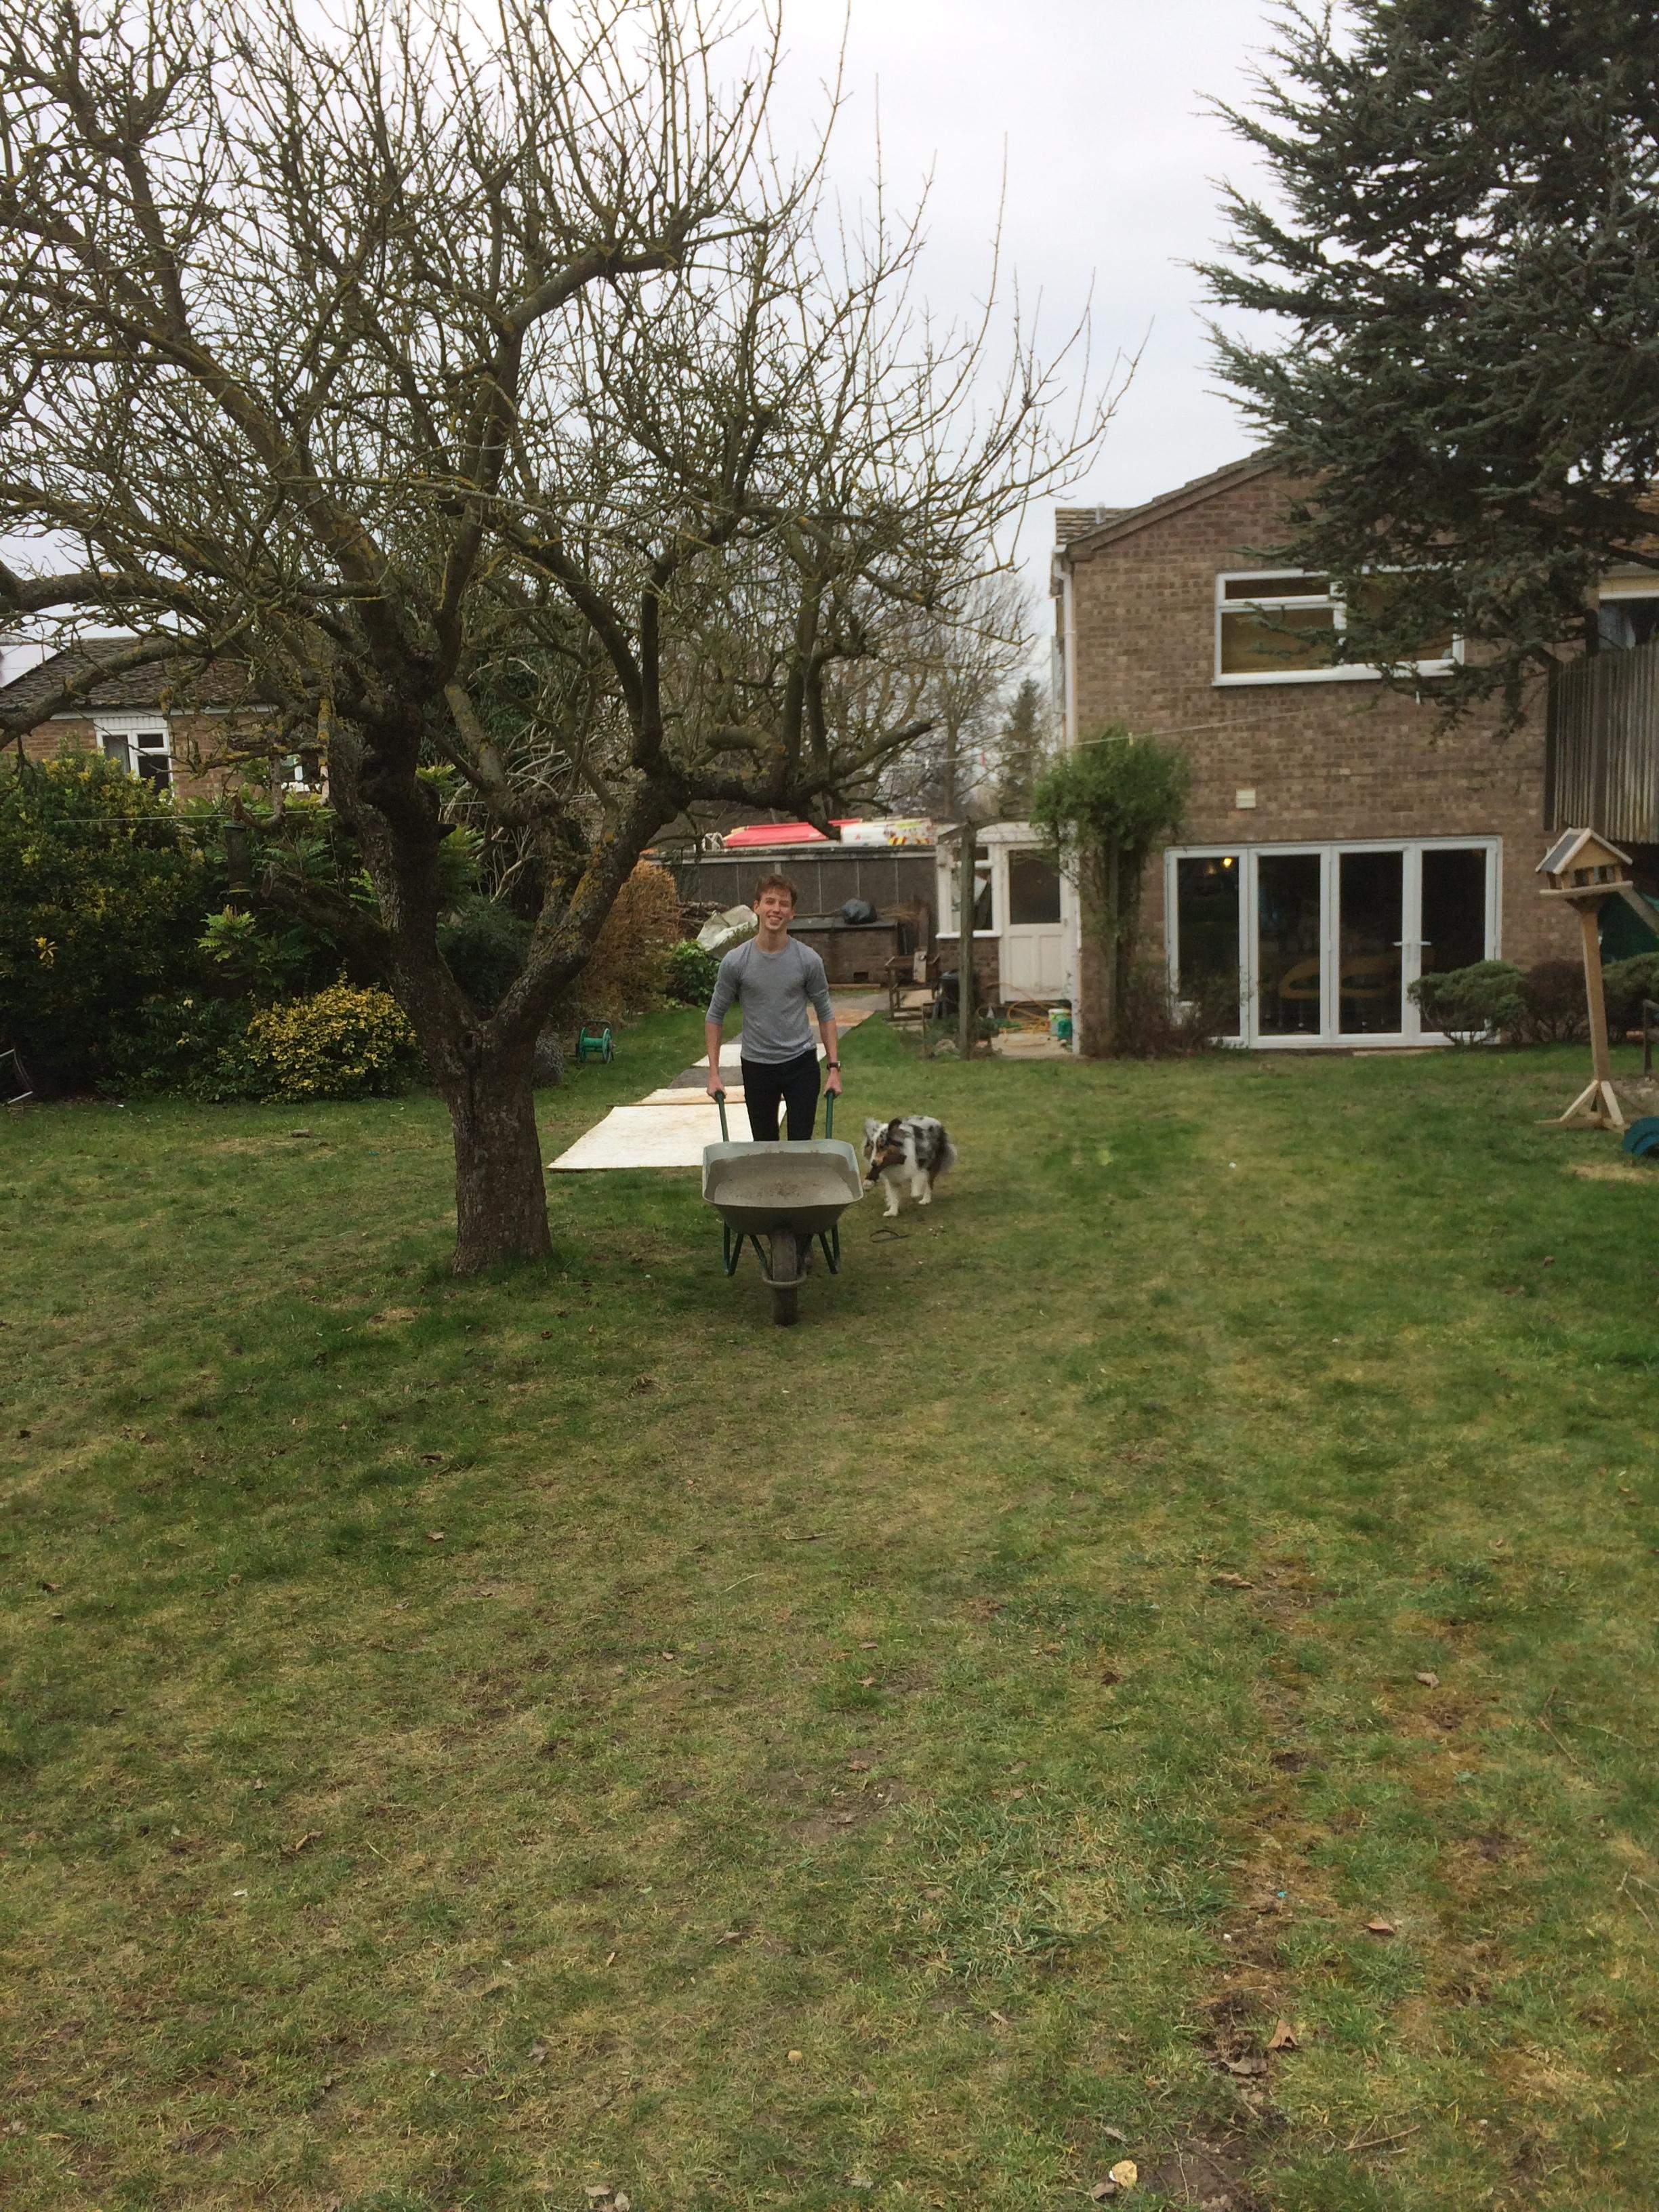
13 tonnes of aggregate had to be moved from our front drive, via wheel barrow, up the garden into the hole to provide the foundation.

Foul water drains

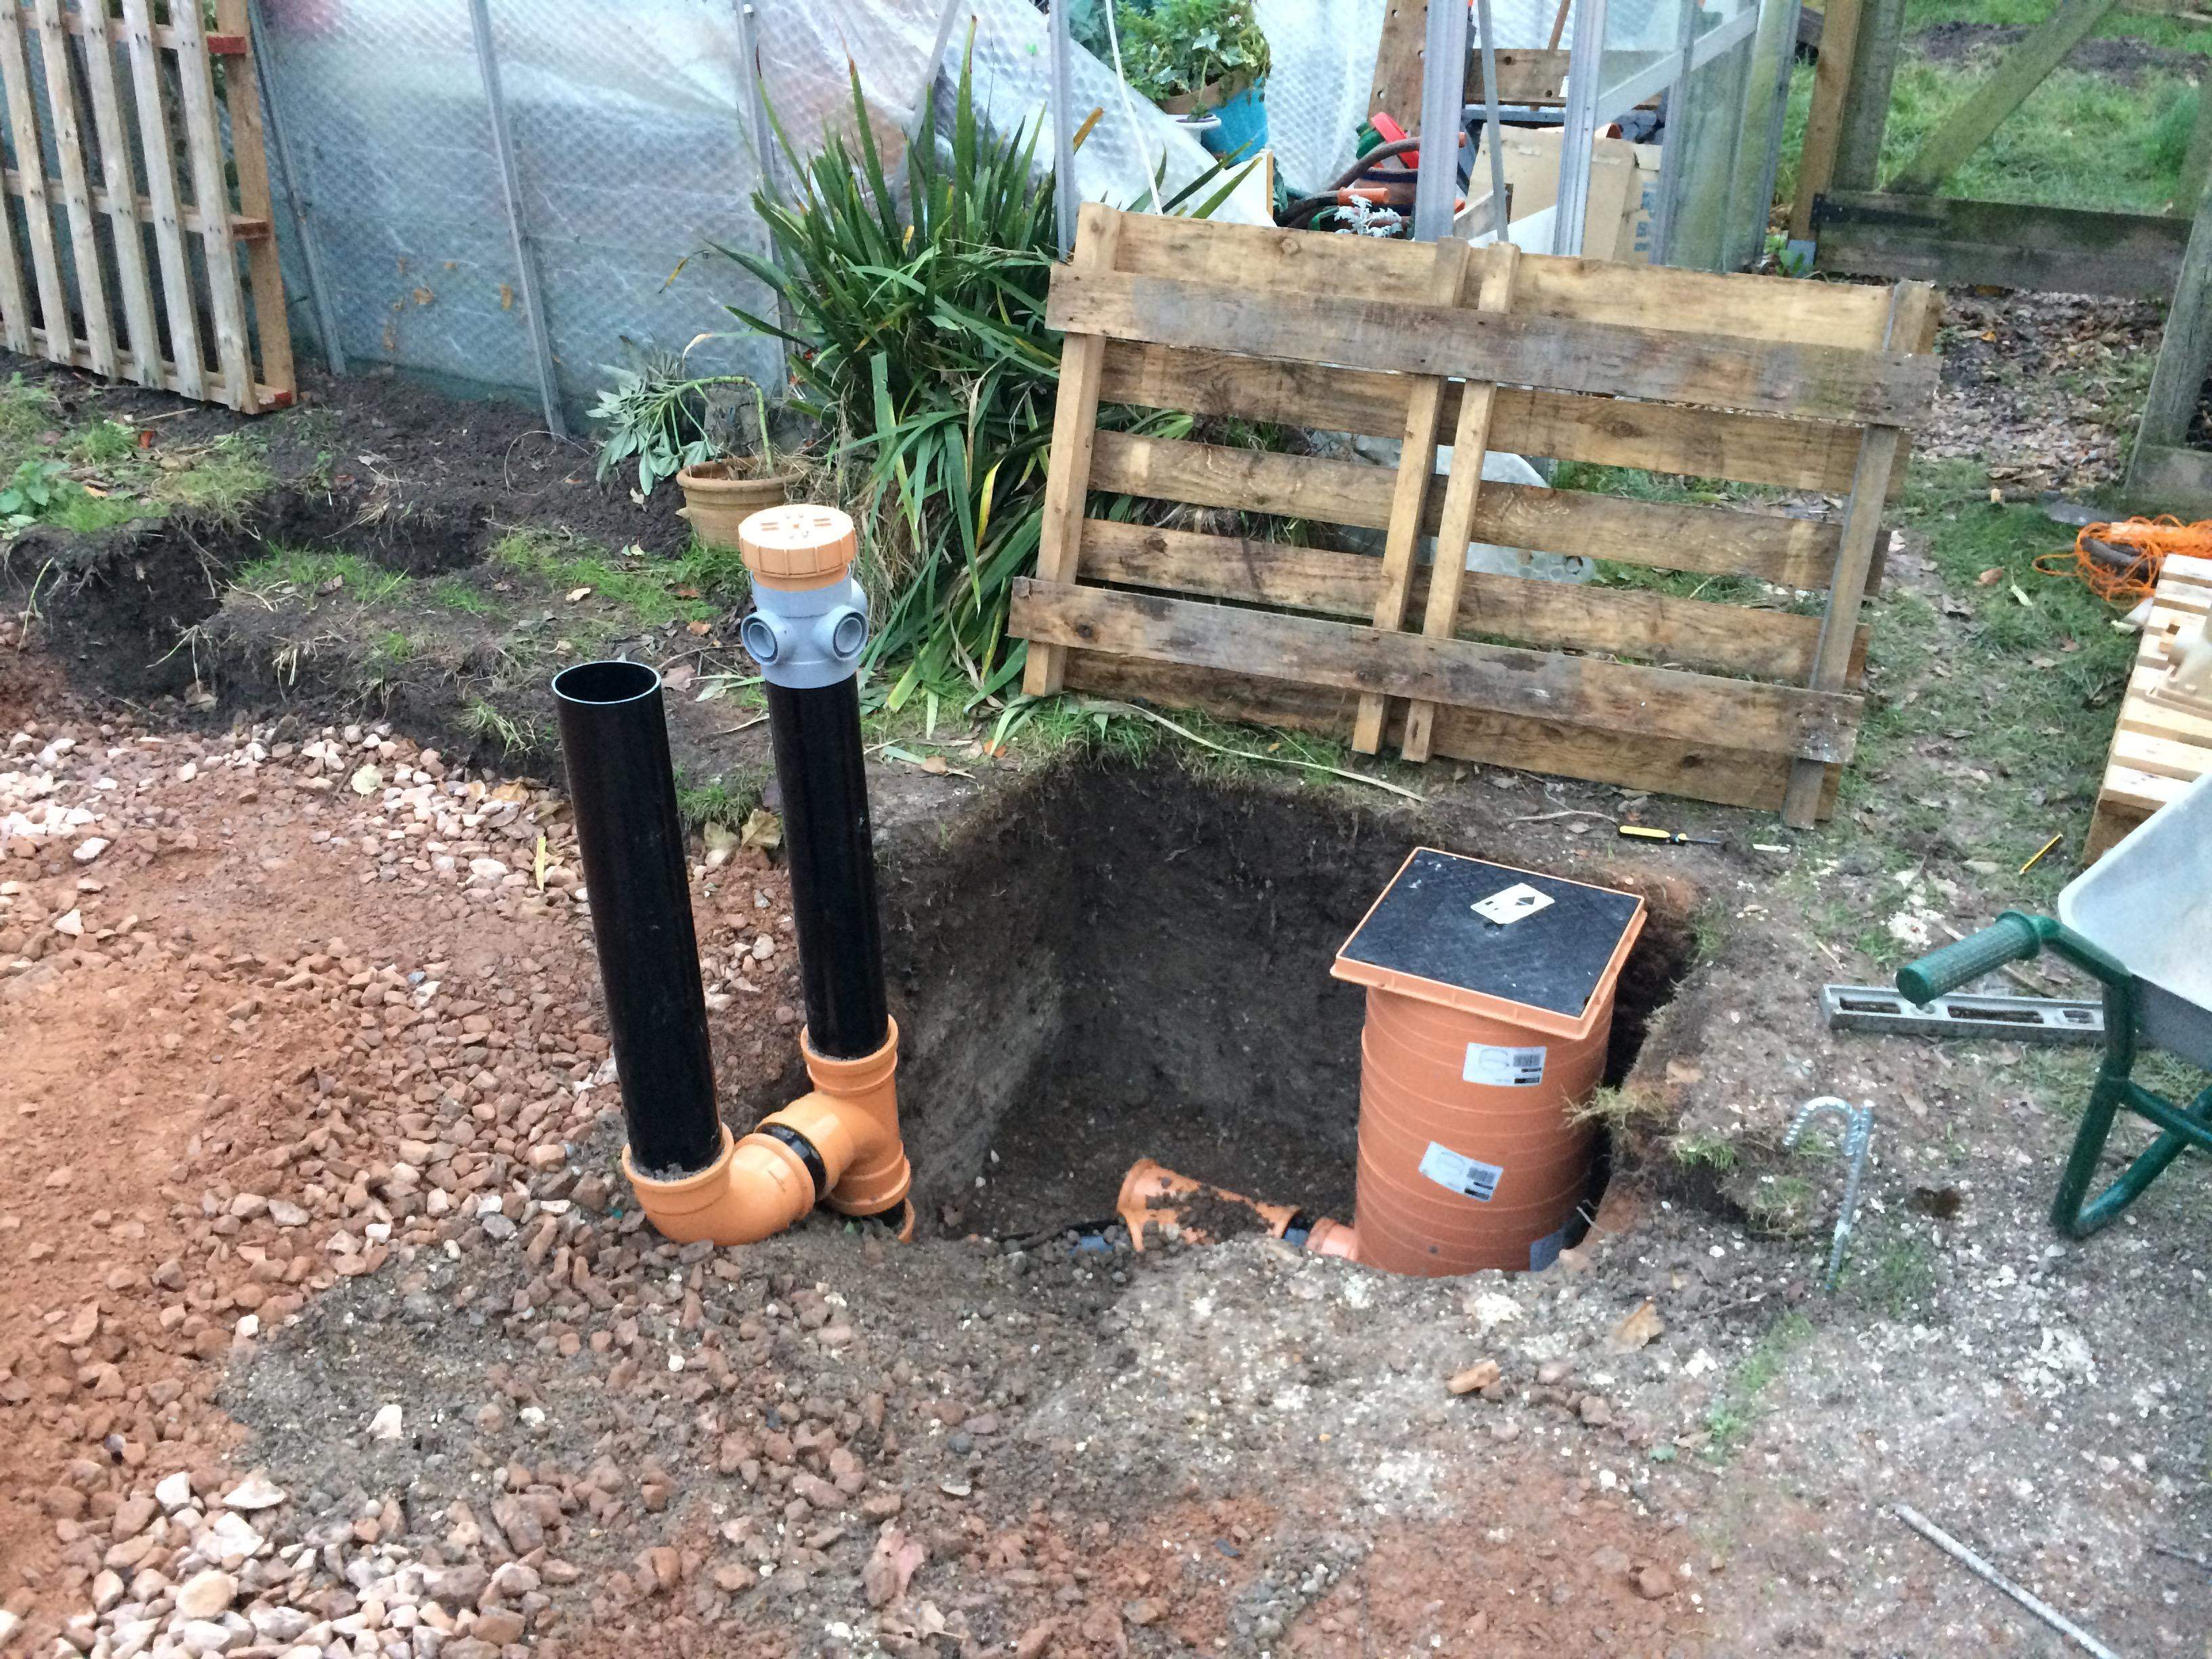
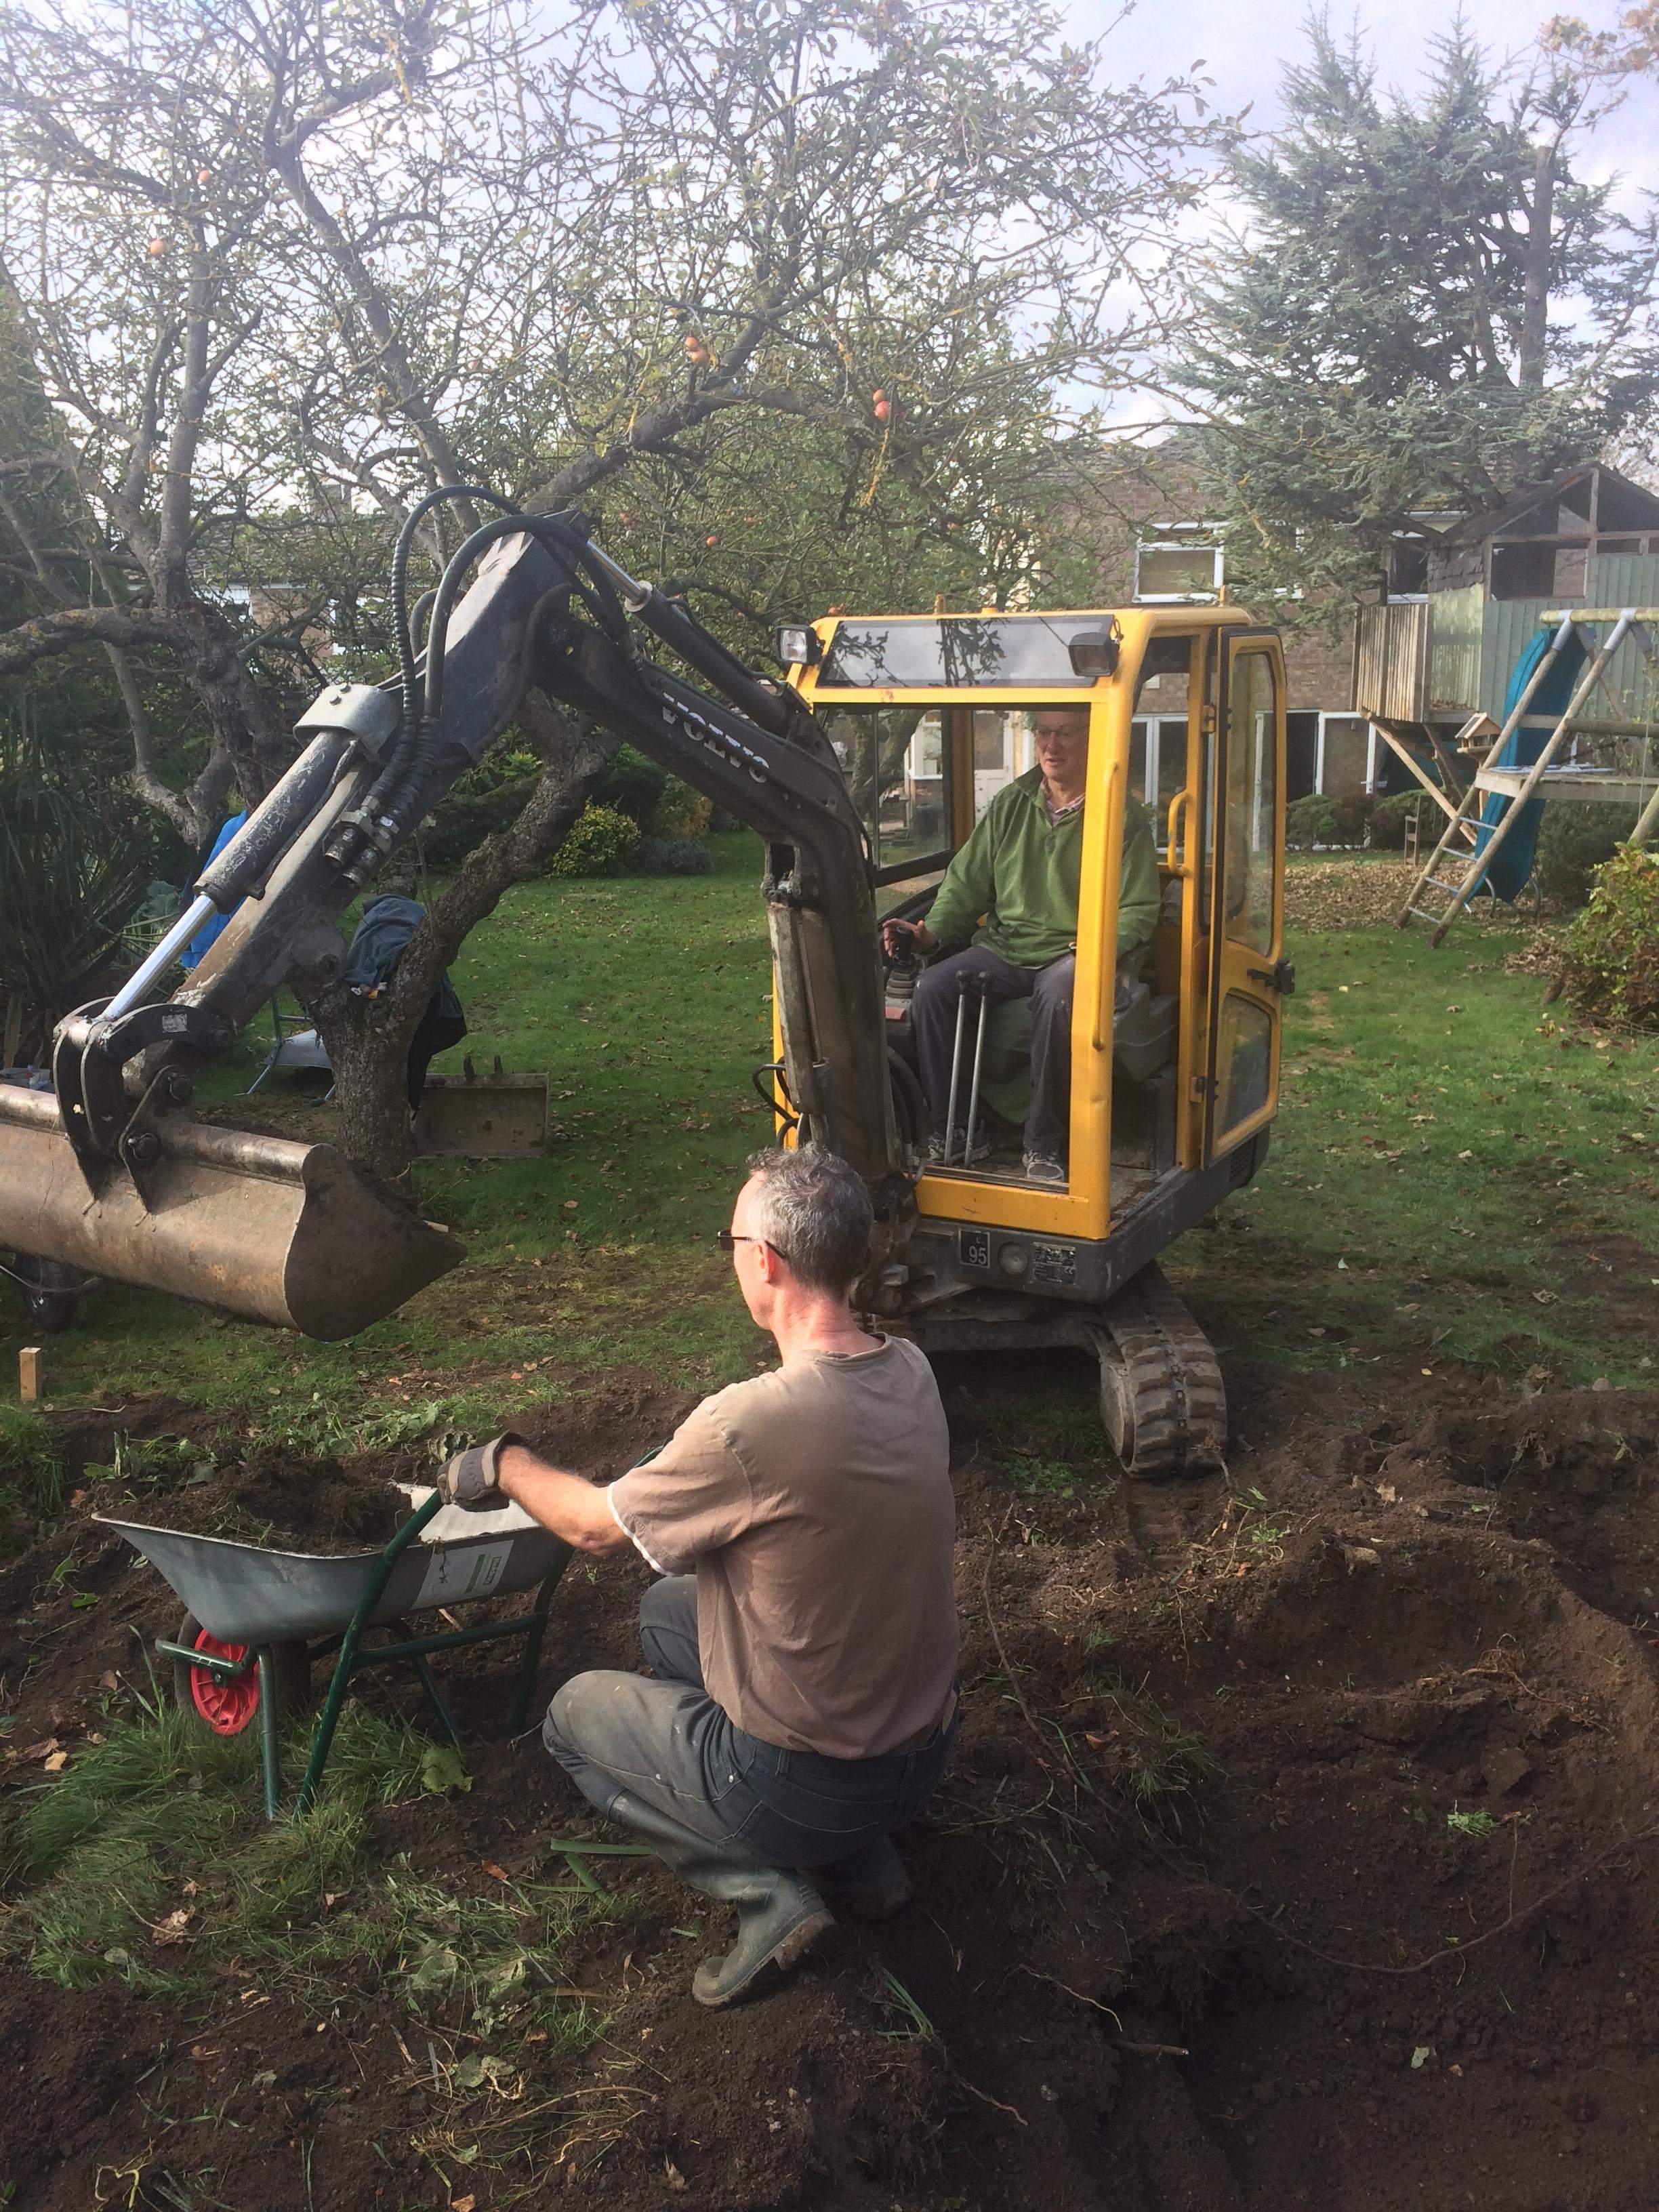
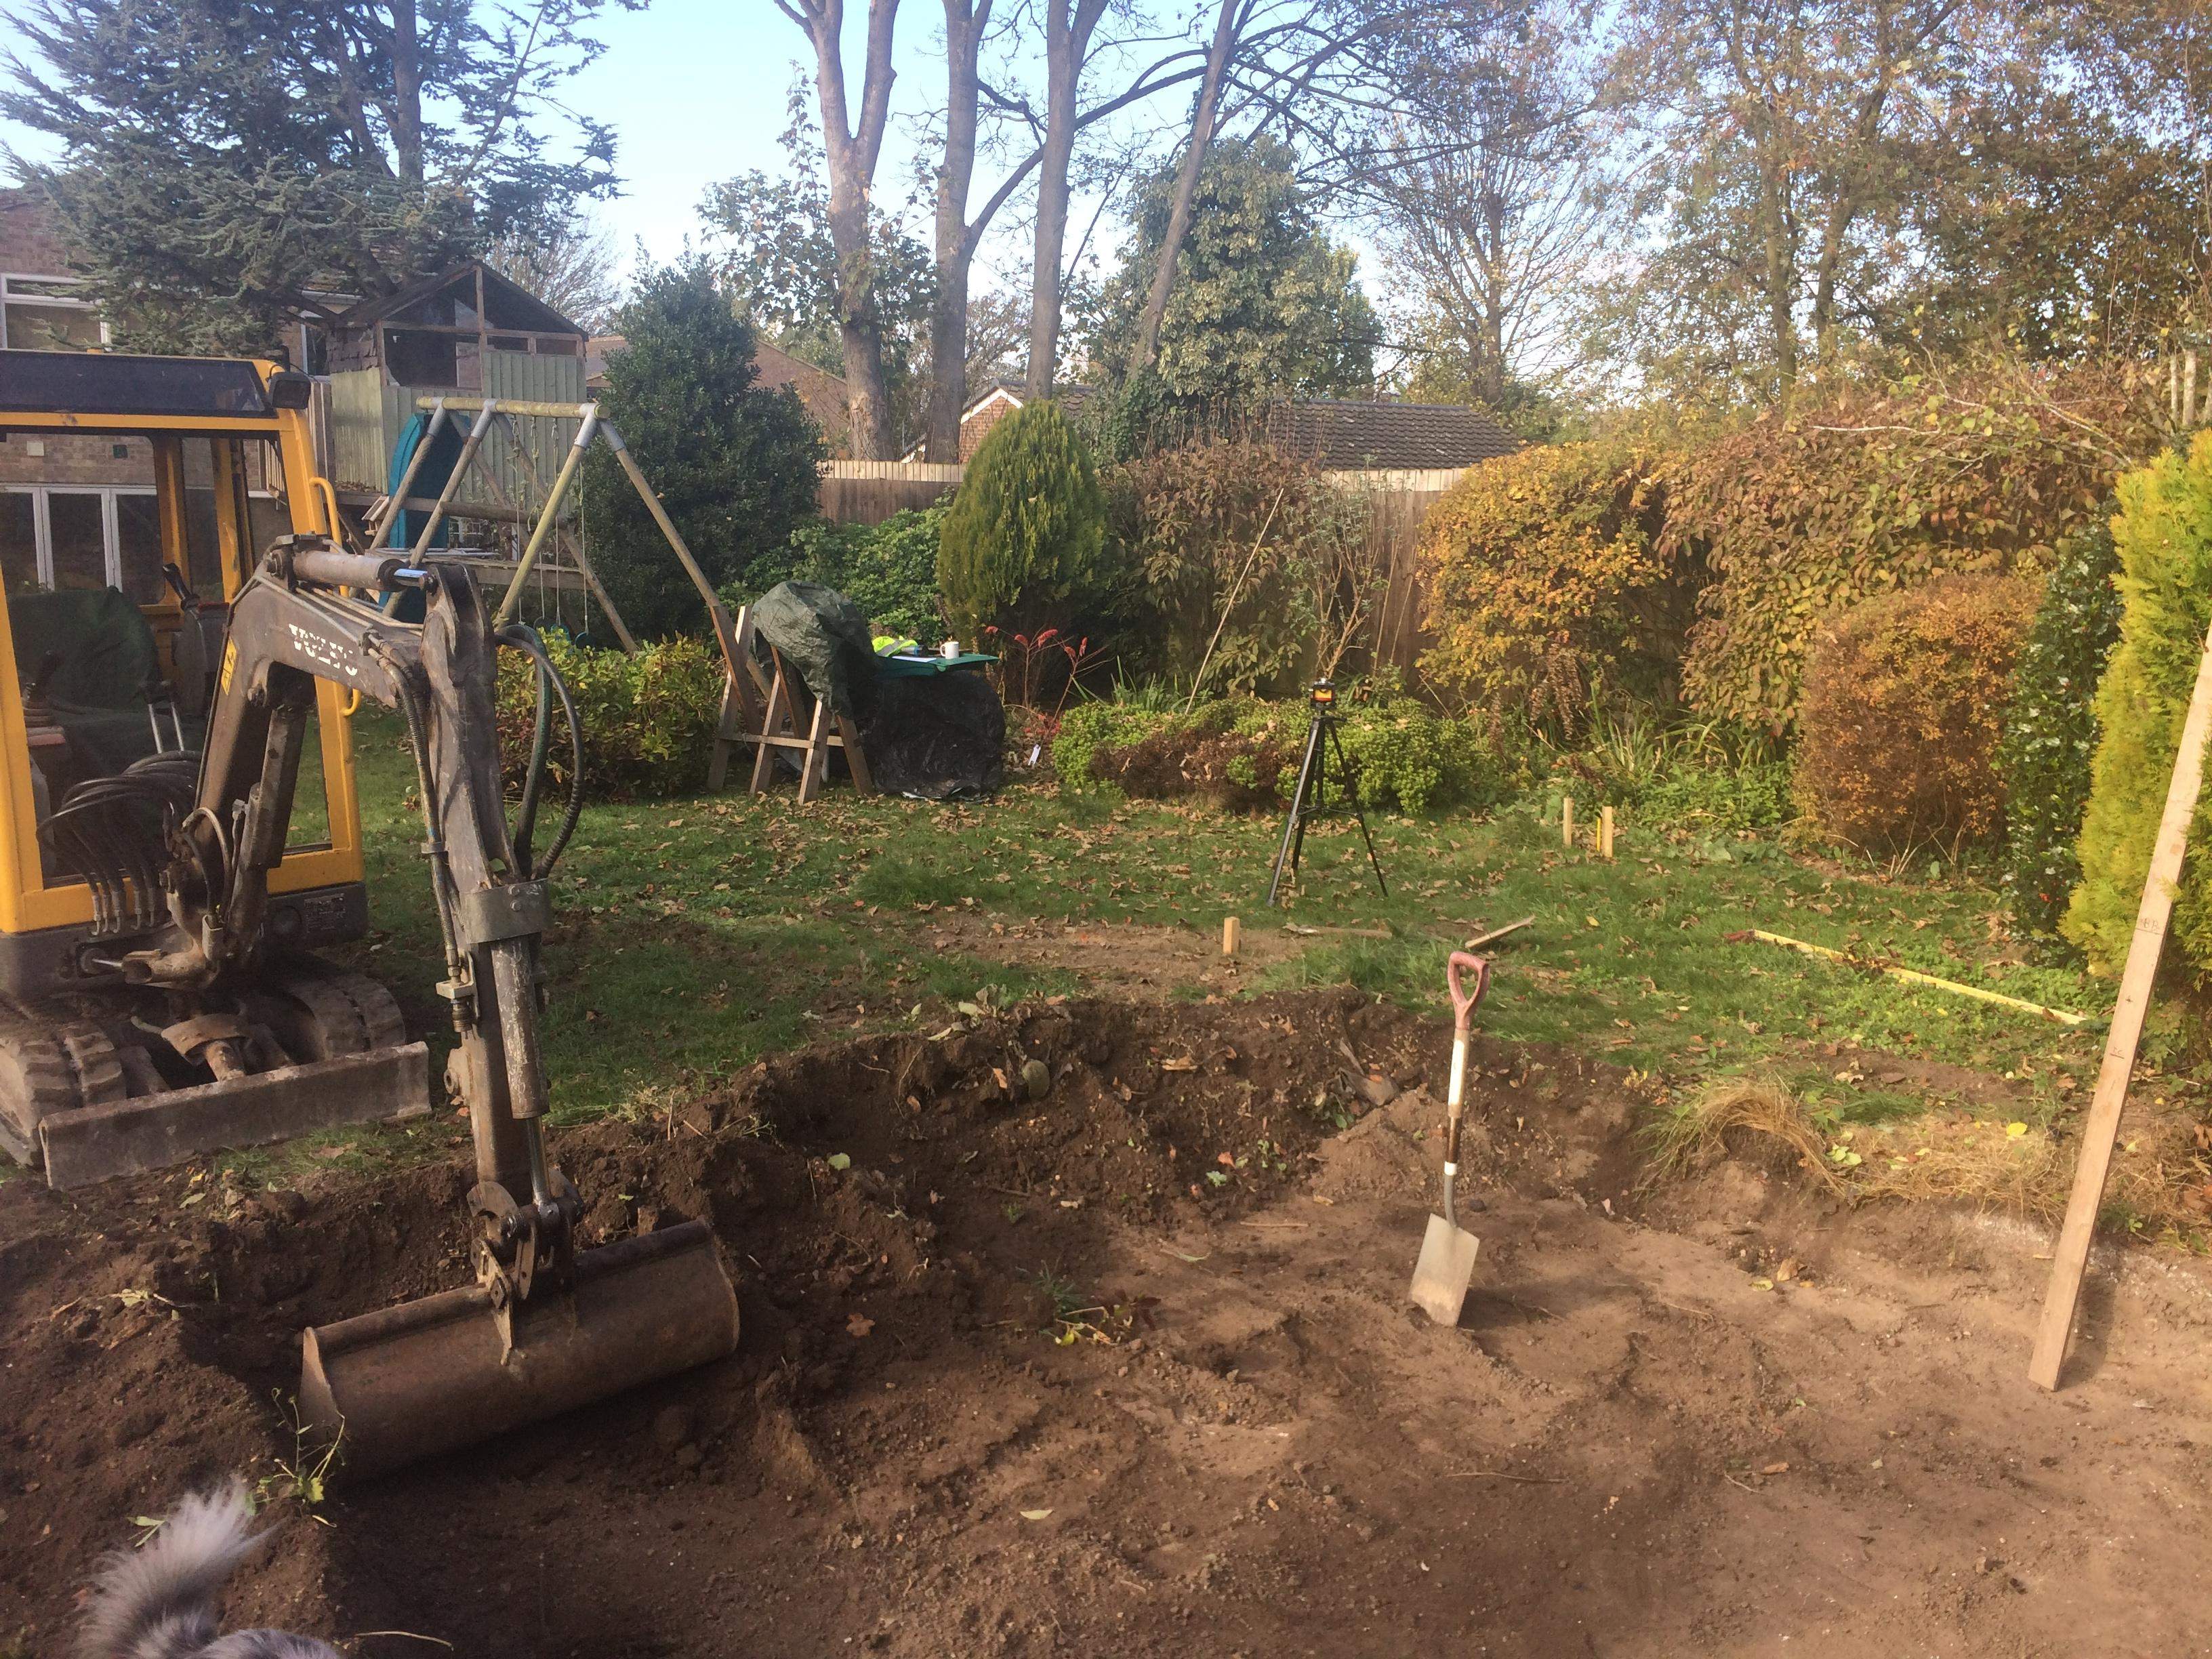
Mains drainage - quick tip - getting the digger to dig the holes you need is a better bet - I forgot so had to dig this one manually along with all the other drains upstream from here! These are of course the soil pipes for the toilet that was going in because there was no way I was going to be drinking beer and then legging it down to the house every 5 minutes!

Outer shuttering

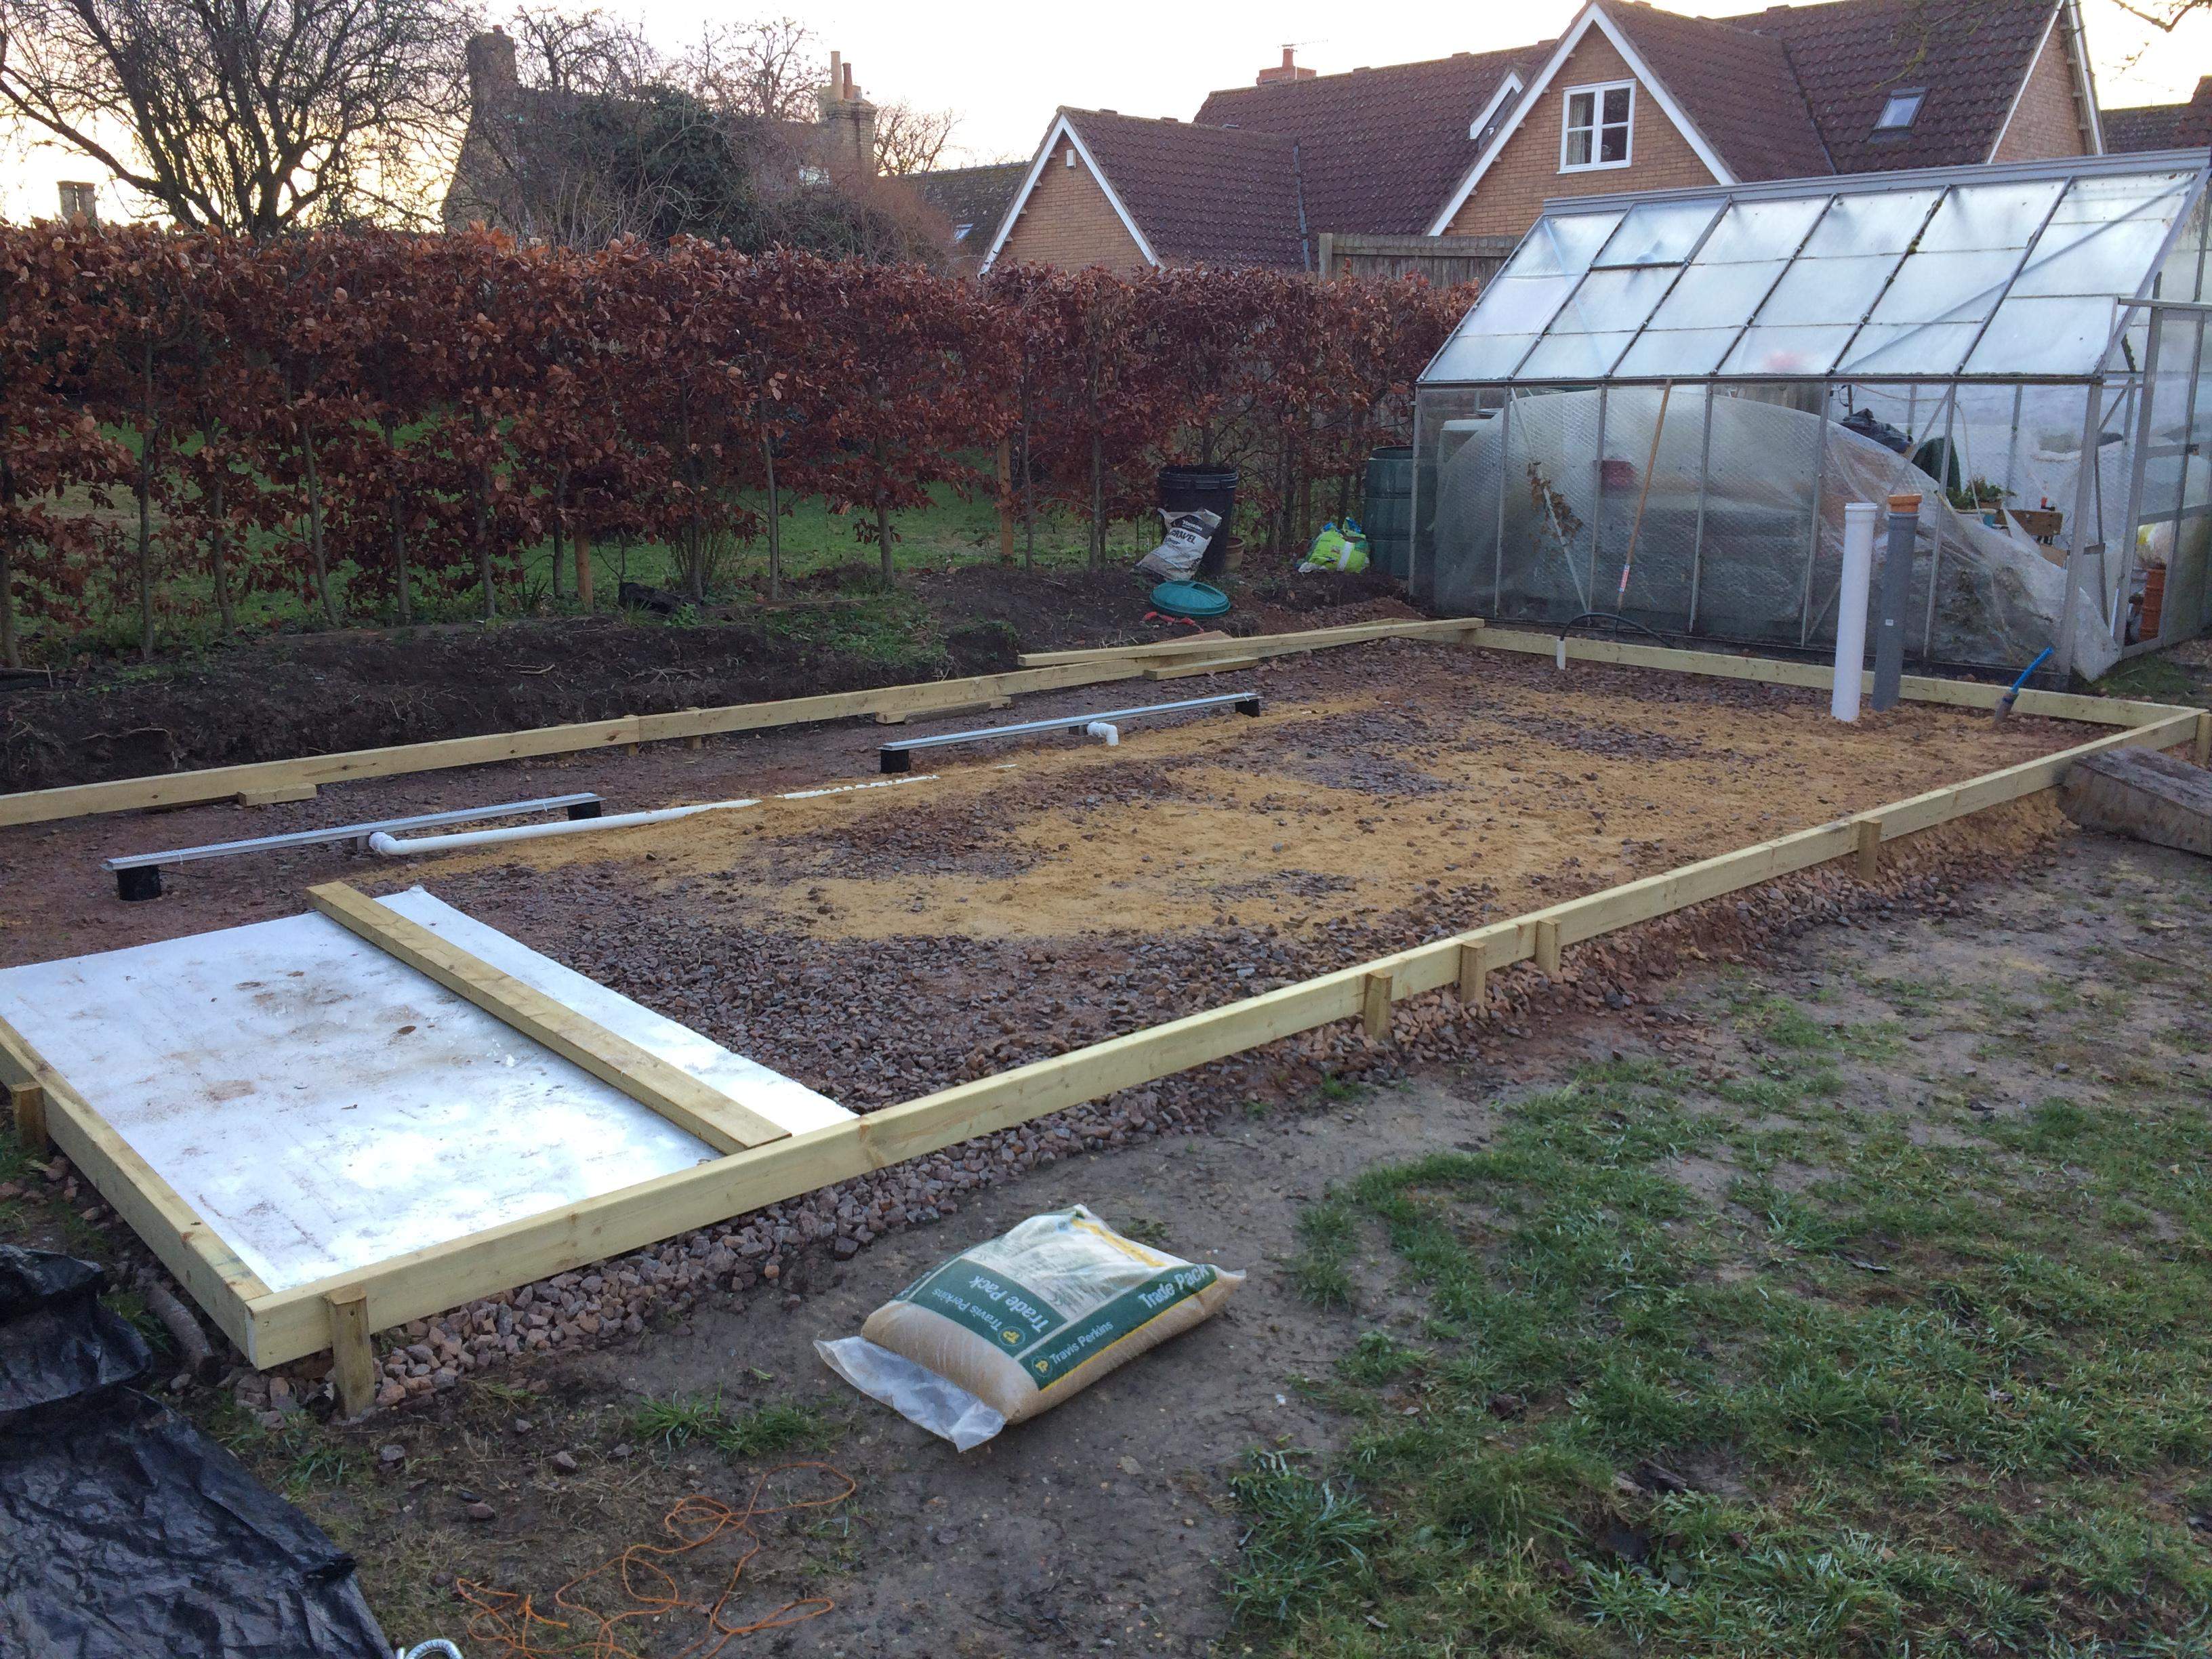
Concrete shuttering added and levelled for the main structure. You can see the trench drains and pipework that are critical to the floor drainage. The main brewhouse is constructed as a wet room.

Blinding

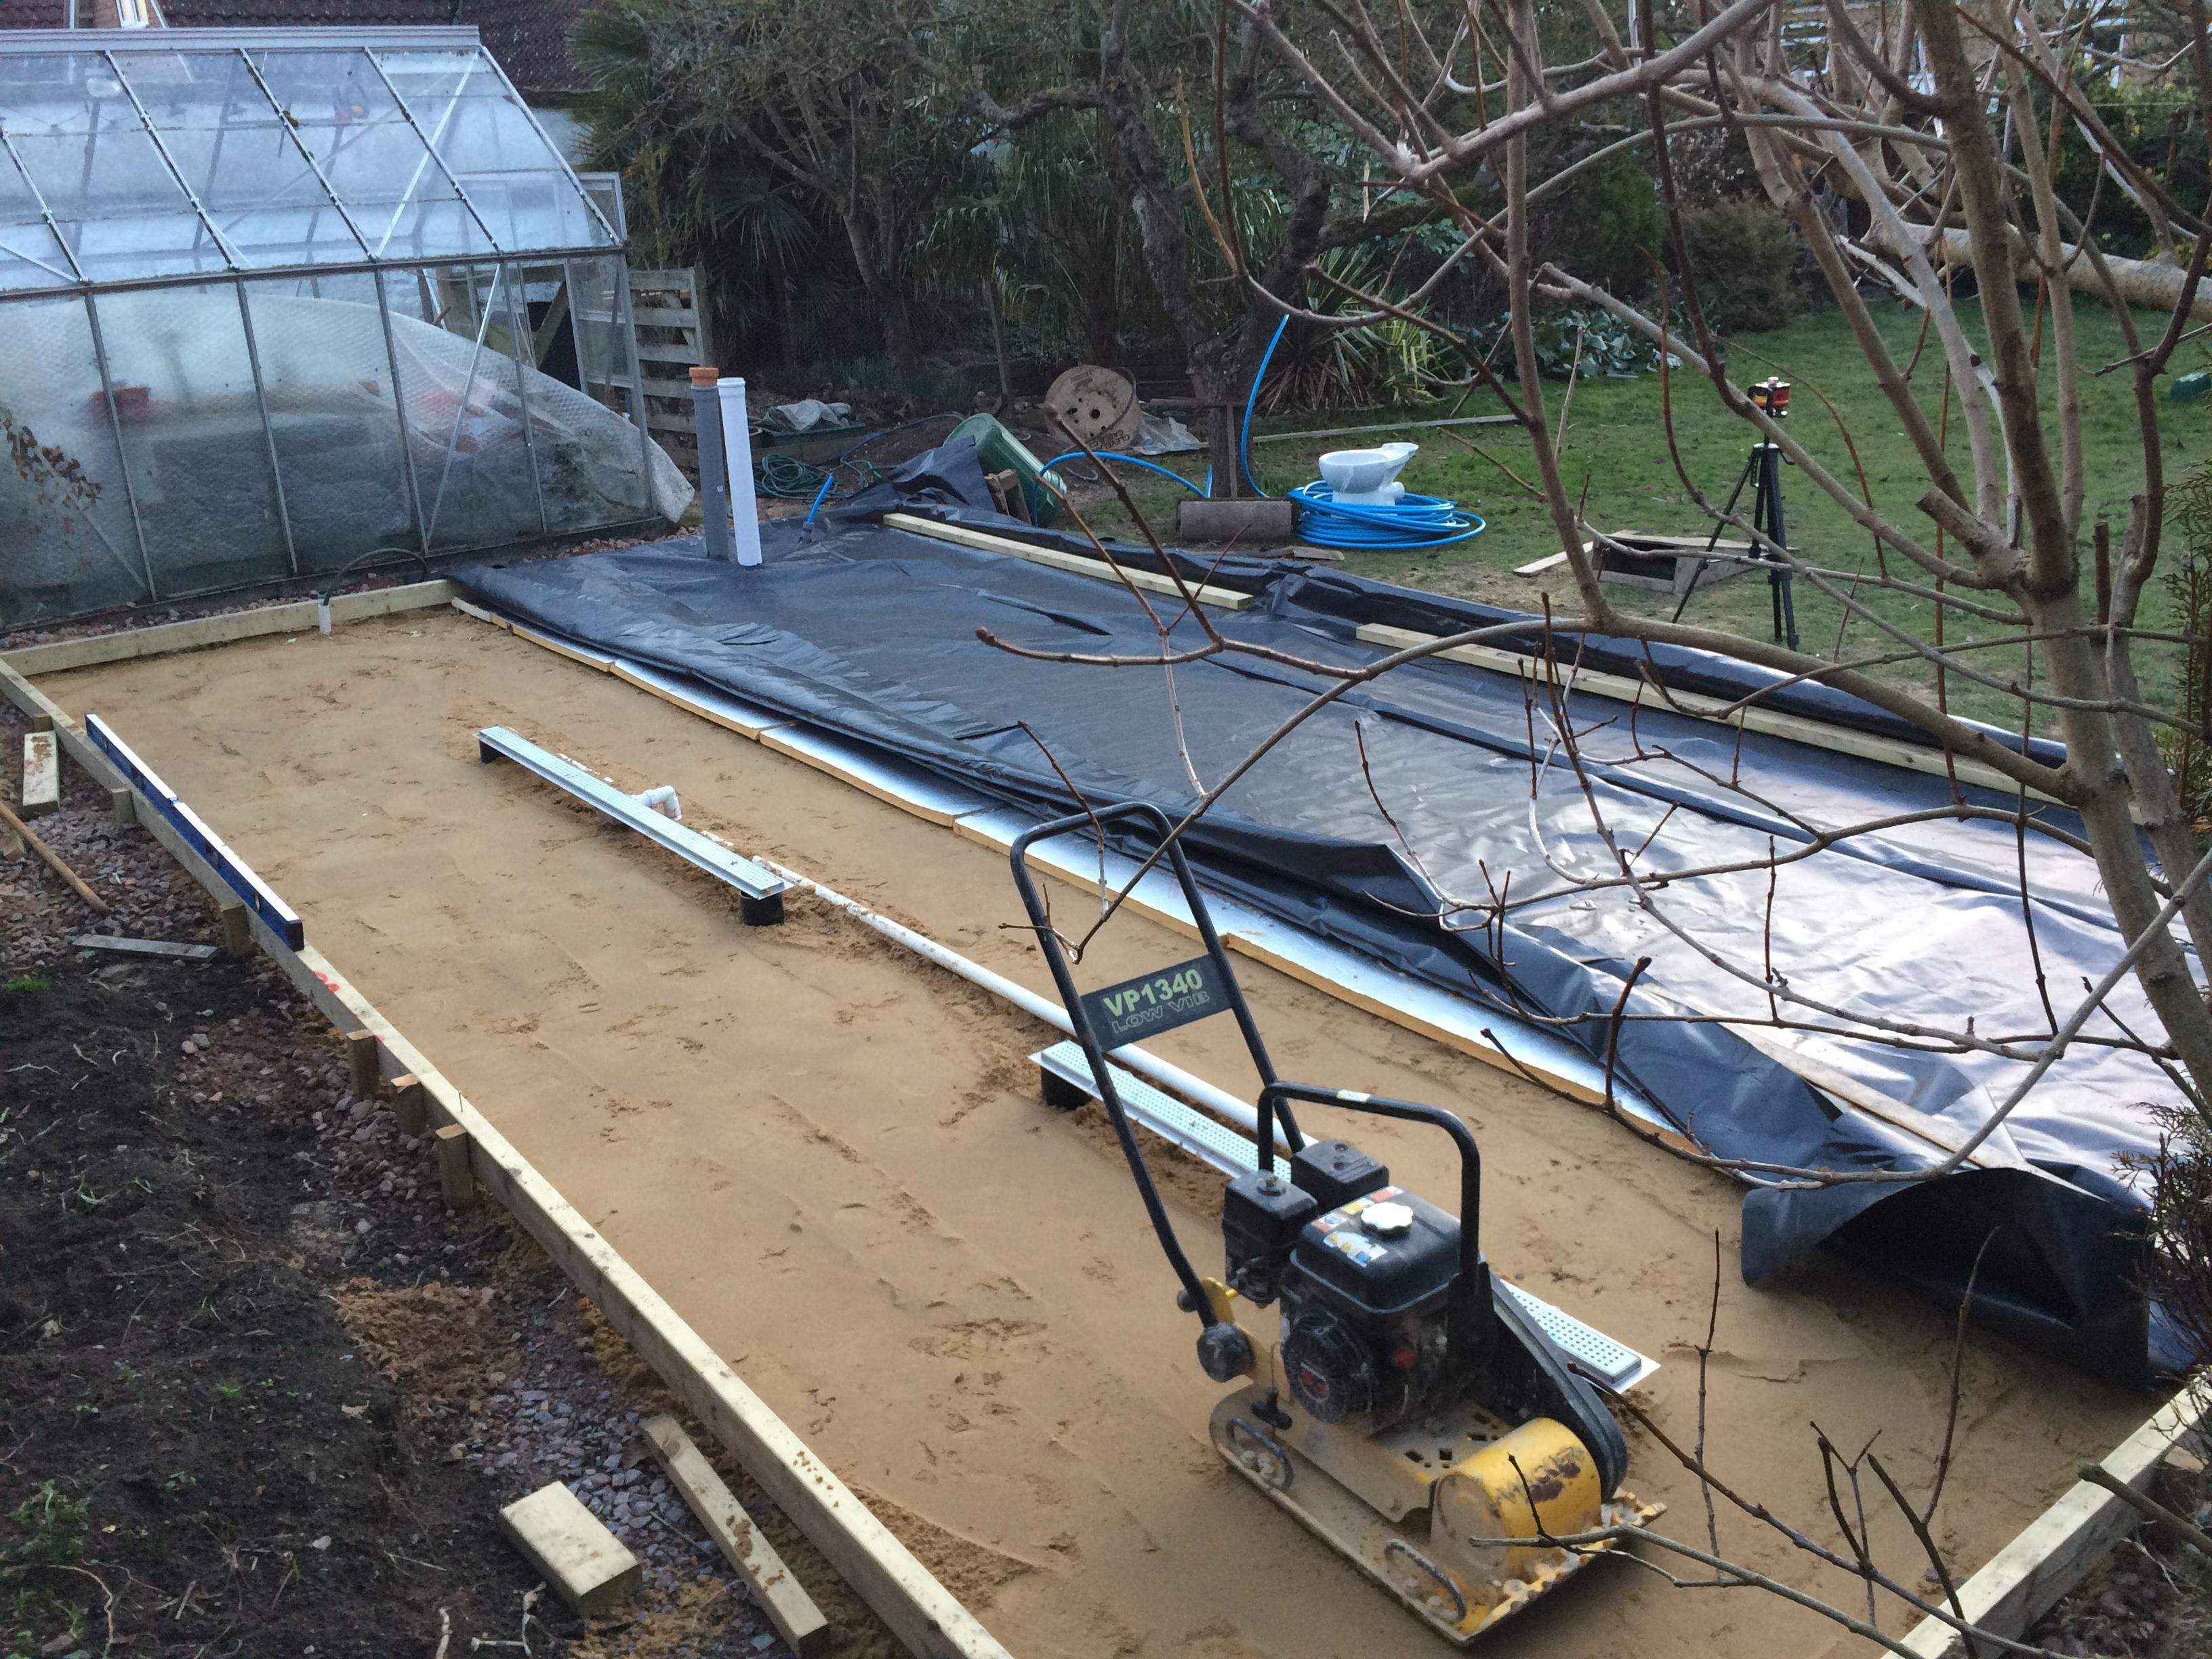
Levelling the area with sand. Also gives a good view of the trench drains. These are stainless steel wet room drains not brewery trench drains. It was a risk as we didn't know for sure these would be adequate but they are great! You can also see the DPM (Damp proof membrane) here that doubled as a rain cover until it was laid.

Celotex insulation

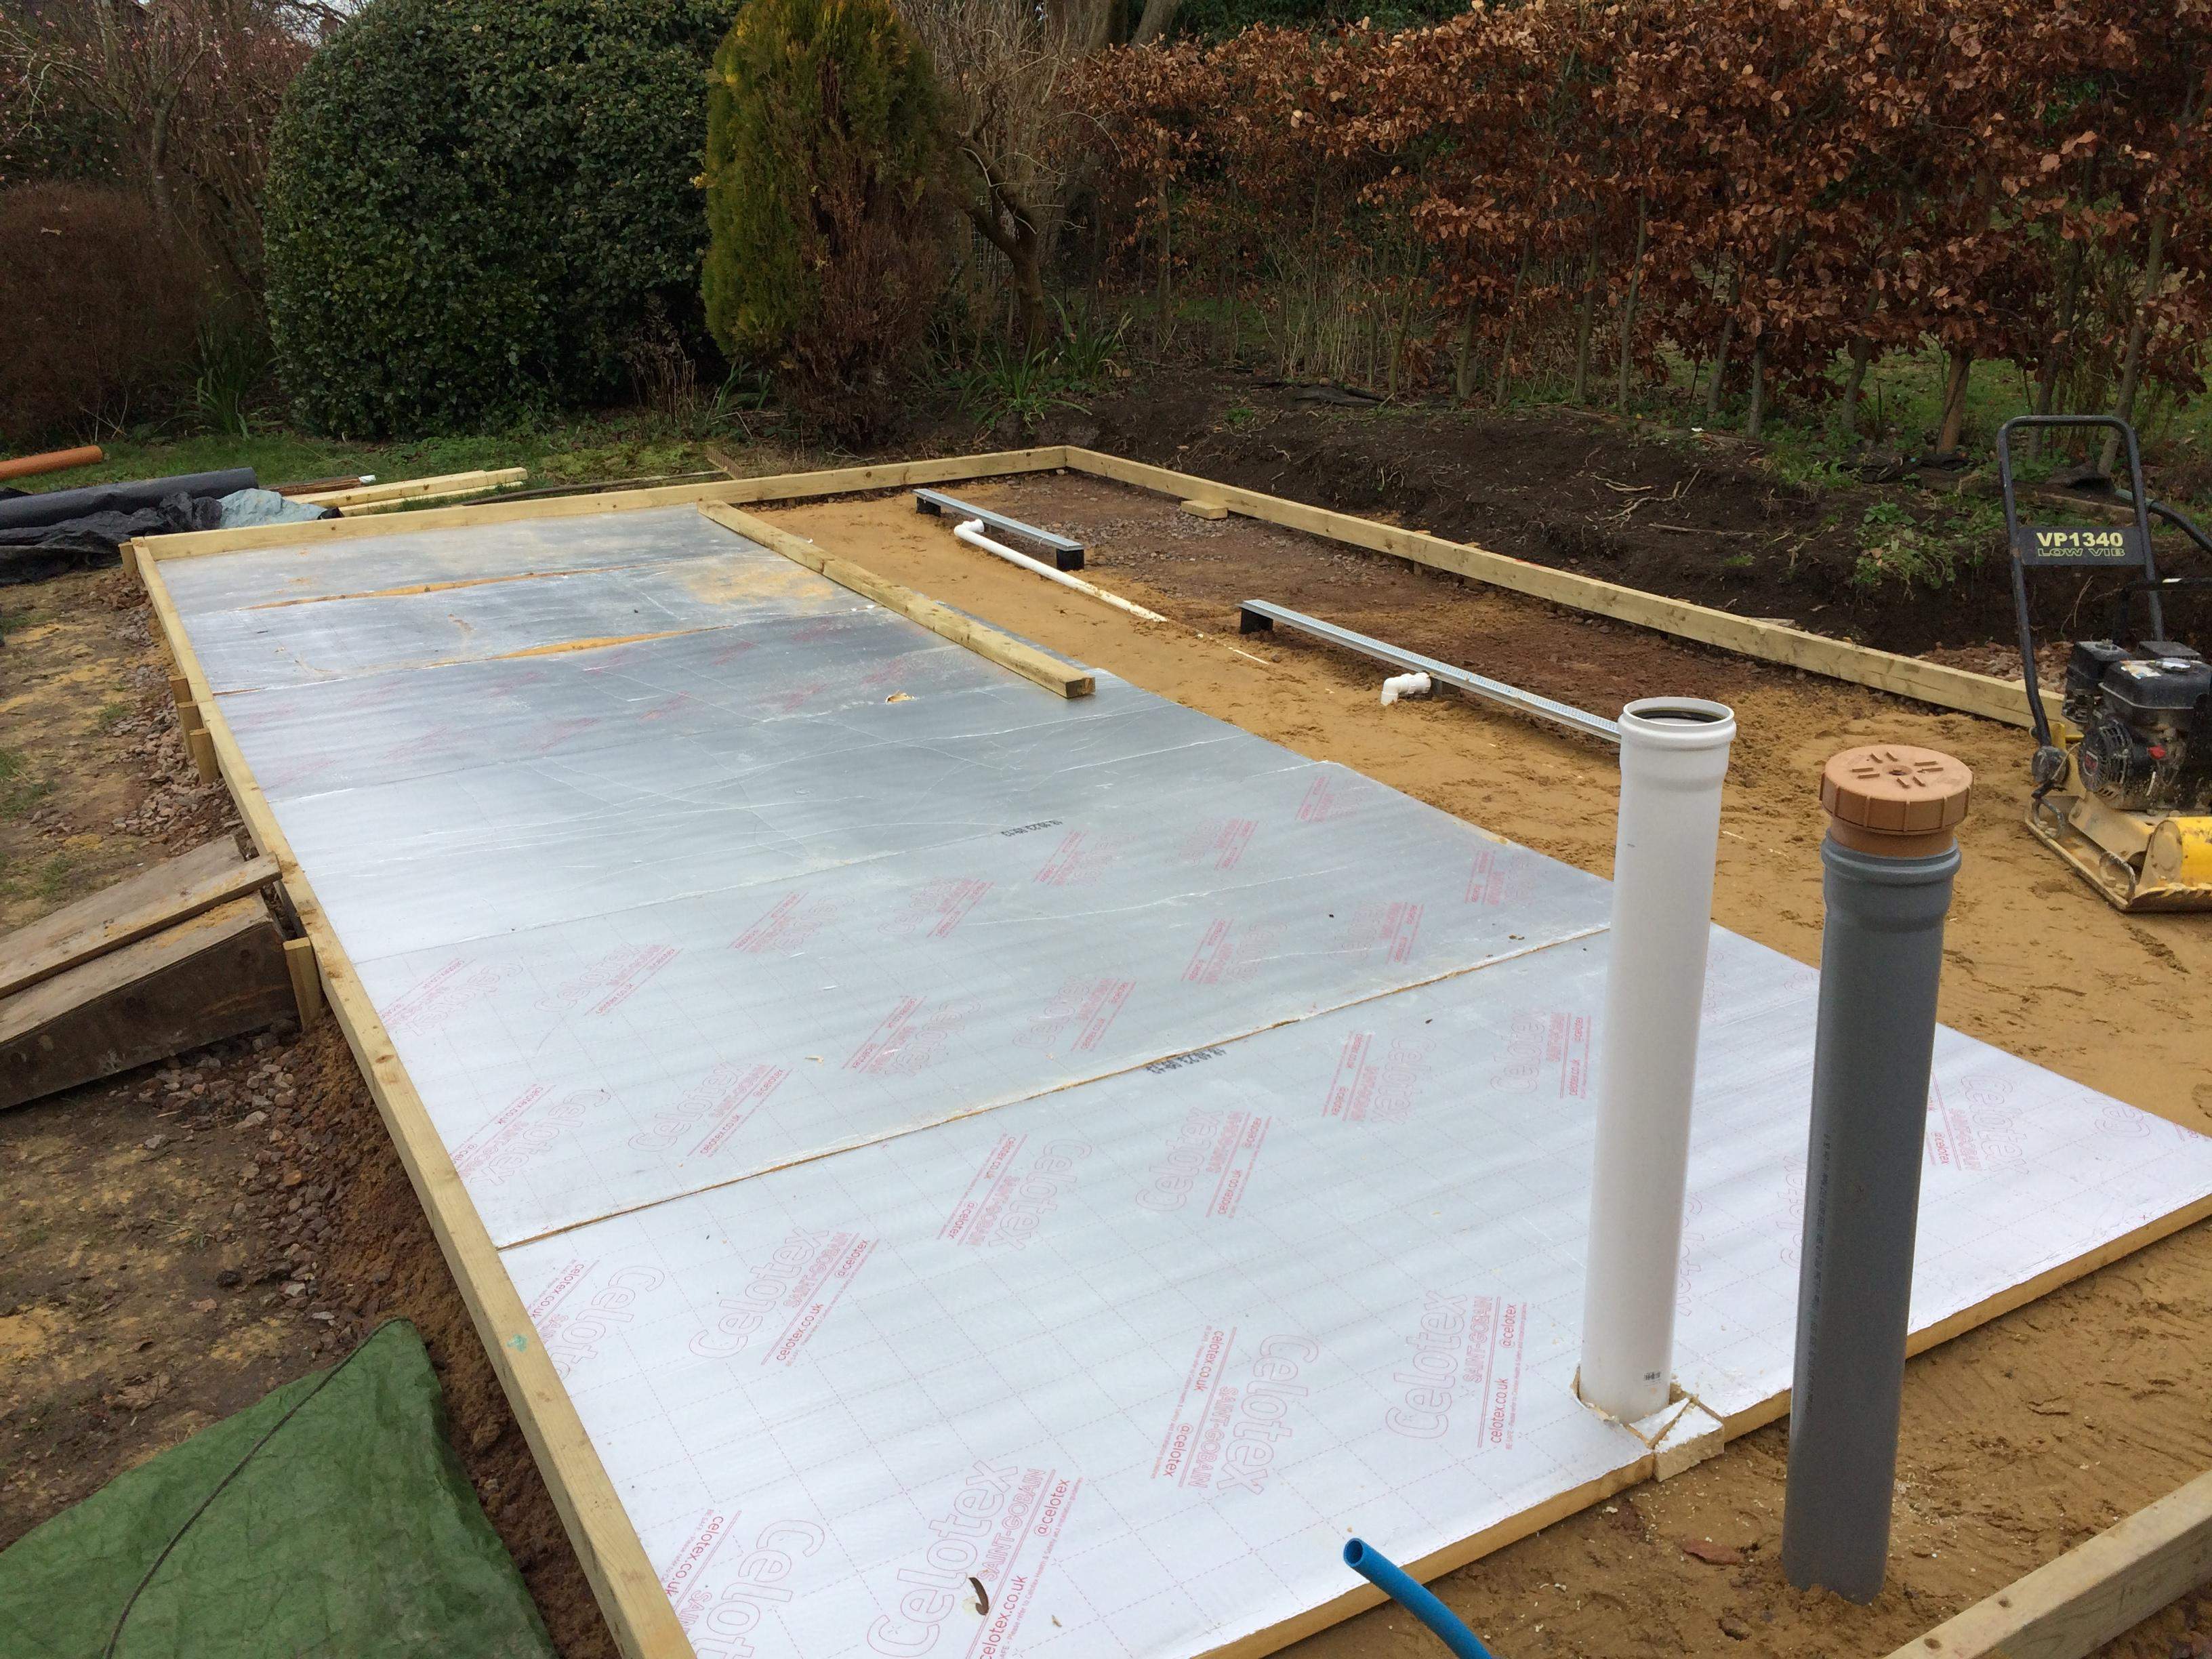
Celotex insulation going down on top of the blinding (sand). Getting the building well insulated would pay dividends in maintaining consistent temperatures for fermentation and conditioning so we put it in the floor as well.

Concrete

In early February we were ready to lay concrete. Ideal time of year for this as you can see! 

We laid the concrete in two sections. All the level area where water and chemicals would not be routinely on the floor were laid with GEN2 using a 10mm aggregate. We had no plans to roll heavy machinery over these areas so didn't add any rebar. The brewhouse and conditioning room was laid using C40/45 as this was acid resistant. It is used in slurry pits and other harsh environments and has stood up well to being covered in acidic and alkaline cleaners though we have also coated it with an anti-bacterial resin paint.

Concrete was delivered ready mixed but had to be barrowed up the garden. Time to call on family and friends for some help!

Brewhouse

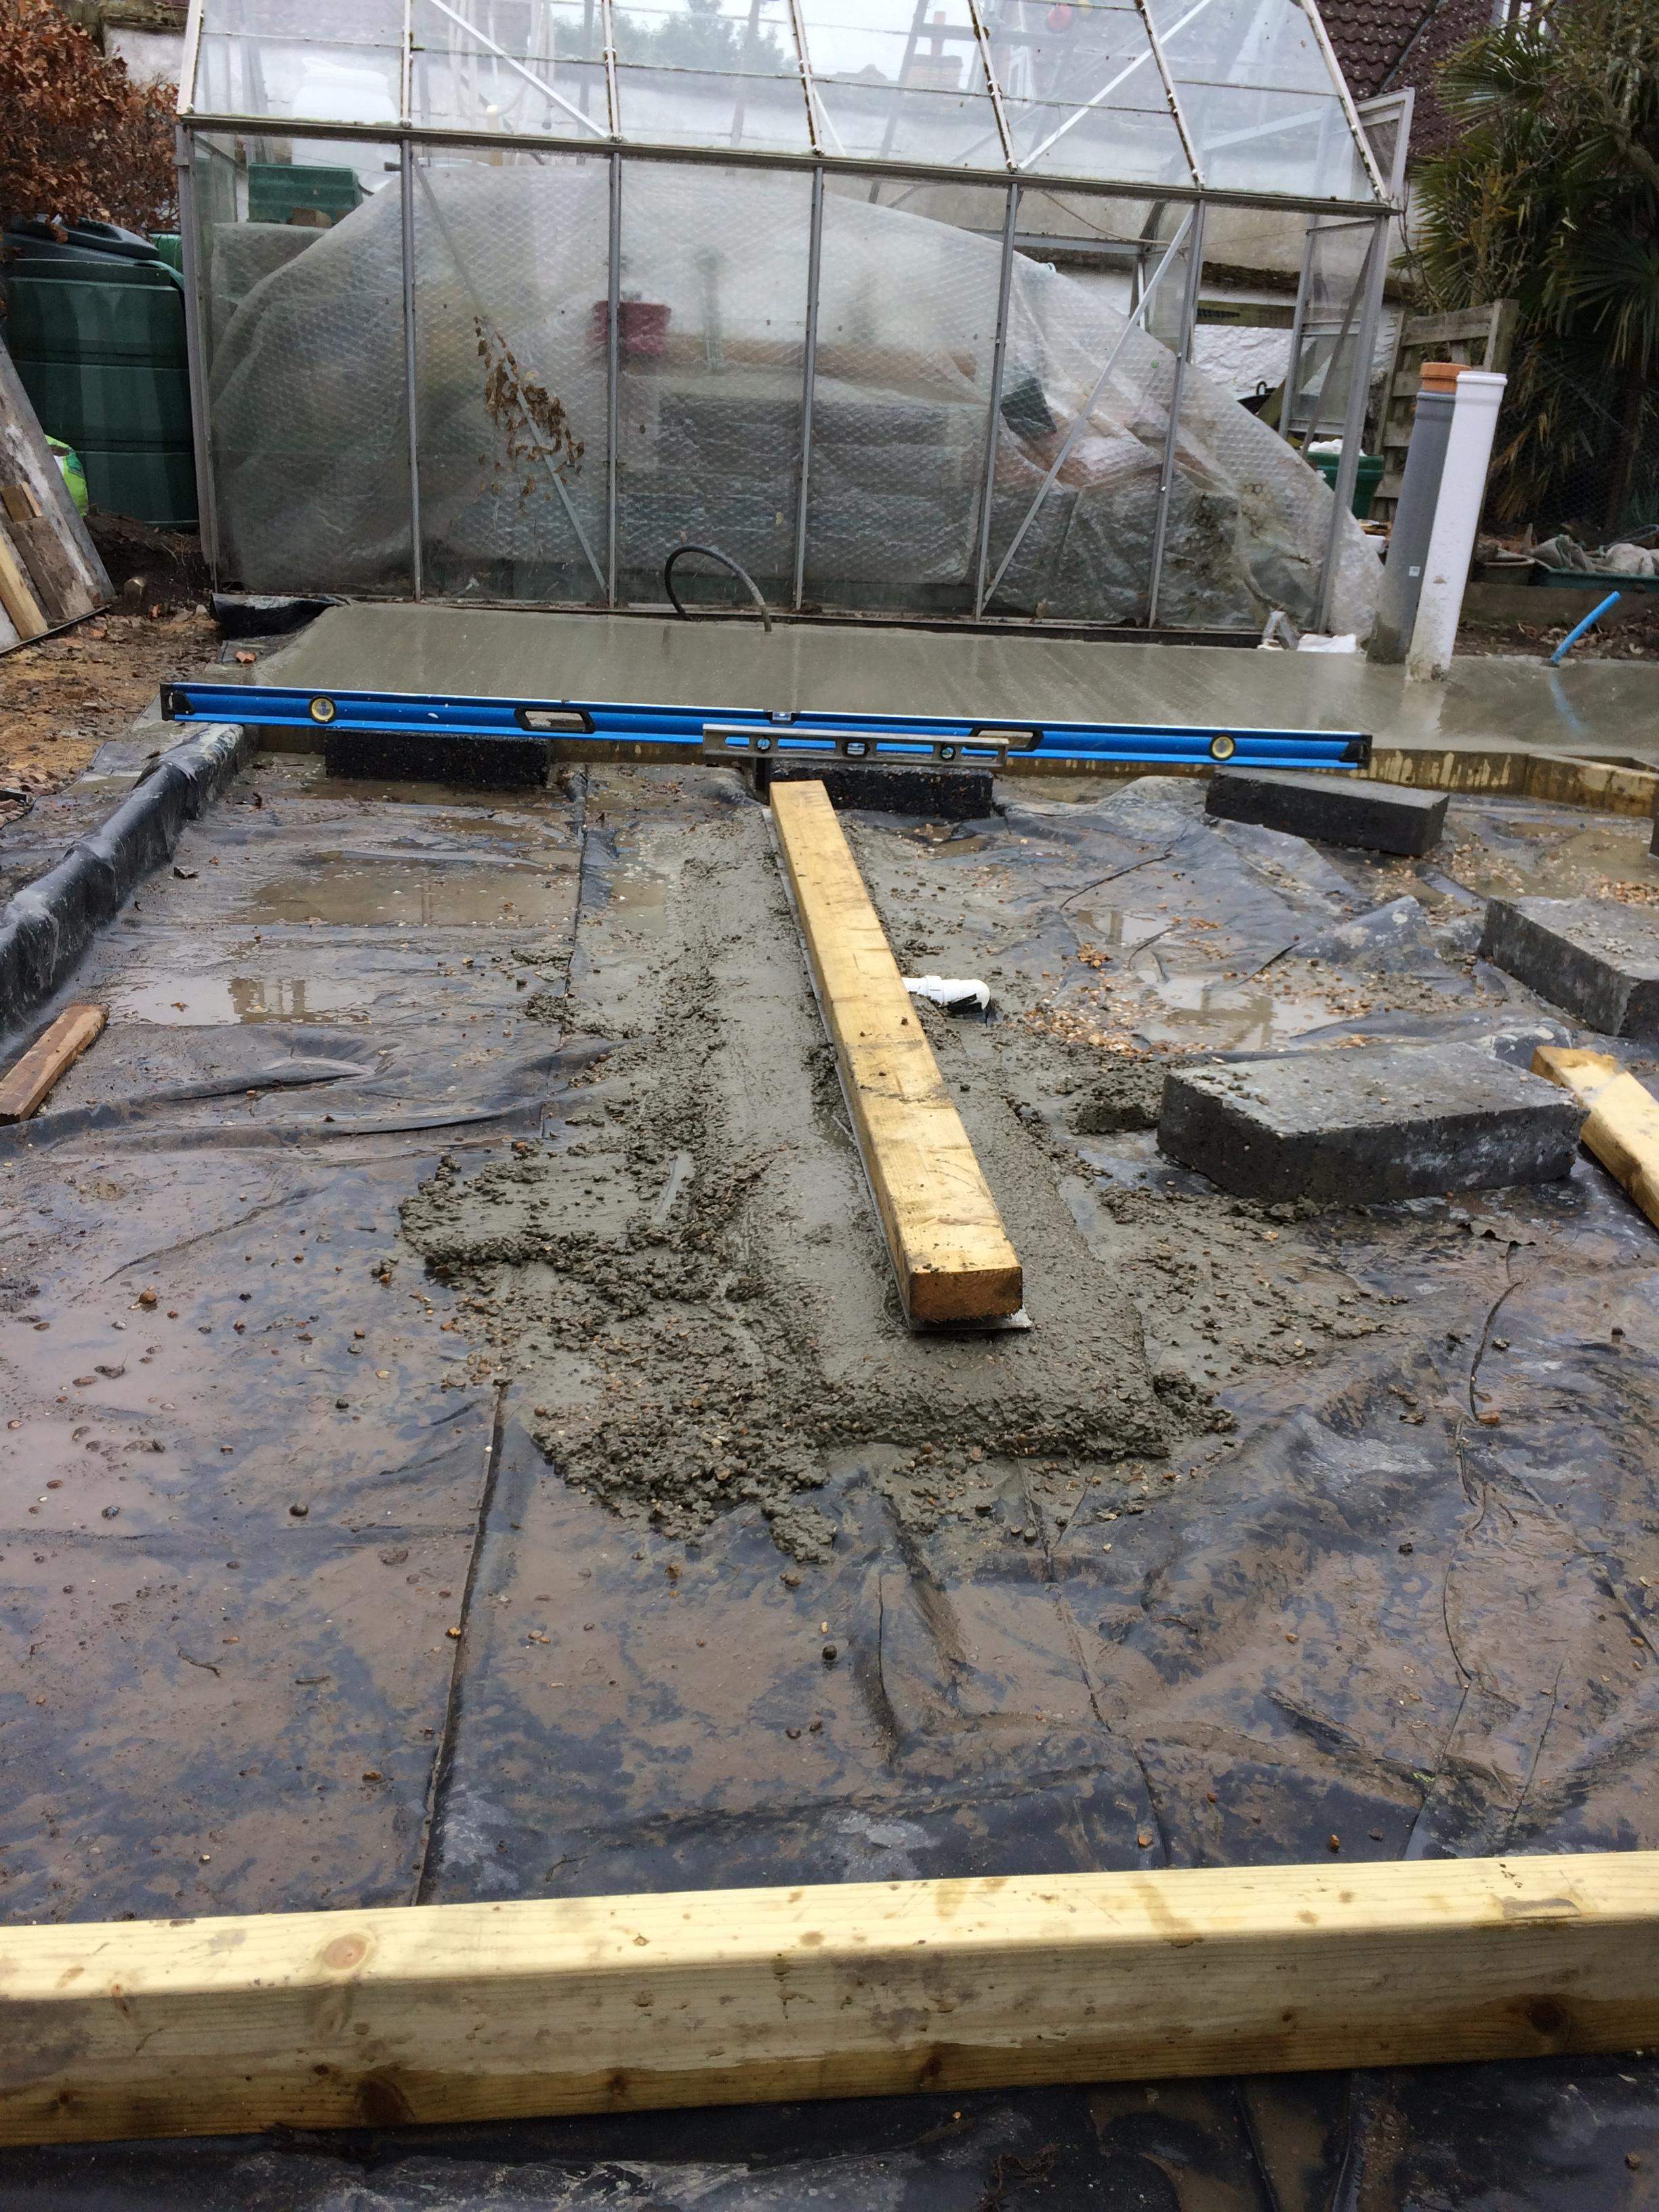
The slope to the trench drains was created by levelling from the earlier level section to the drain. I used left over pipe from the foul water drains cut into sections to lay the trench drains on. This enabled me to set the height of them precisely to achieve a 2% slope

Limed knees

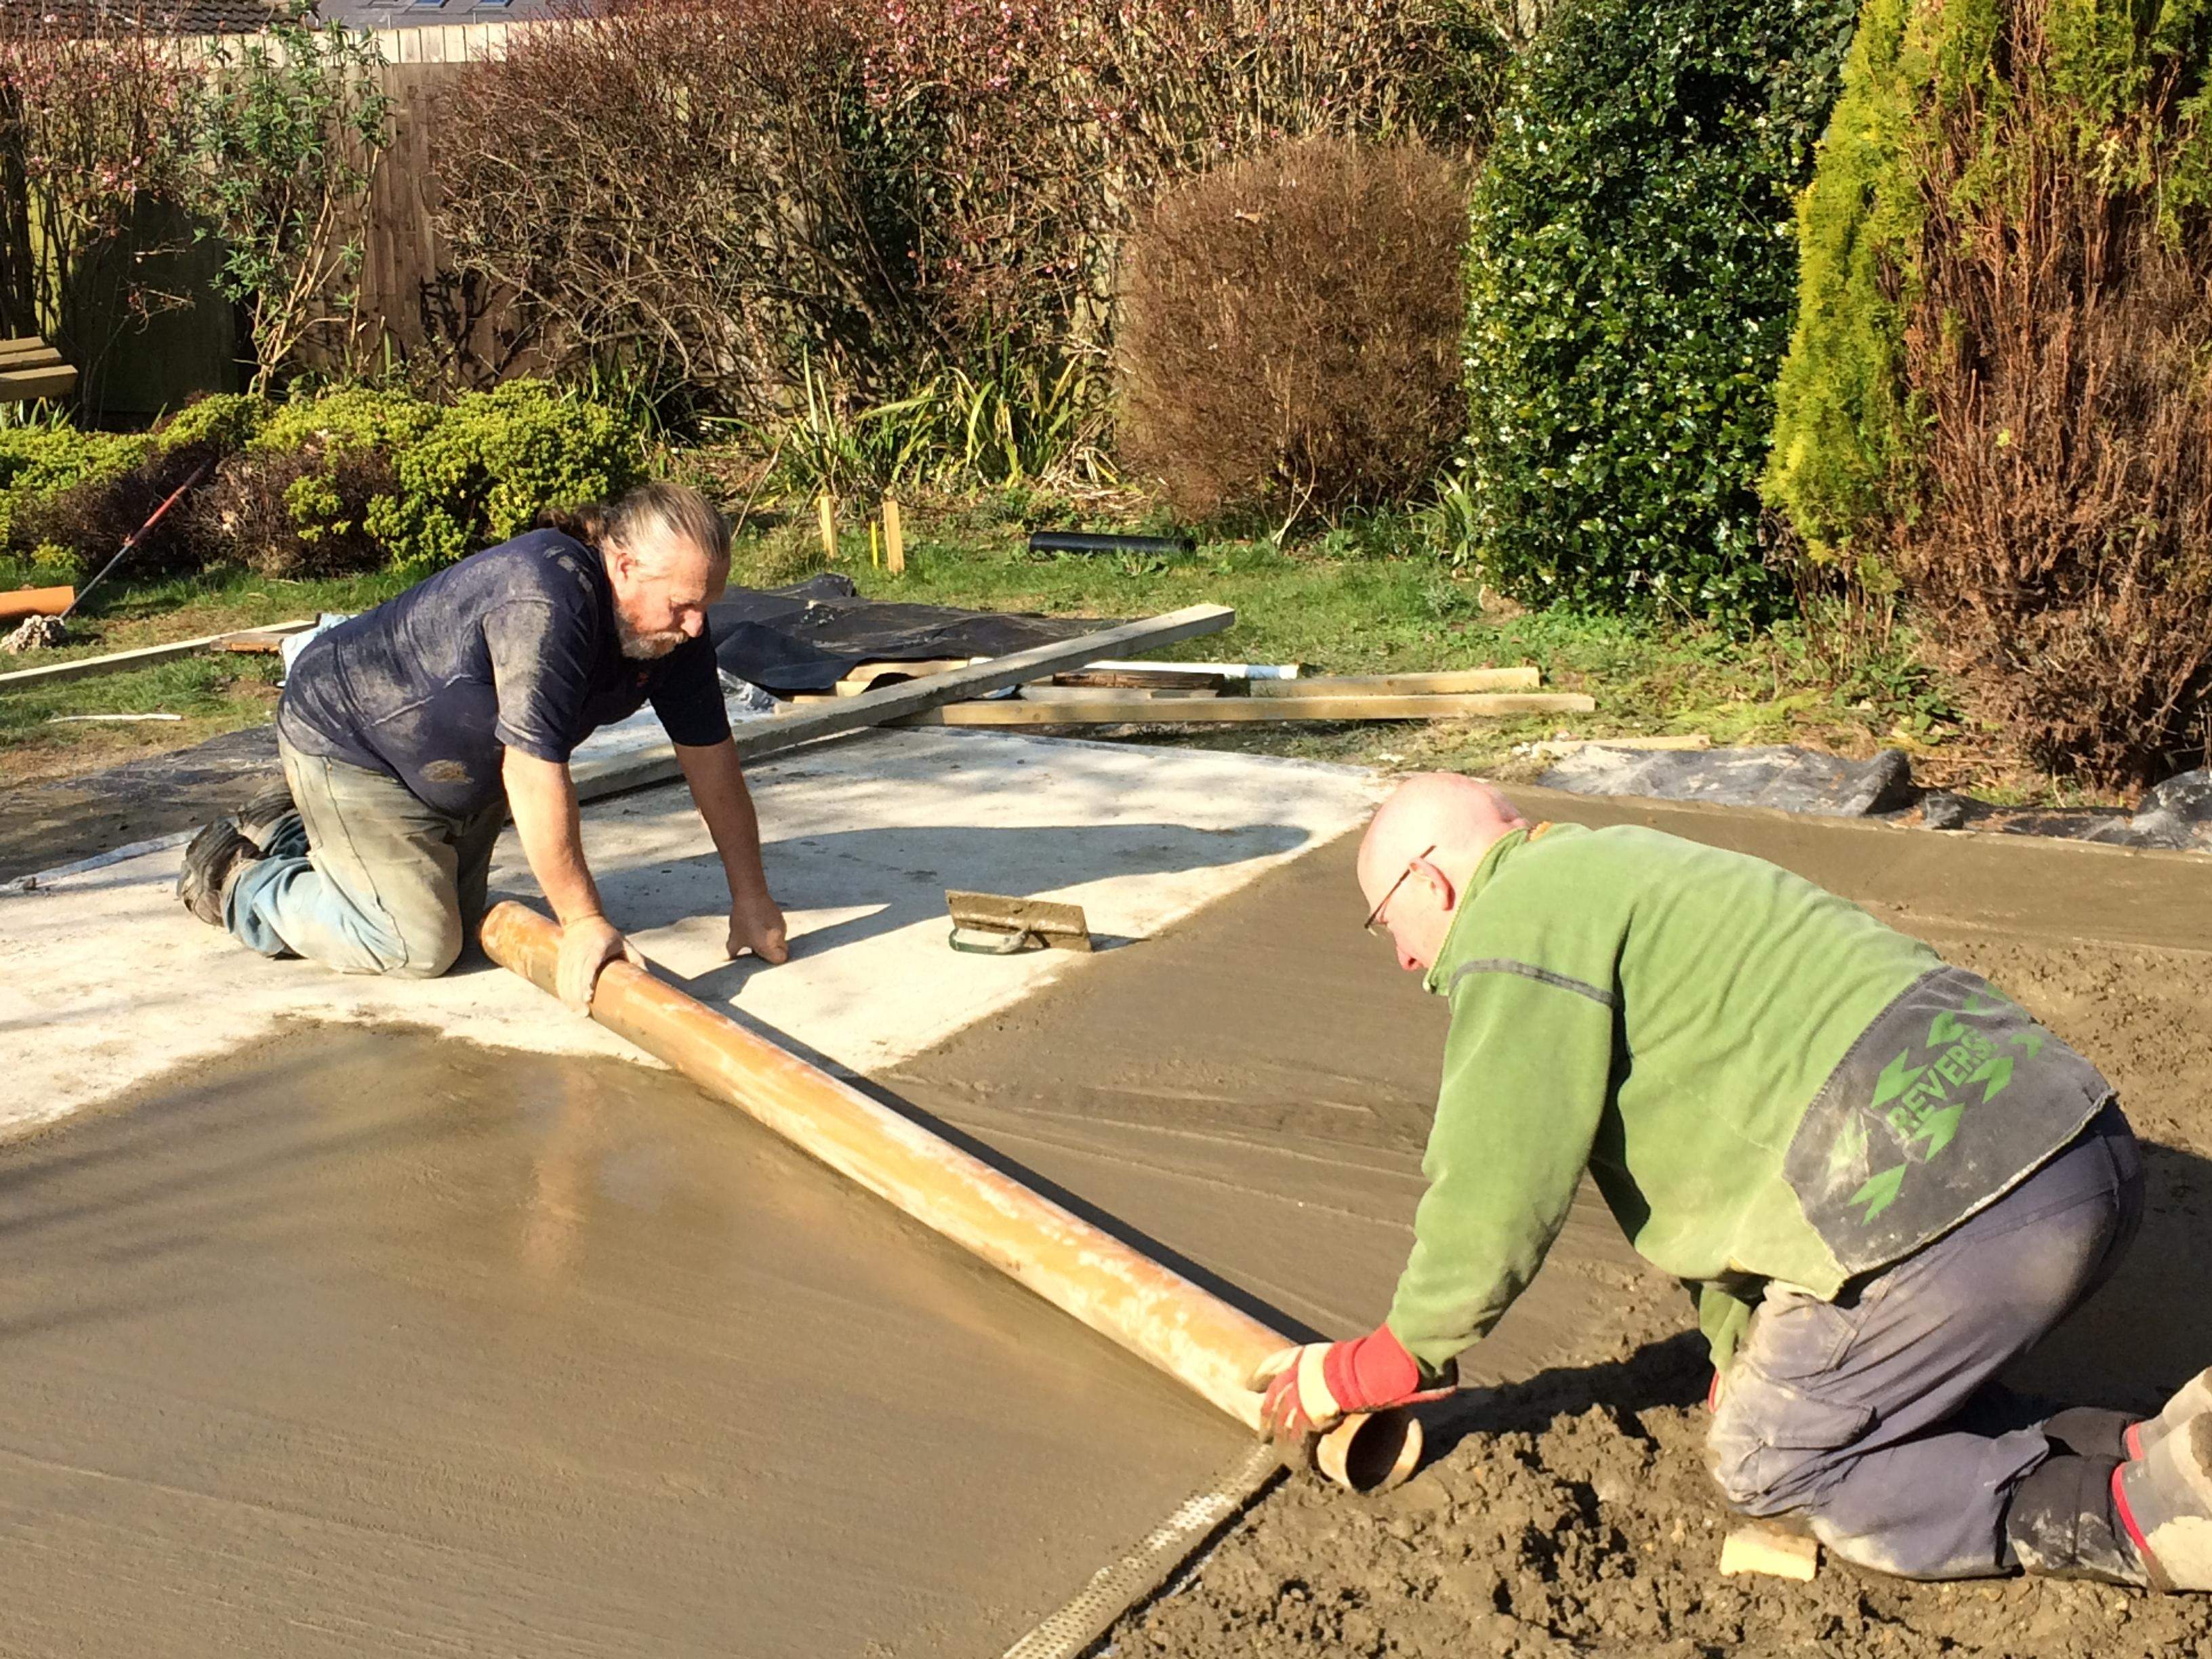
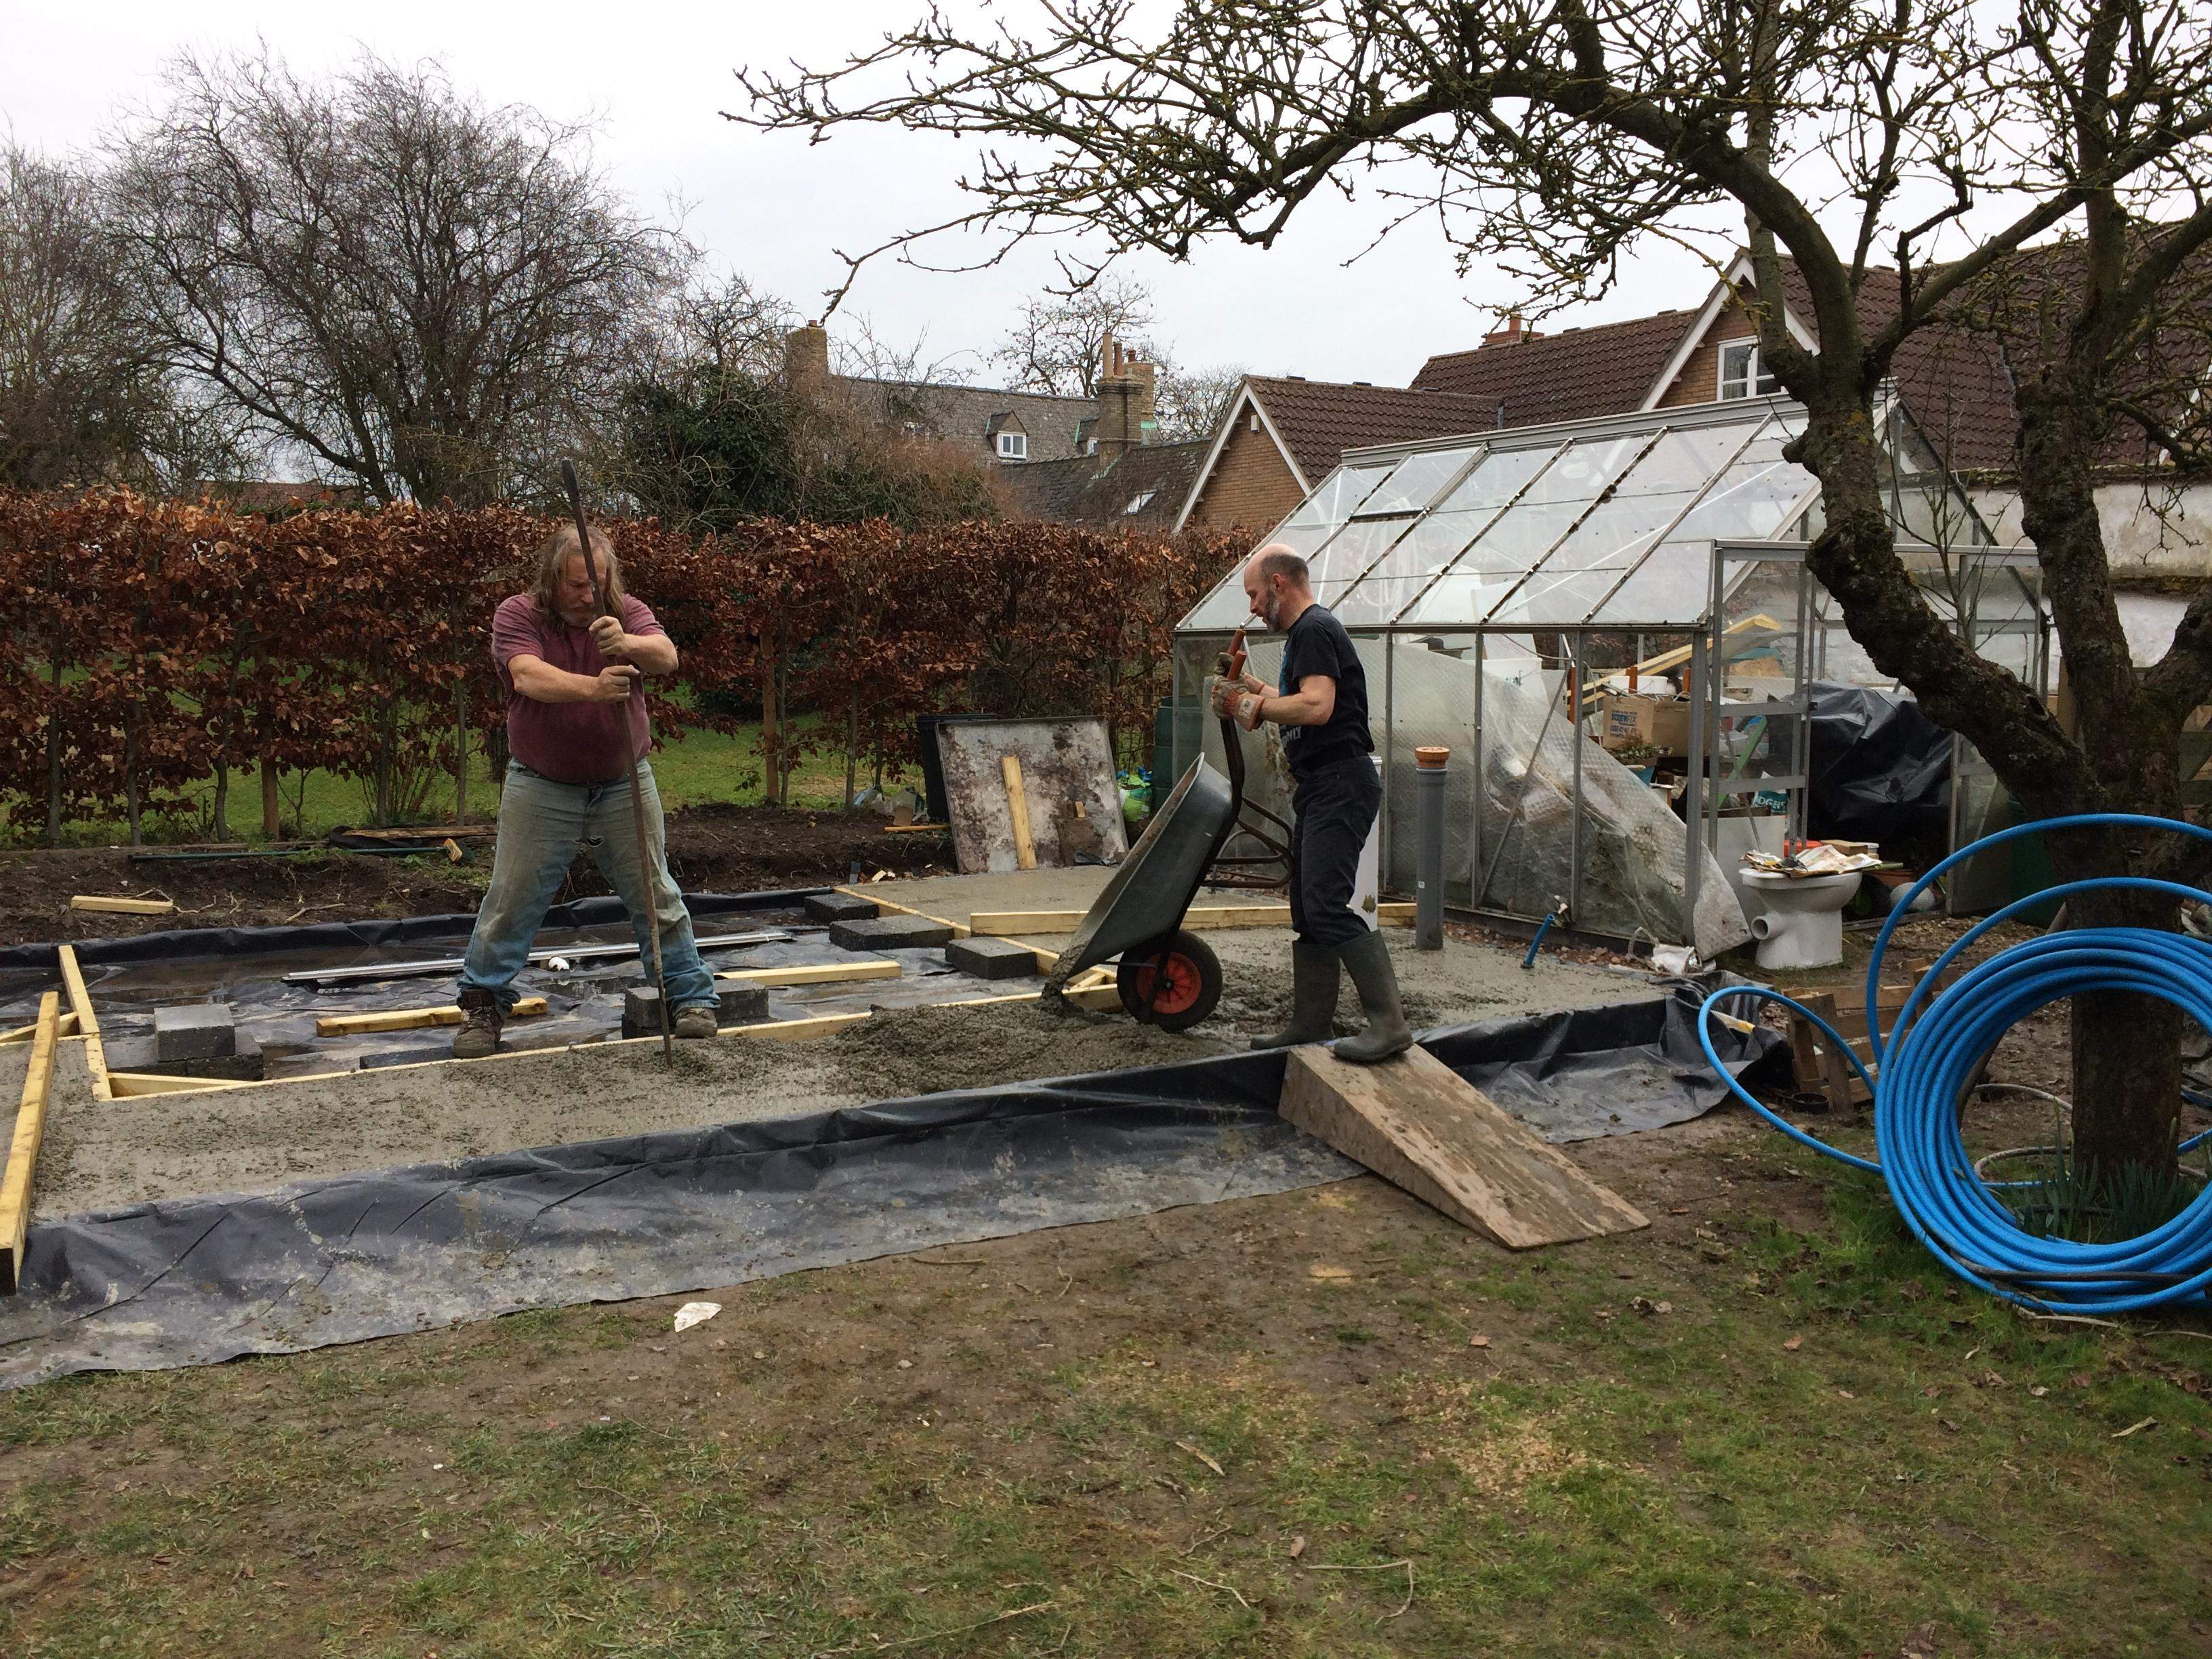
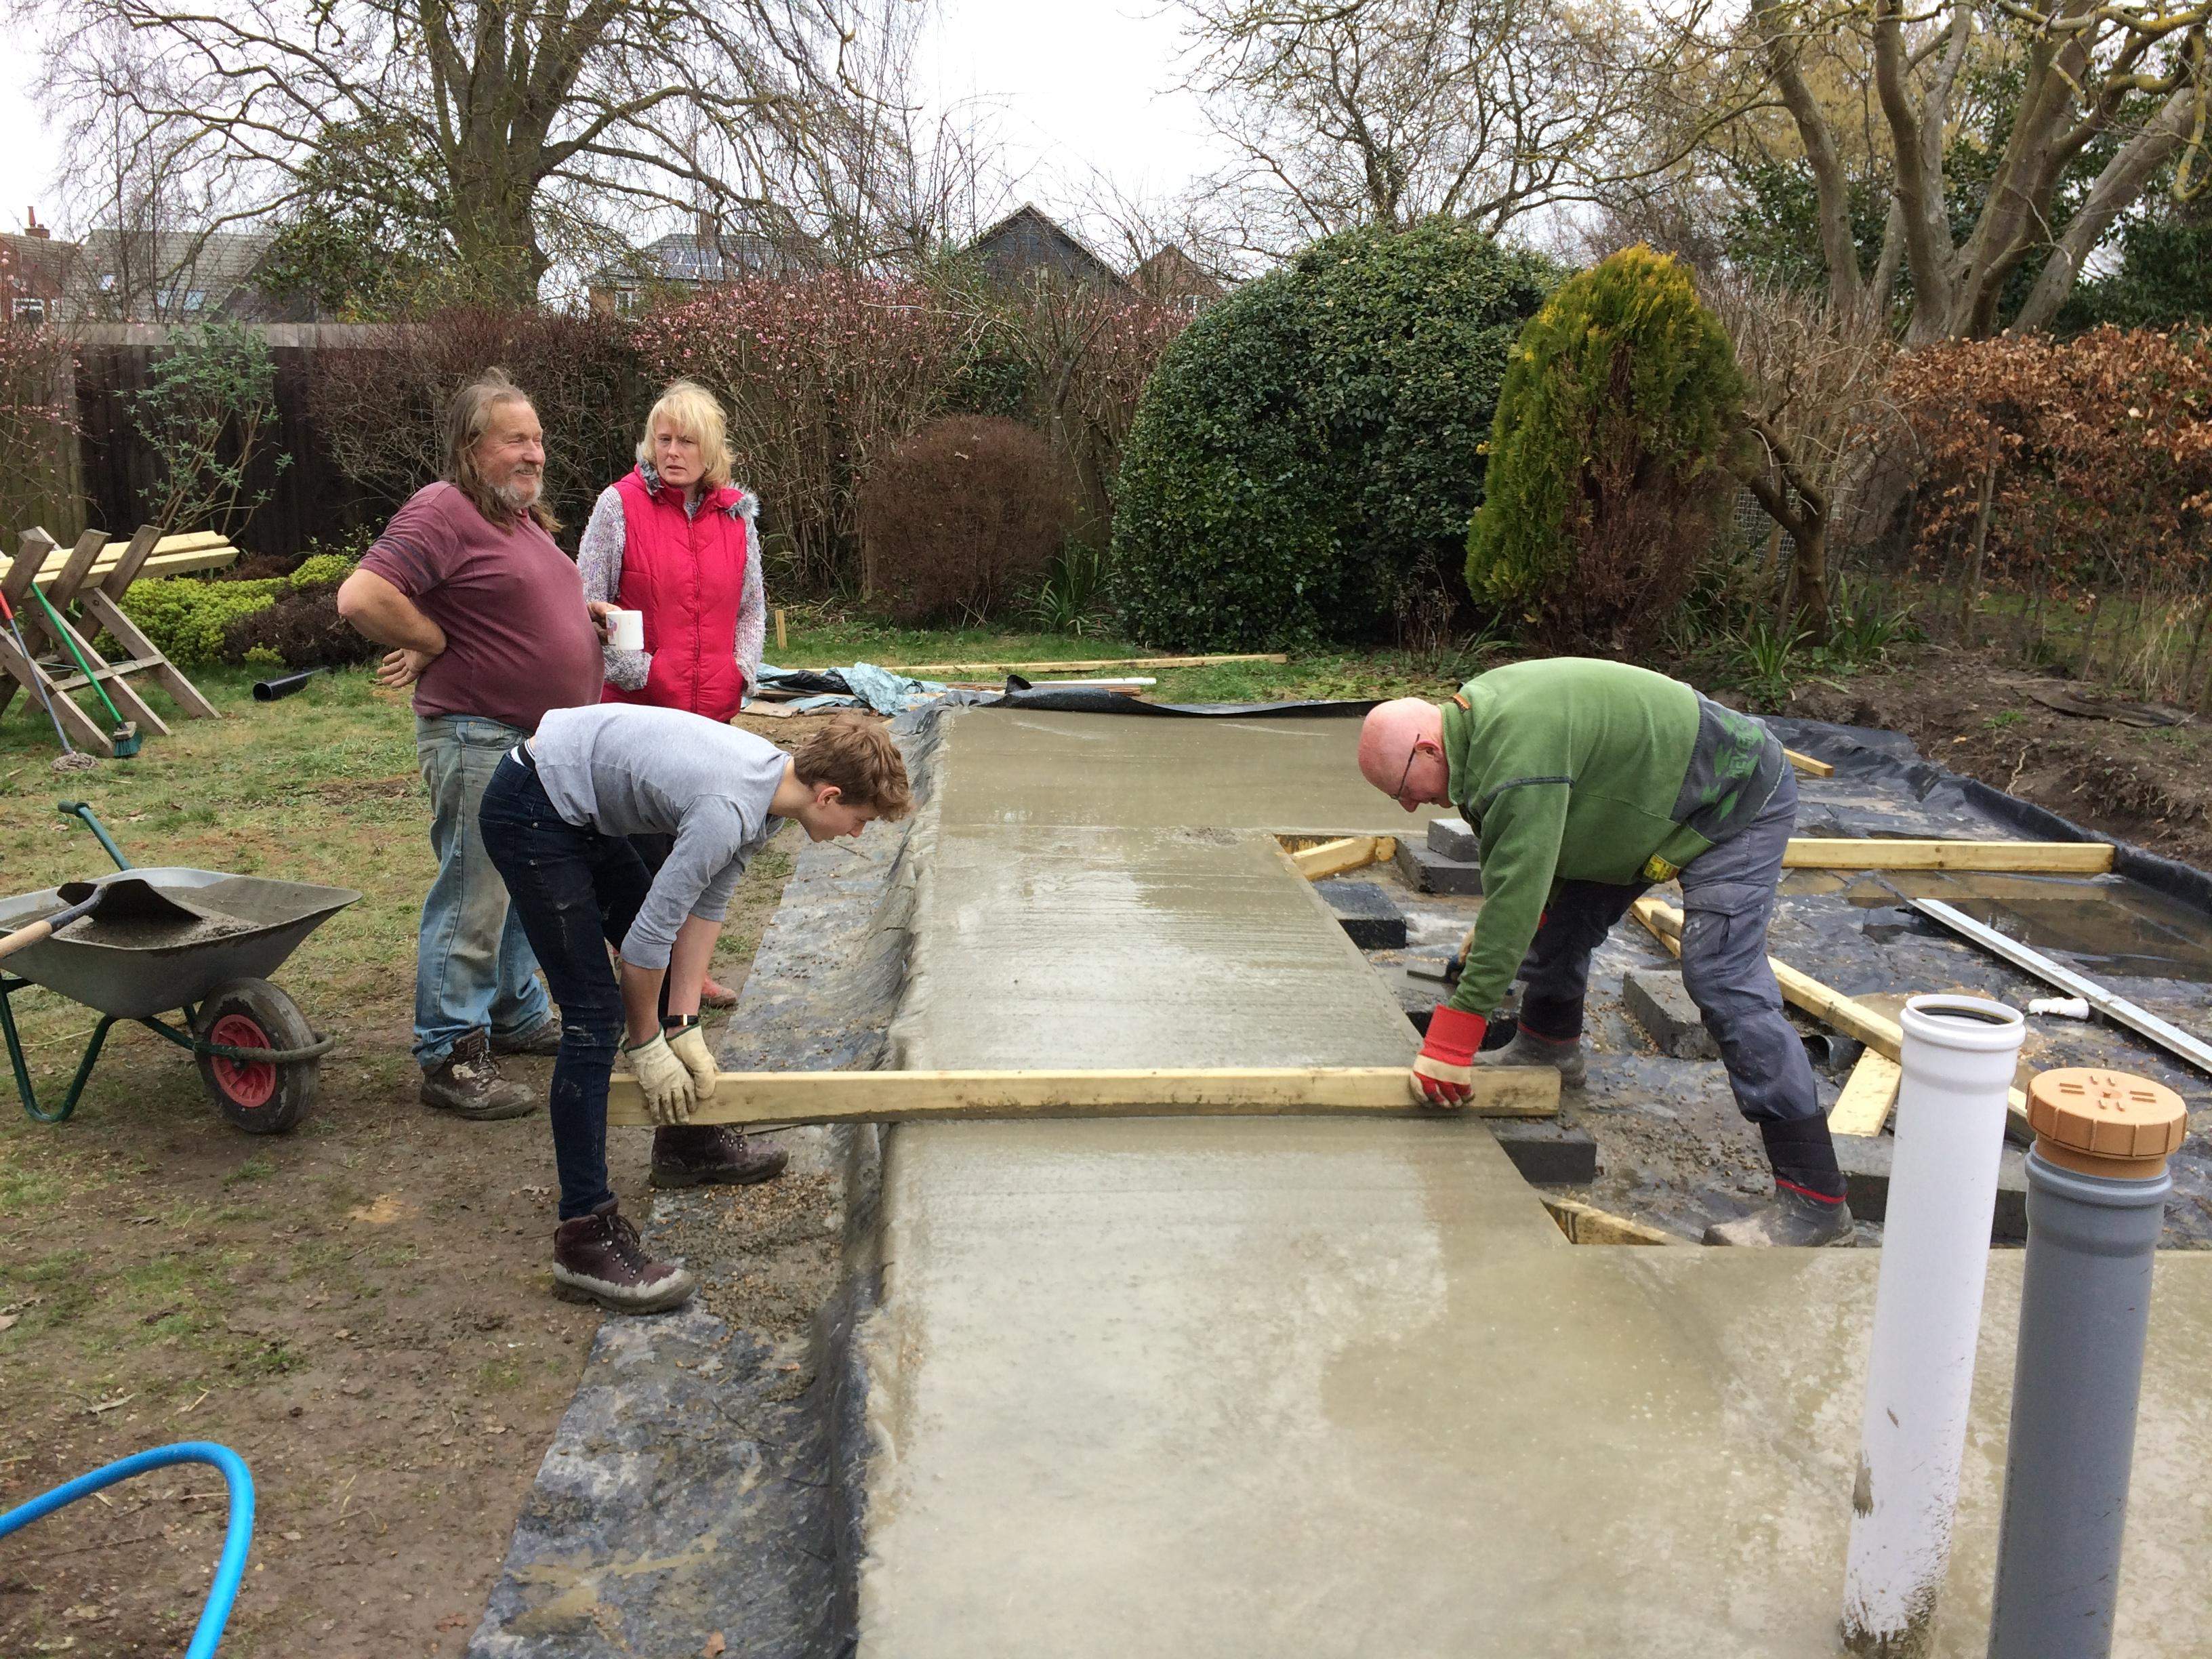
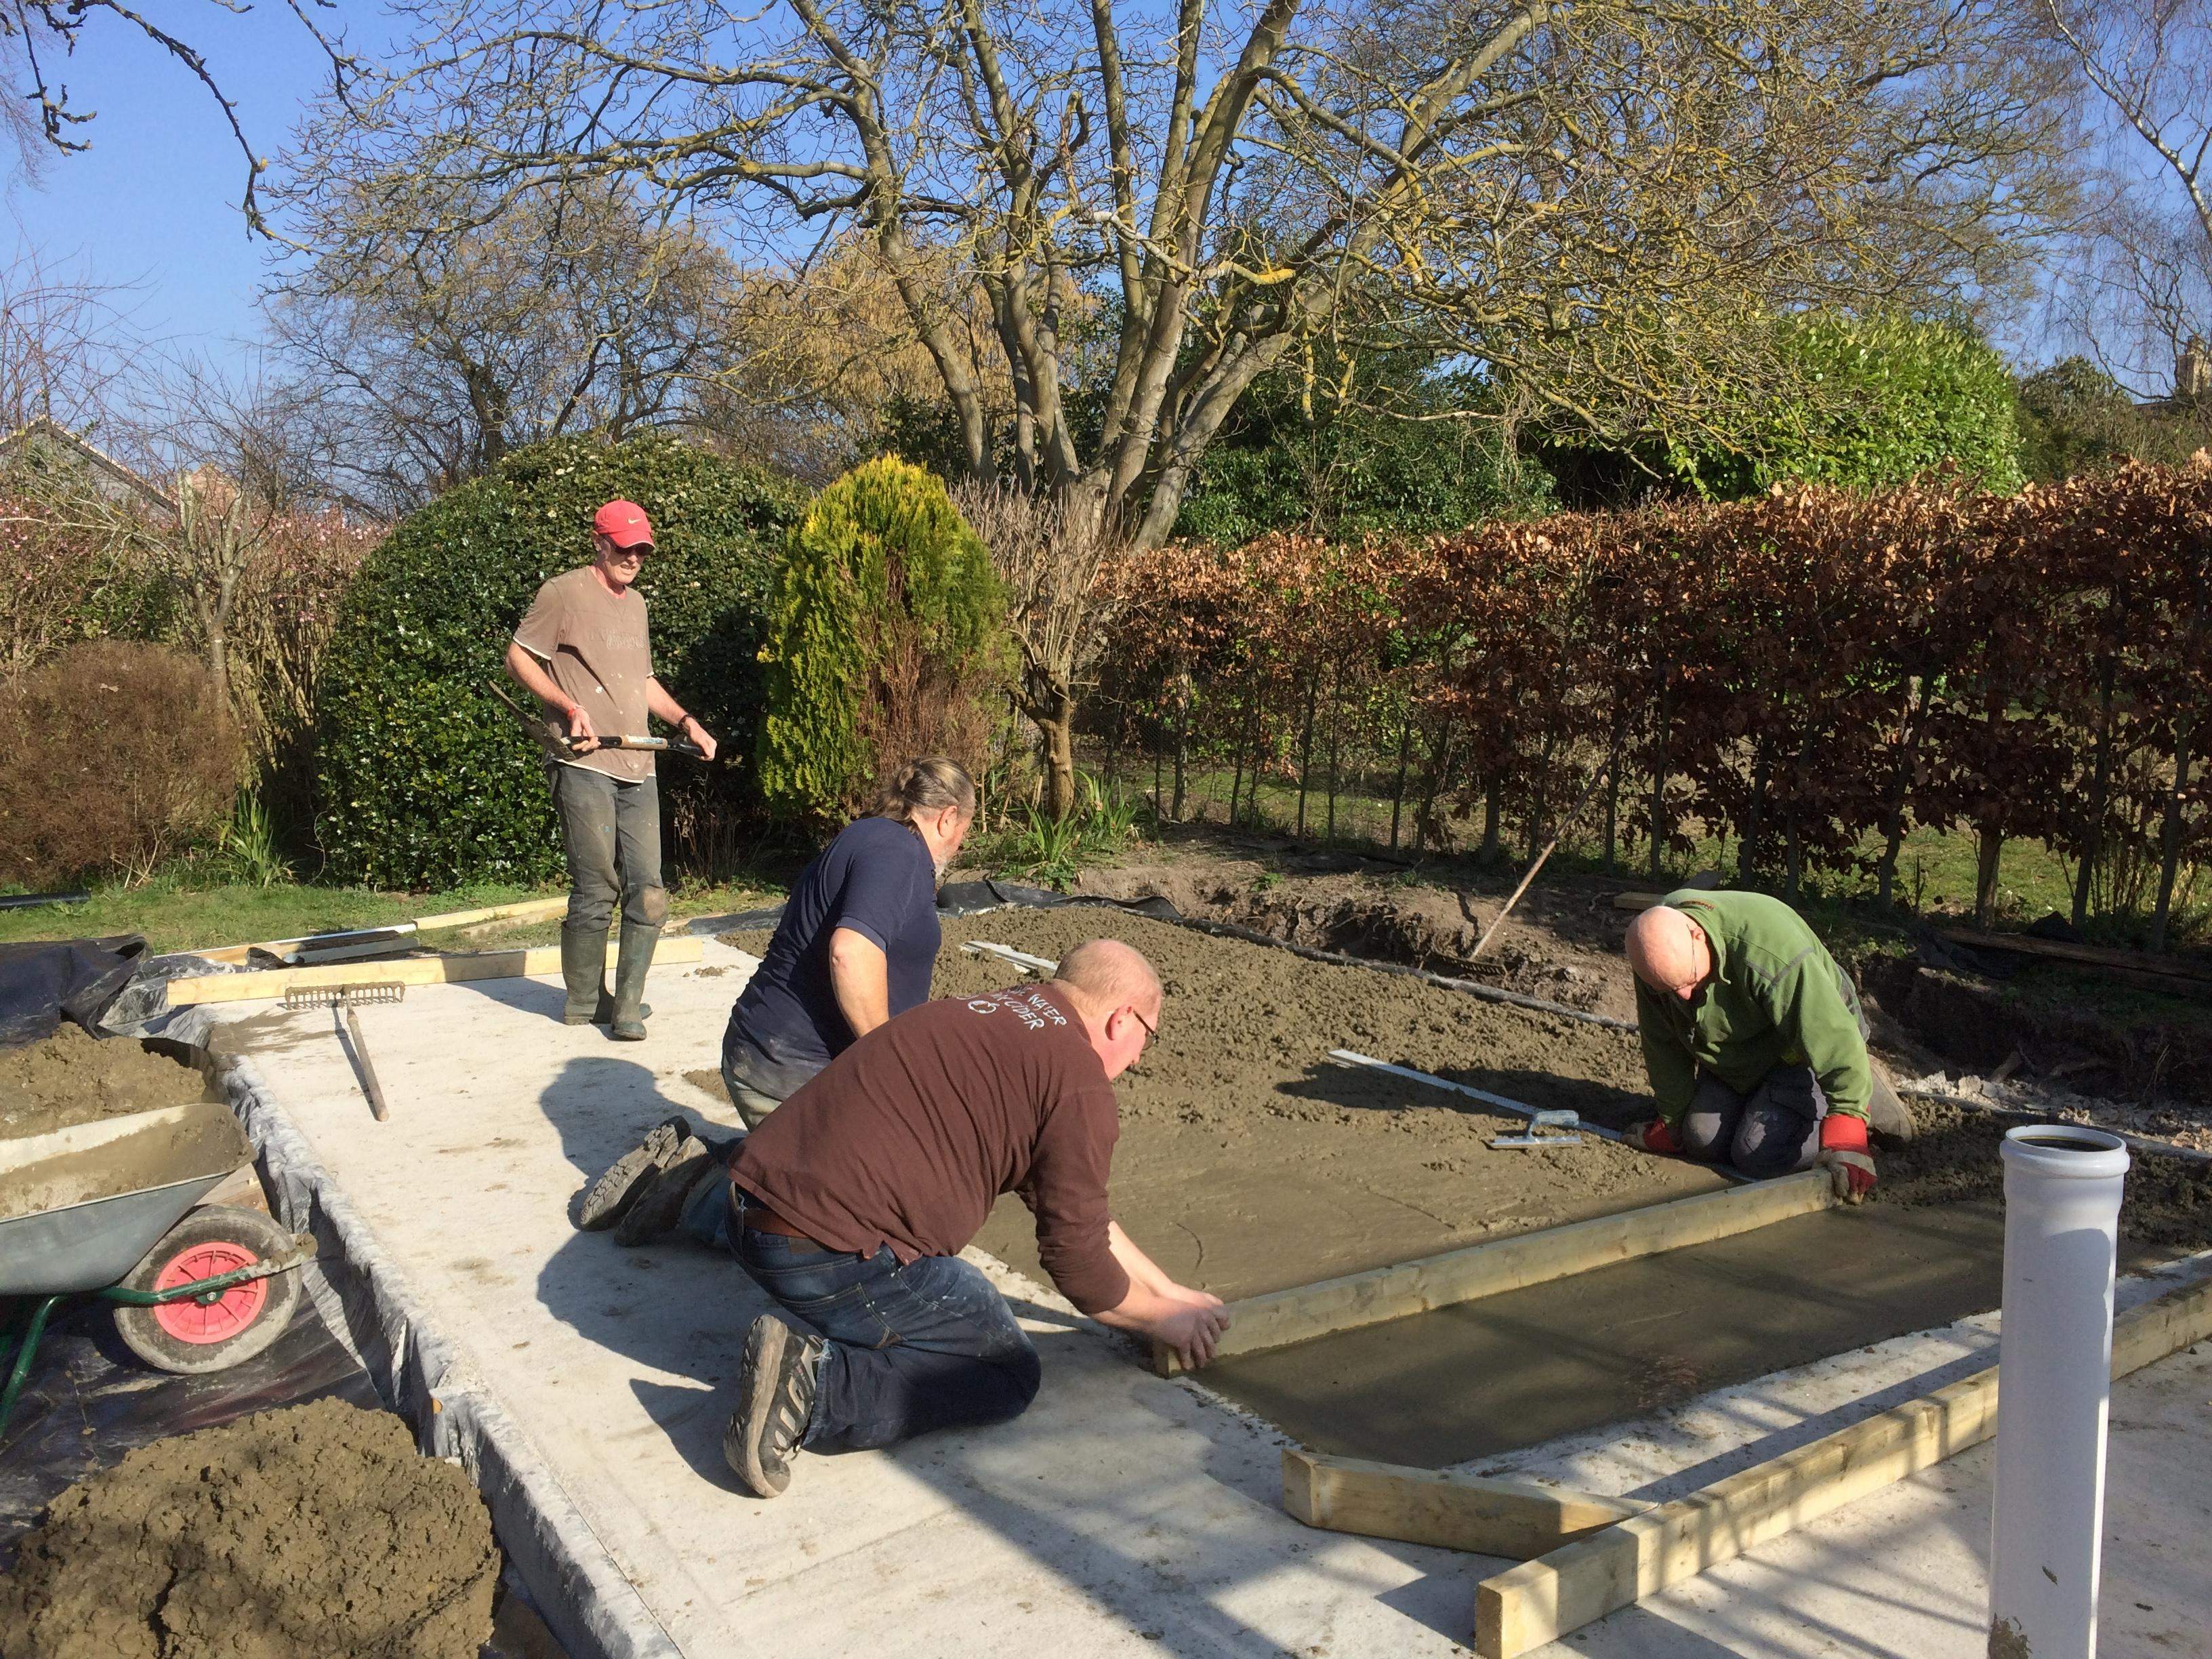
The concrete was smoothed always working from the level higher sections towards the trench drains.  Paul regretted this later when the lime from the concrete burnt into his knees. Very painful!

Base complete

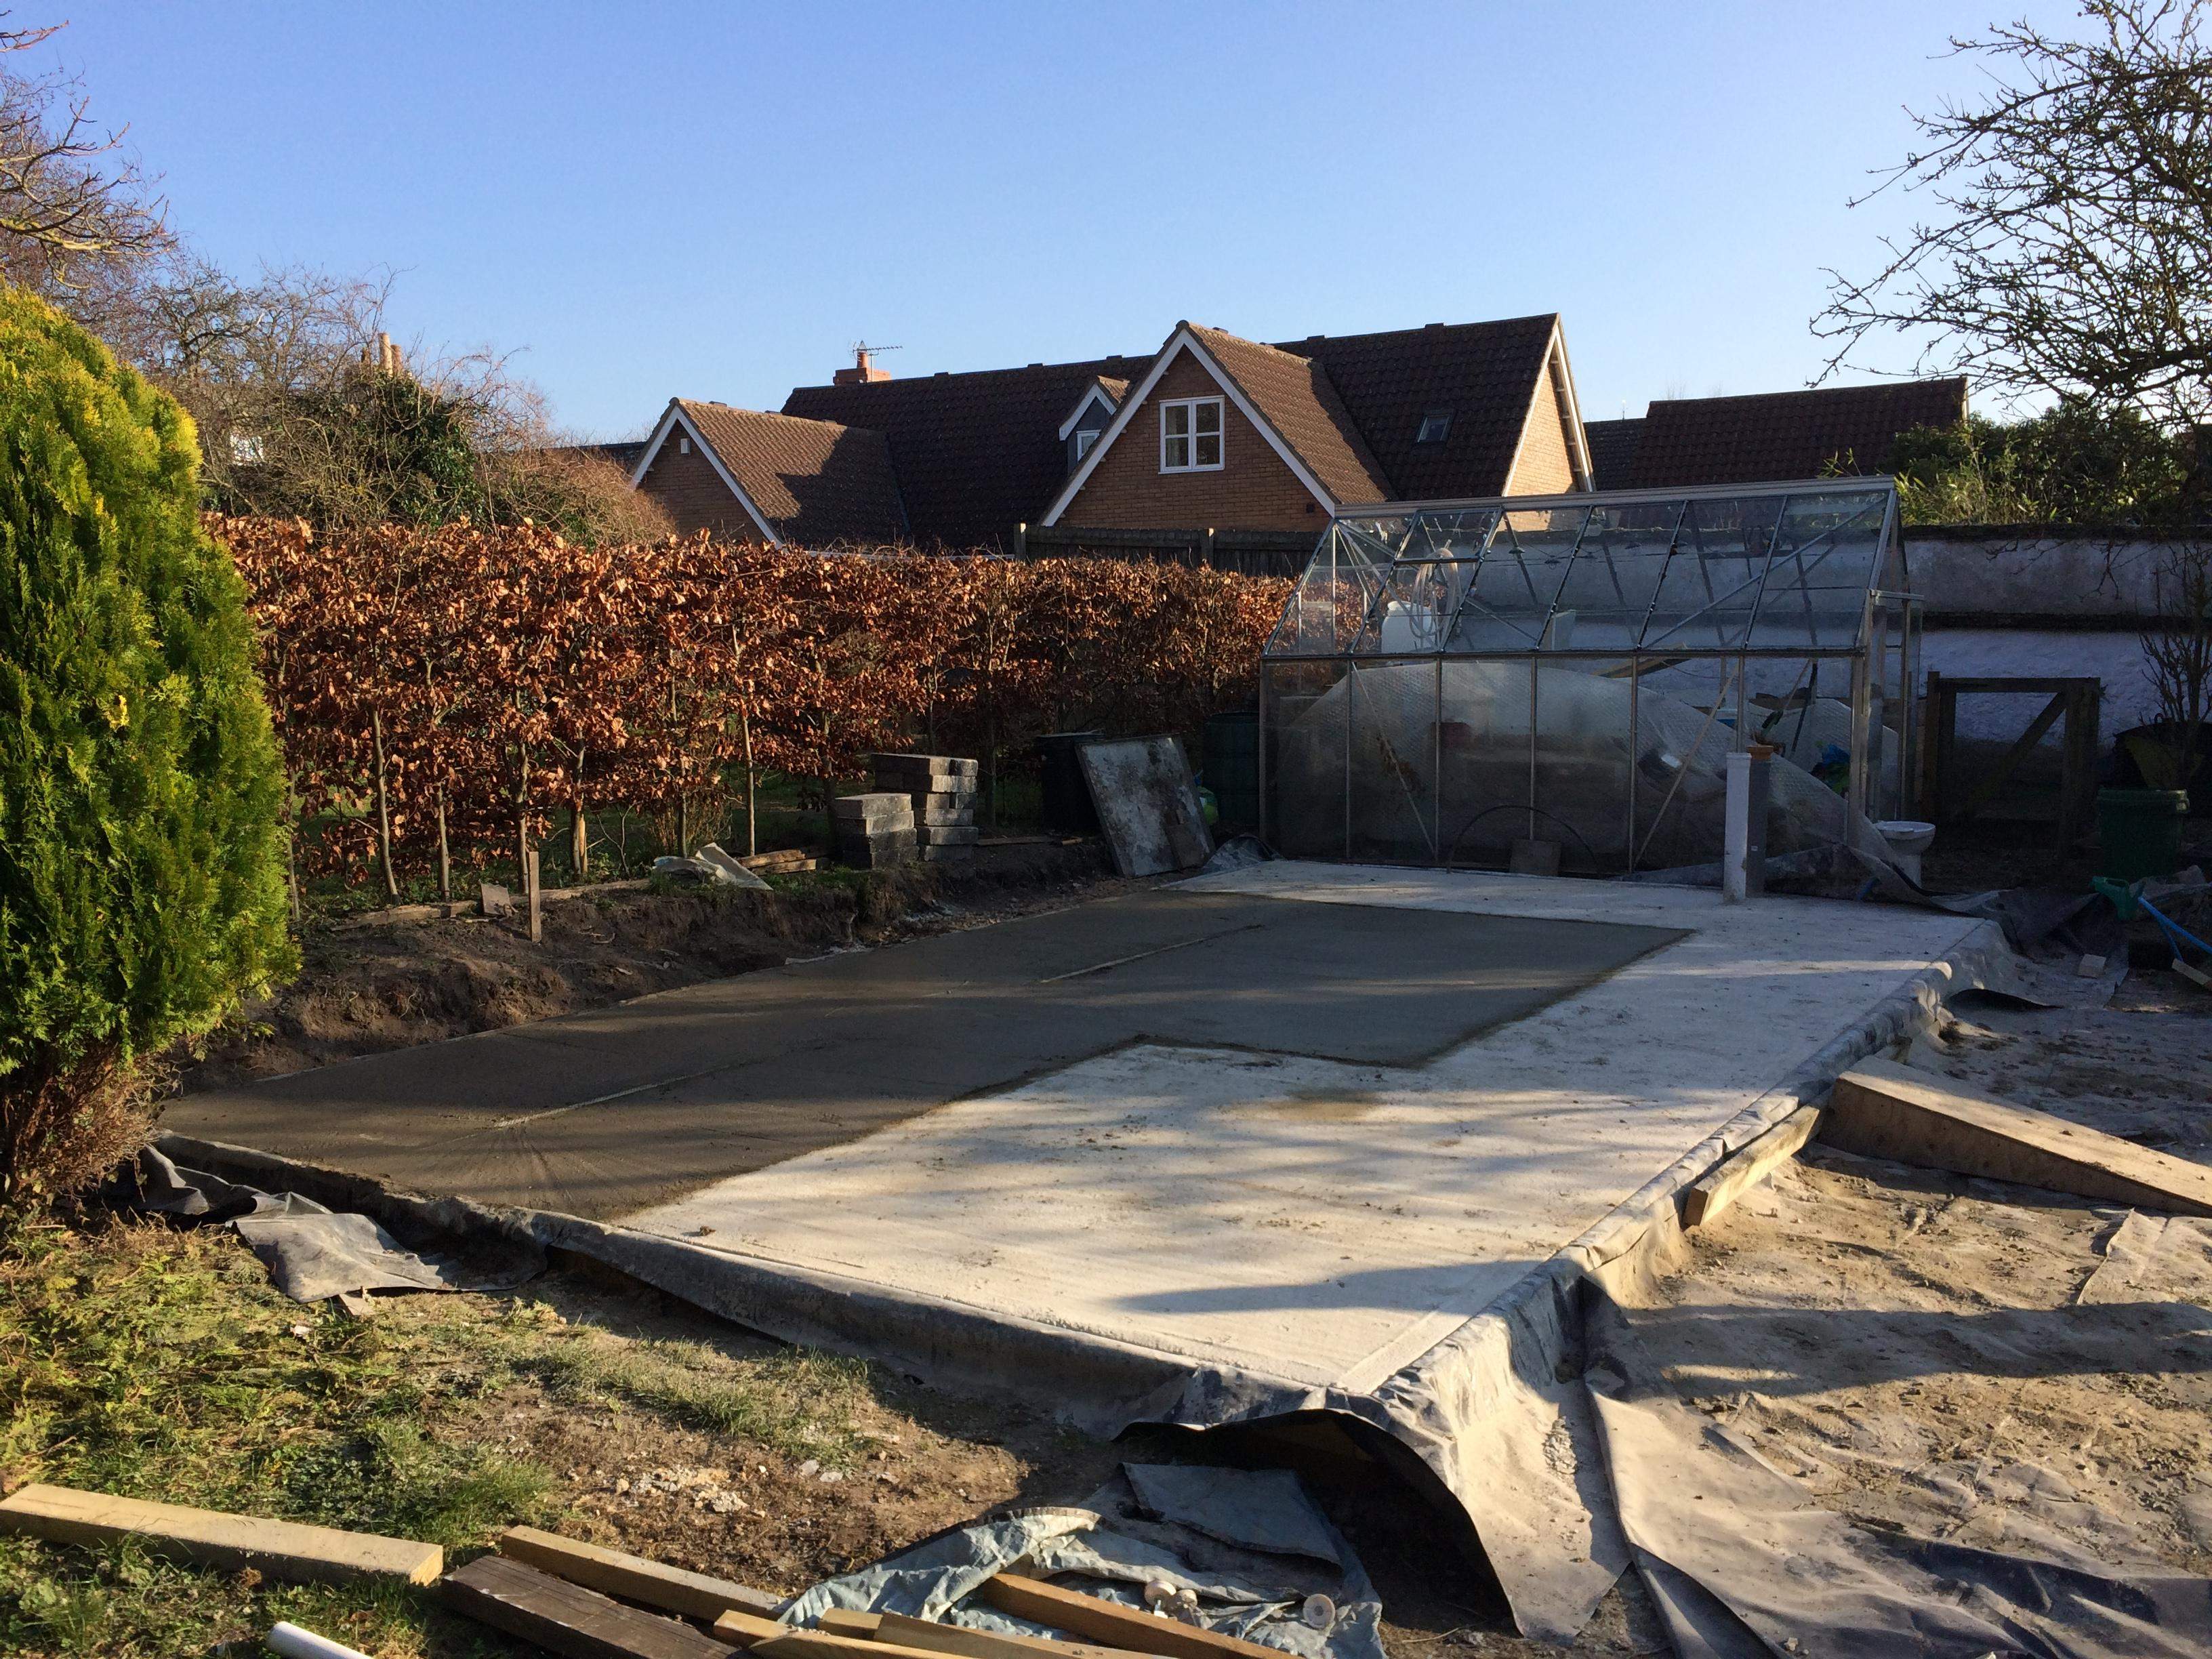
The completed base with sloping floors in the brewhouse and conditioning room.

The Building

In Spring 2019 we started work on the building itself. It is a timber framed structure with a flat mono pitched warm roof. The walls are insulated with 4" celotex.

Layout

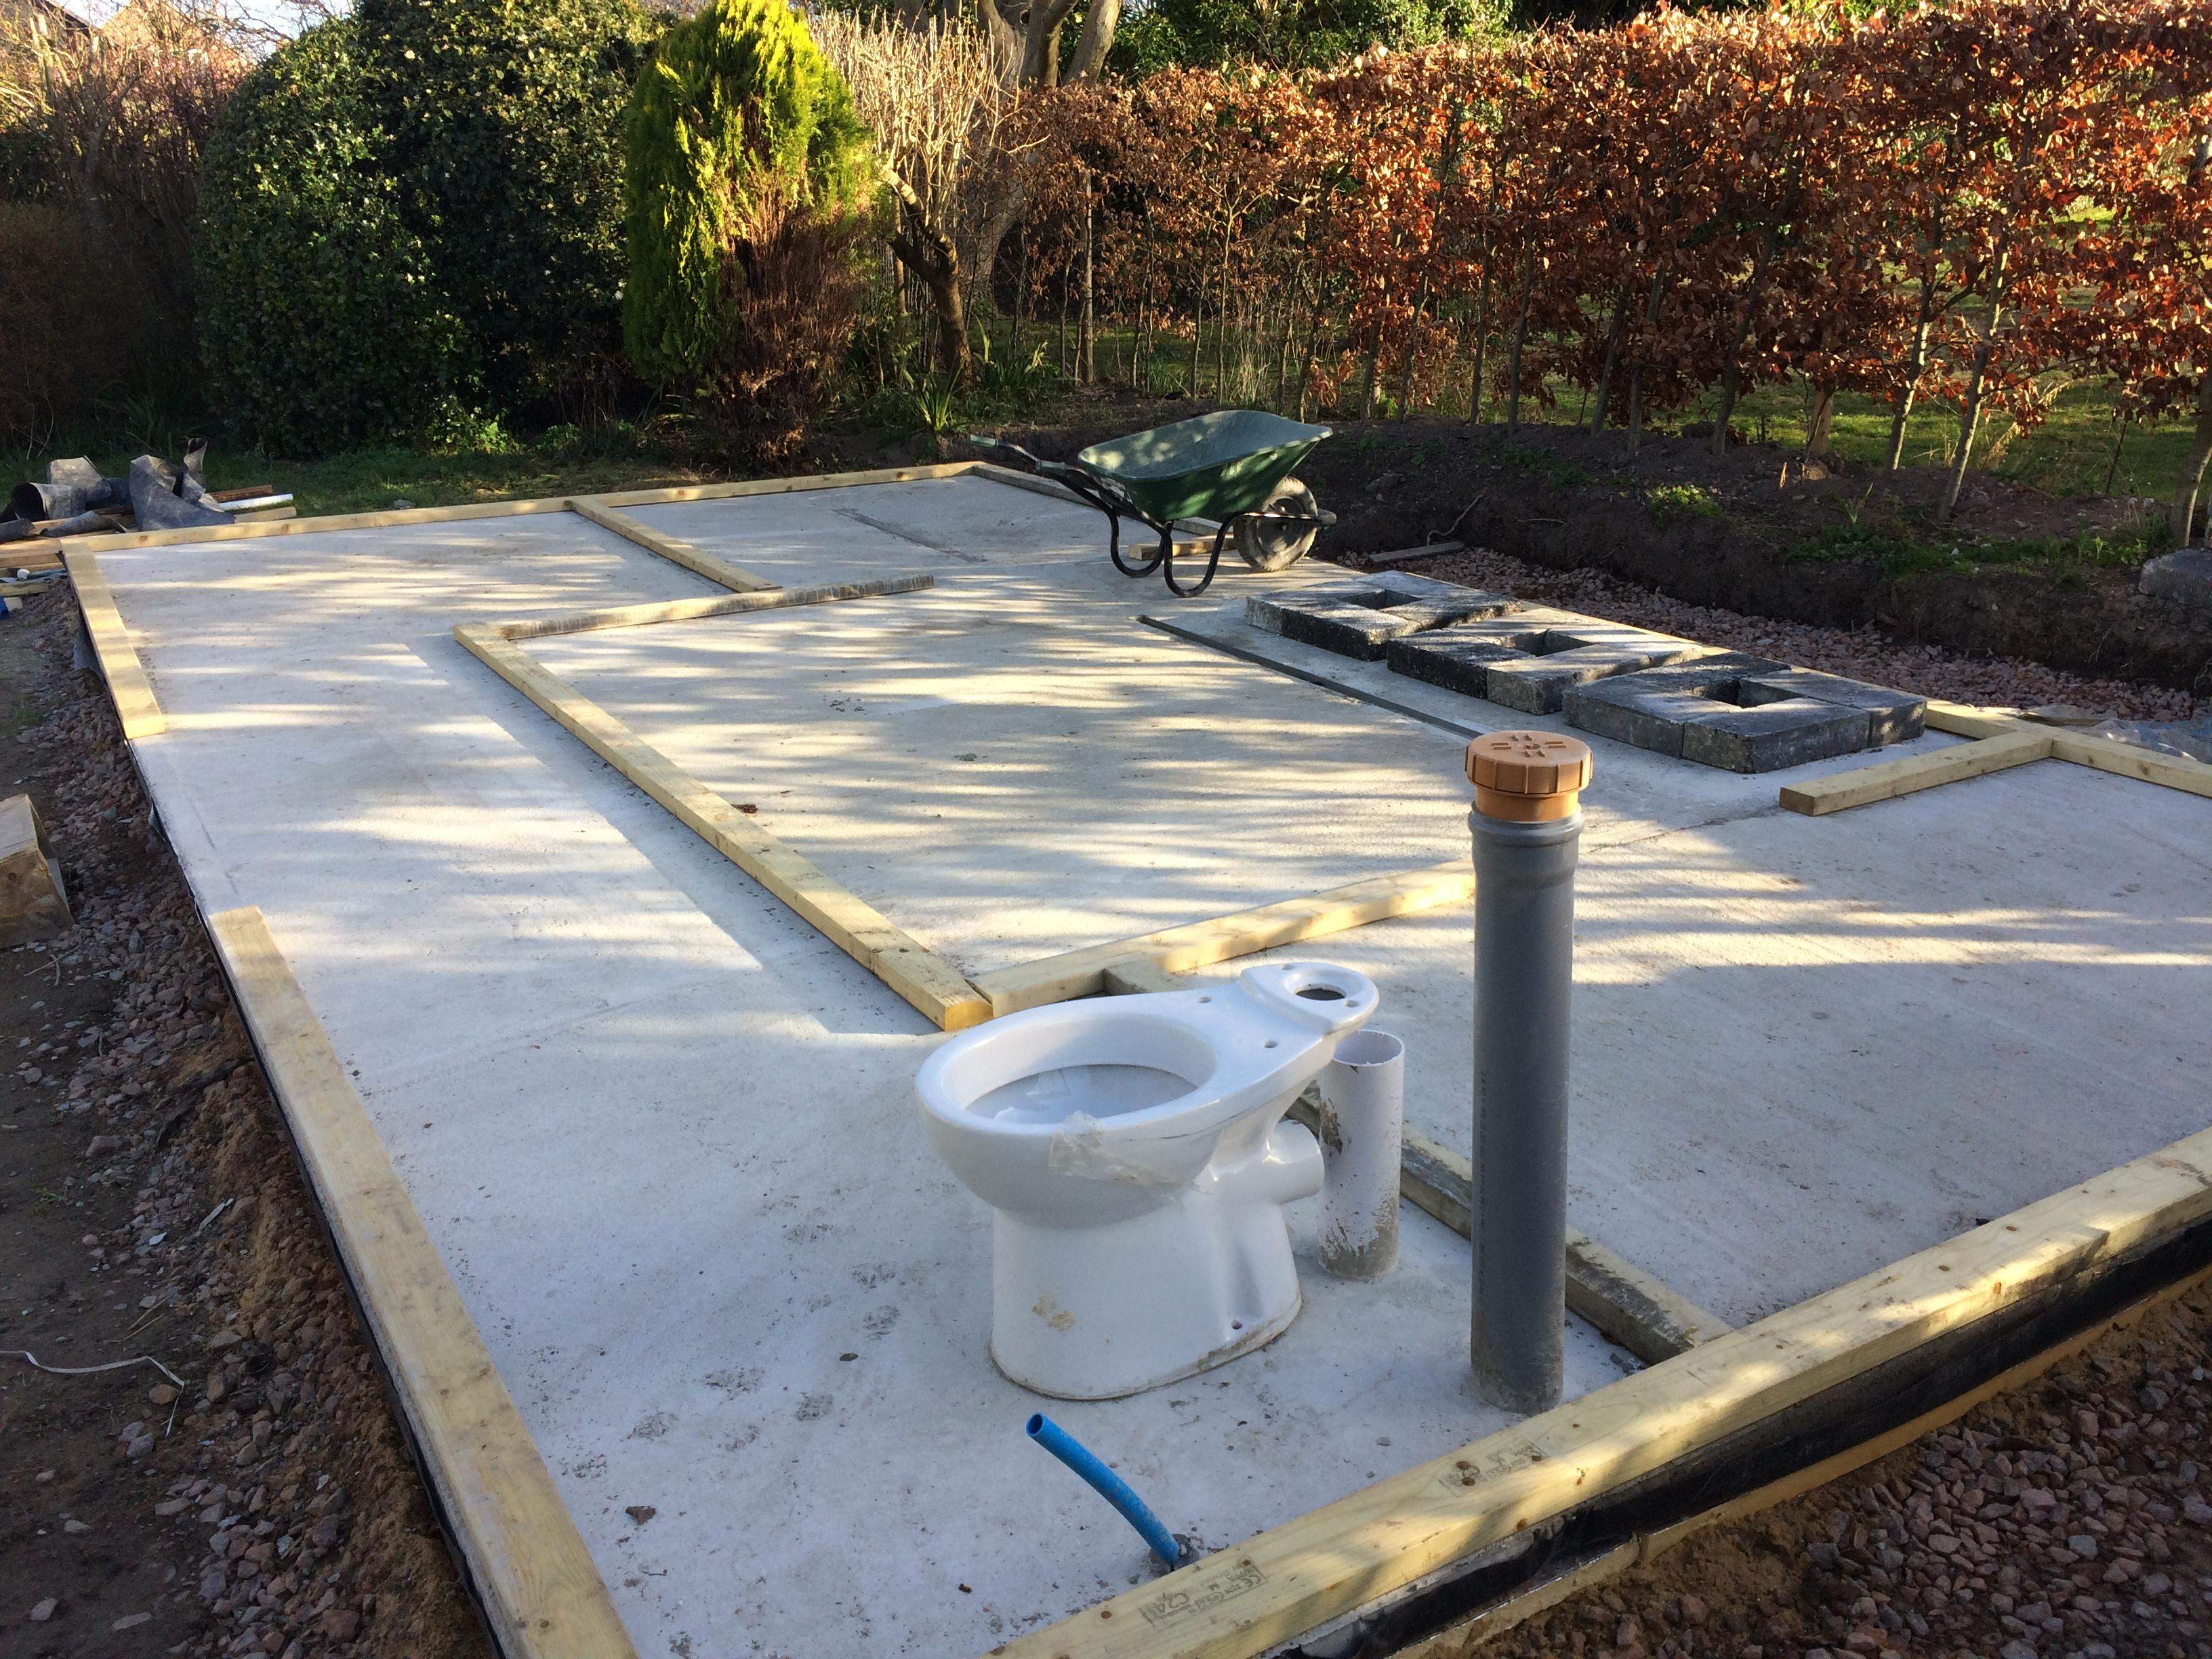
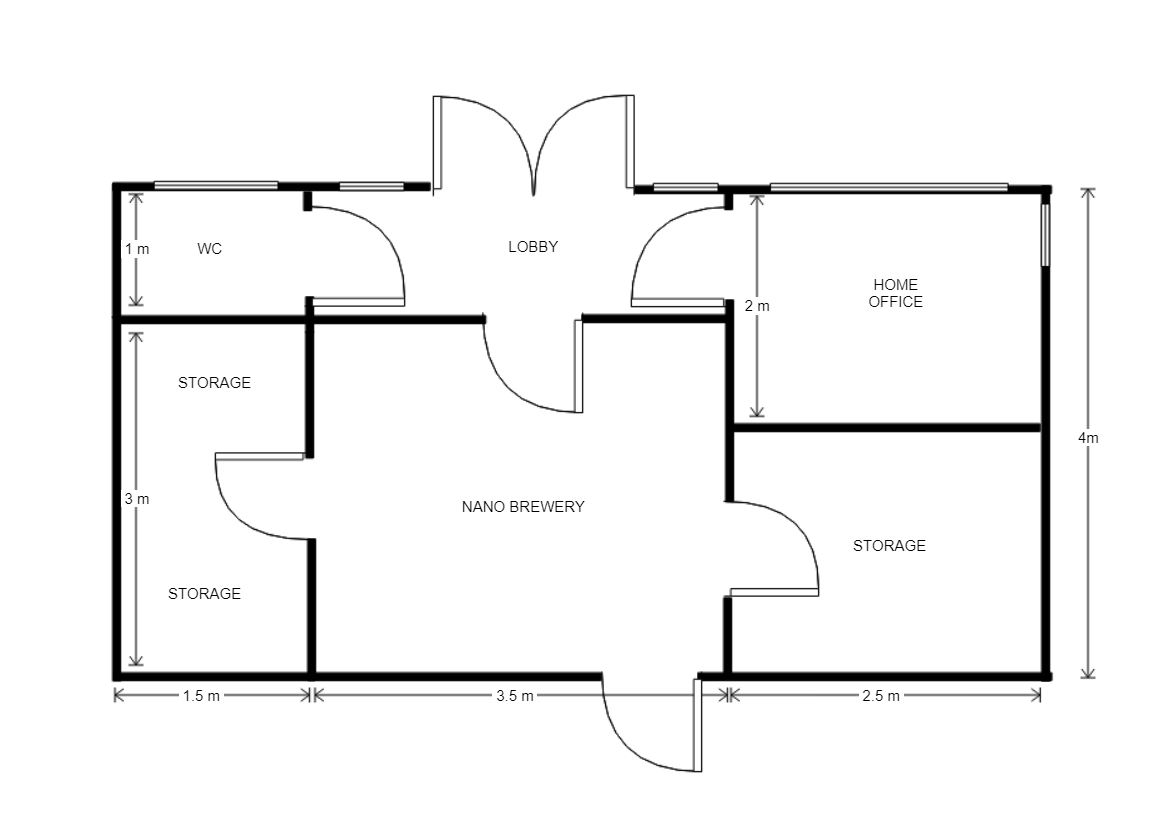
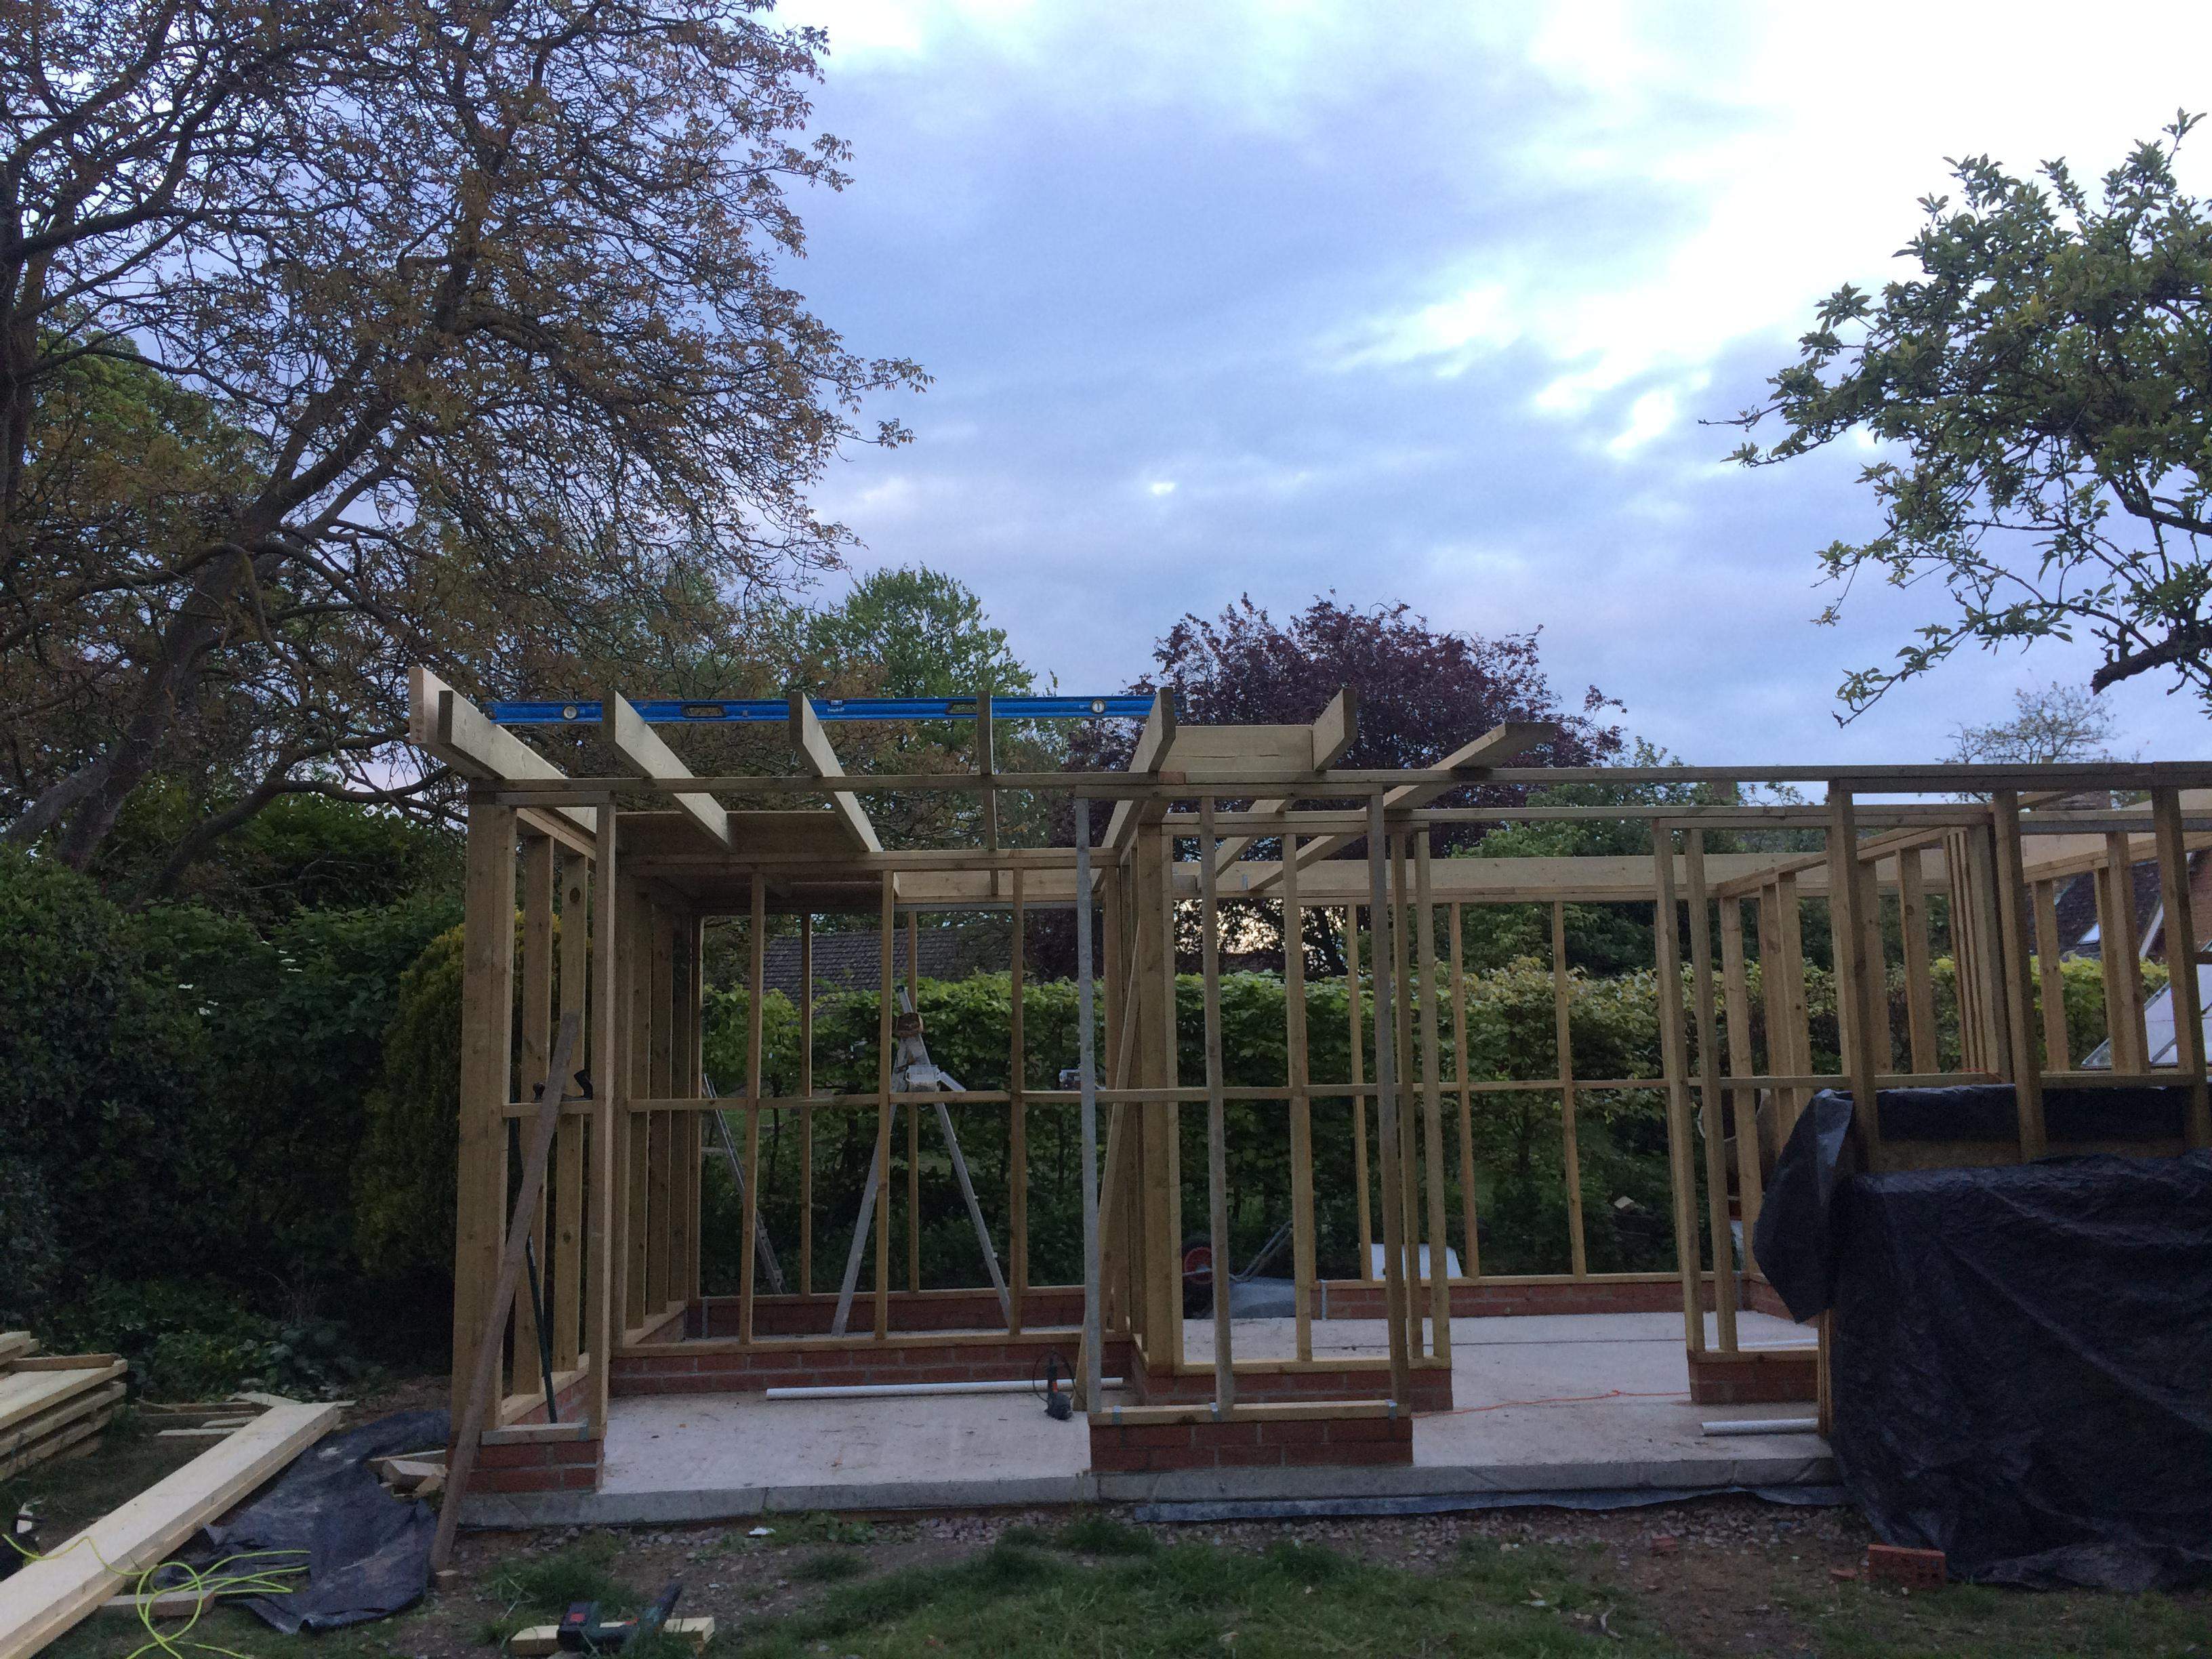
The layout of the internal walls was tested along with the location of the main brewhouse equipment to ensure room sizes were correct.

In the foreground you can see the mains water pipe entering the building, the foul water stub stack and connection pipe for the toilet.

Brick course

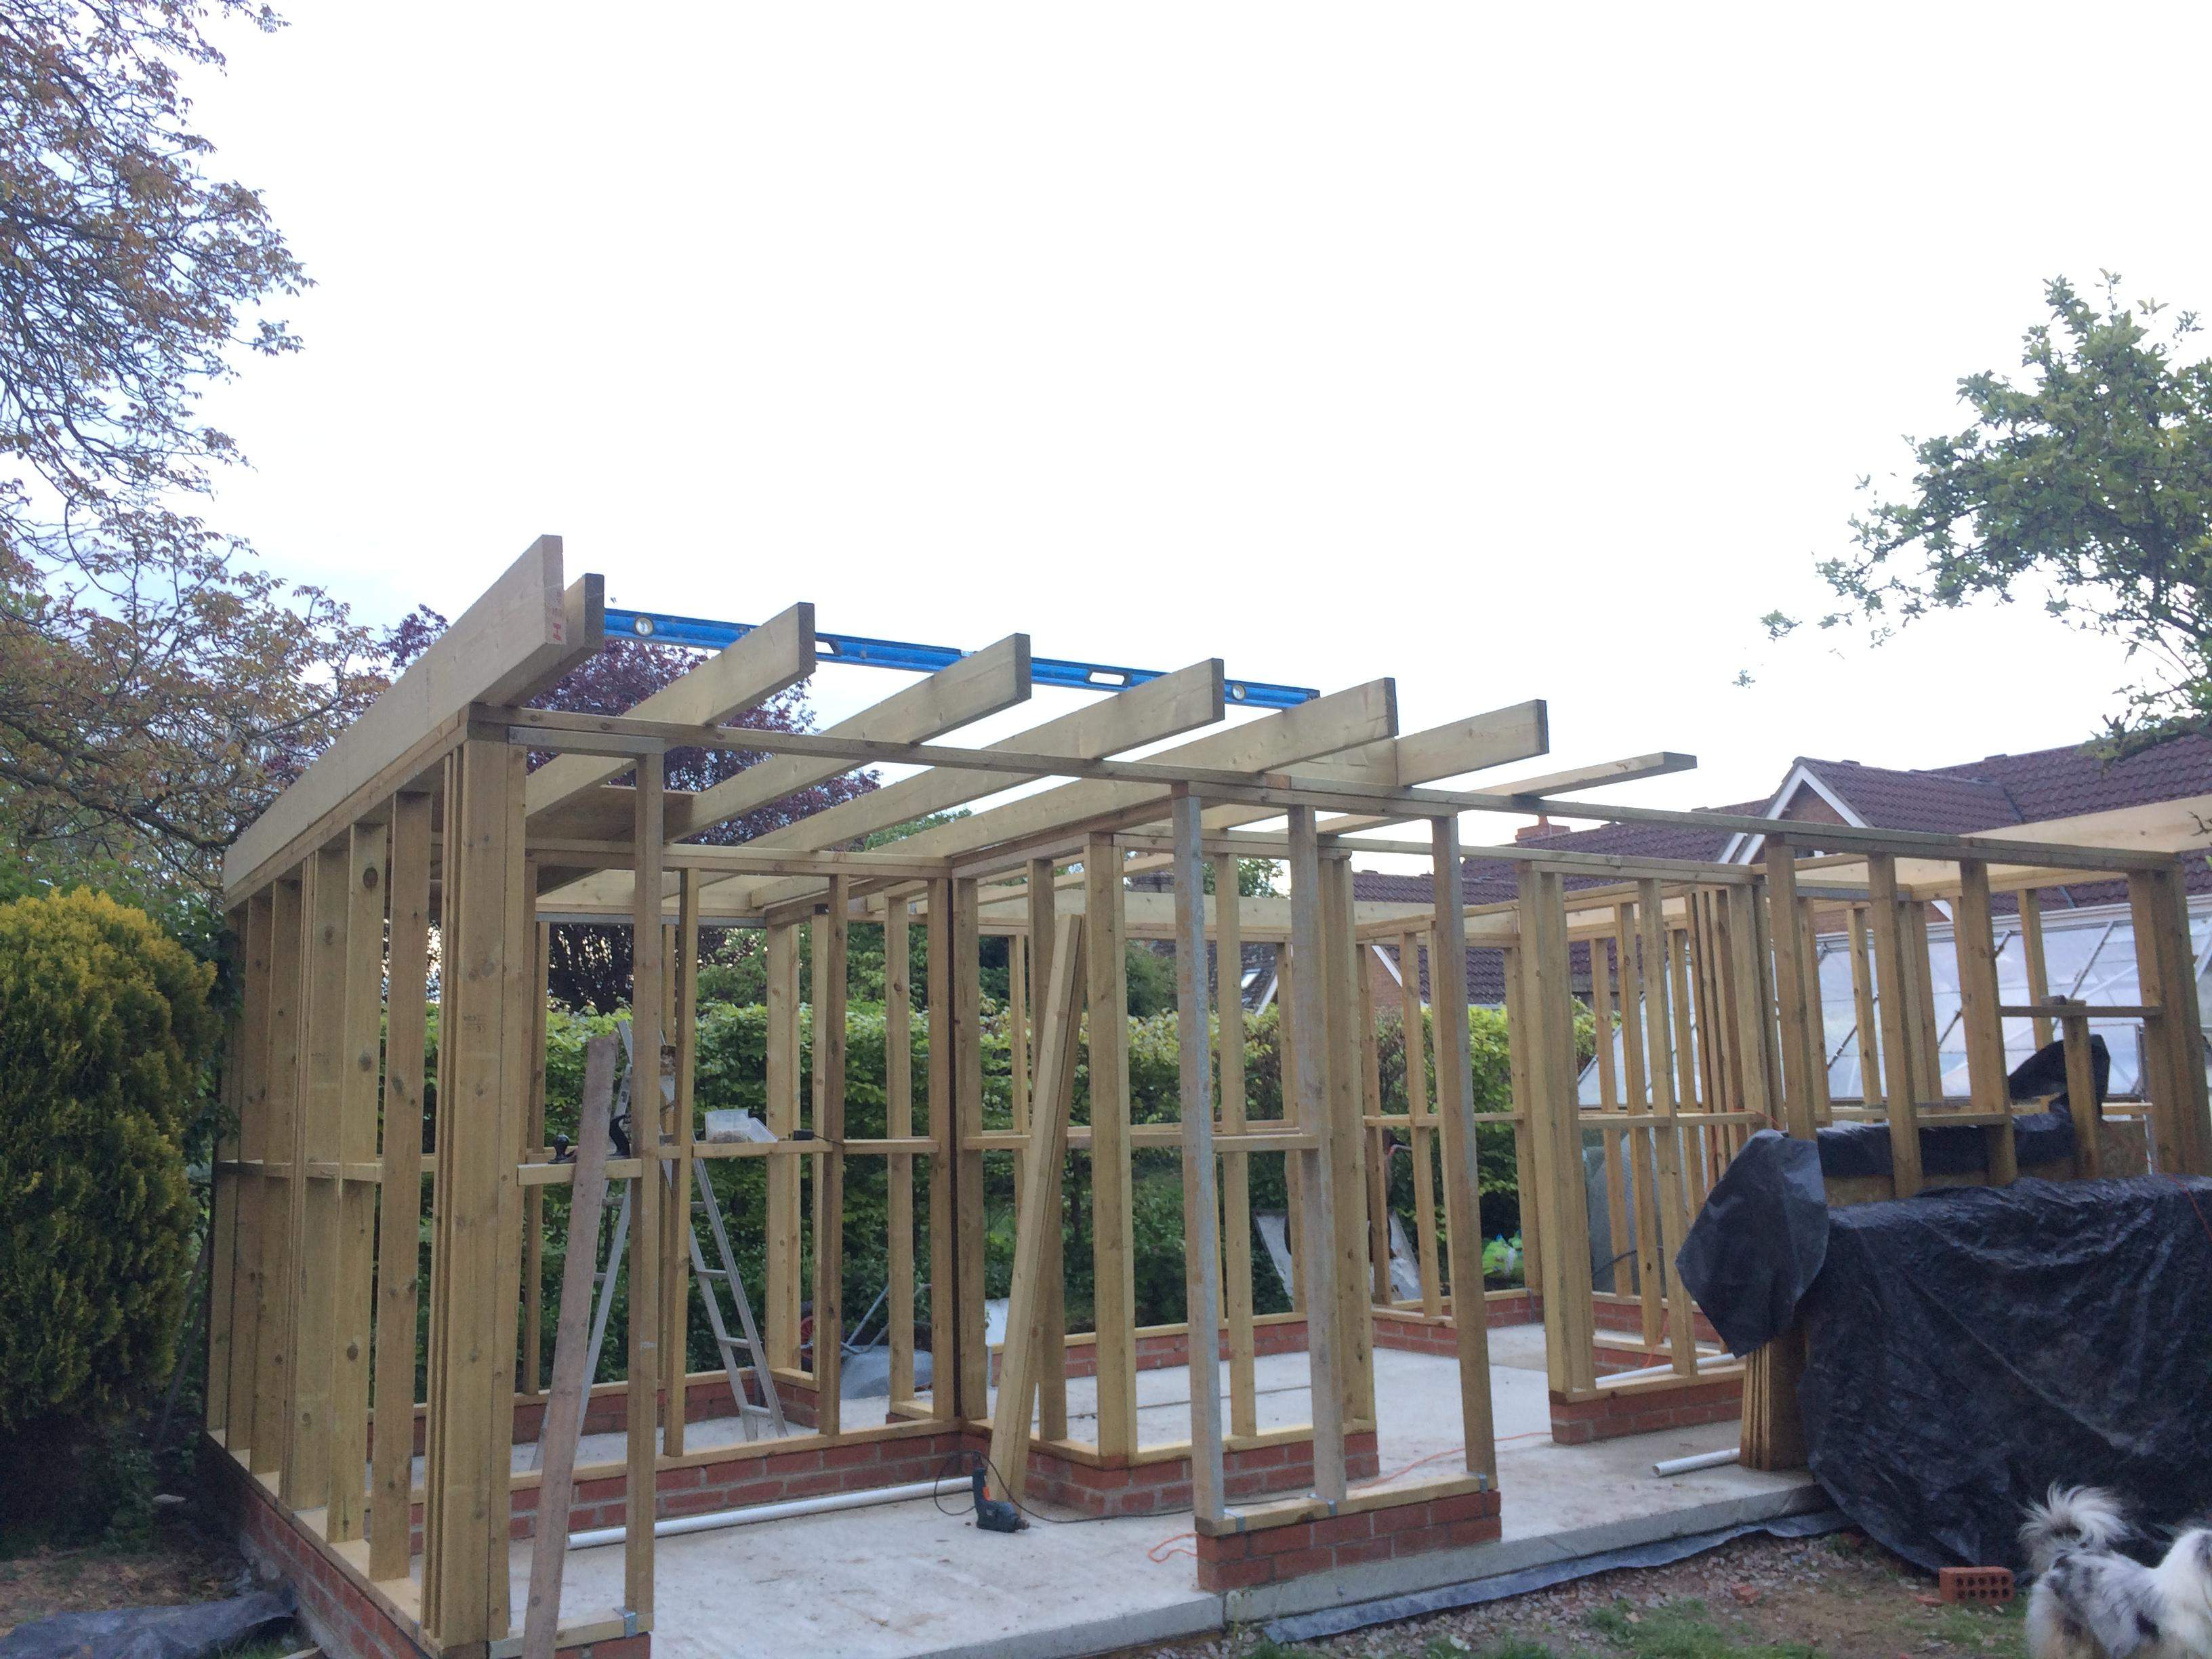
In order to ensure the frame would not get wet when the floors were sprayed and vessels emptied I built a brick course of engineering bricks. Never laid a brick in my life but then I was ticking off lots of firsts!

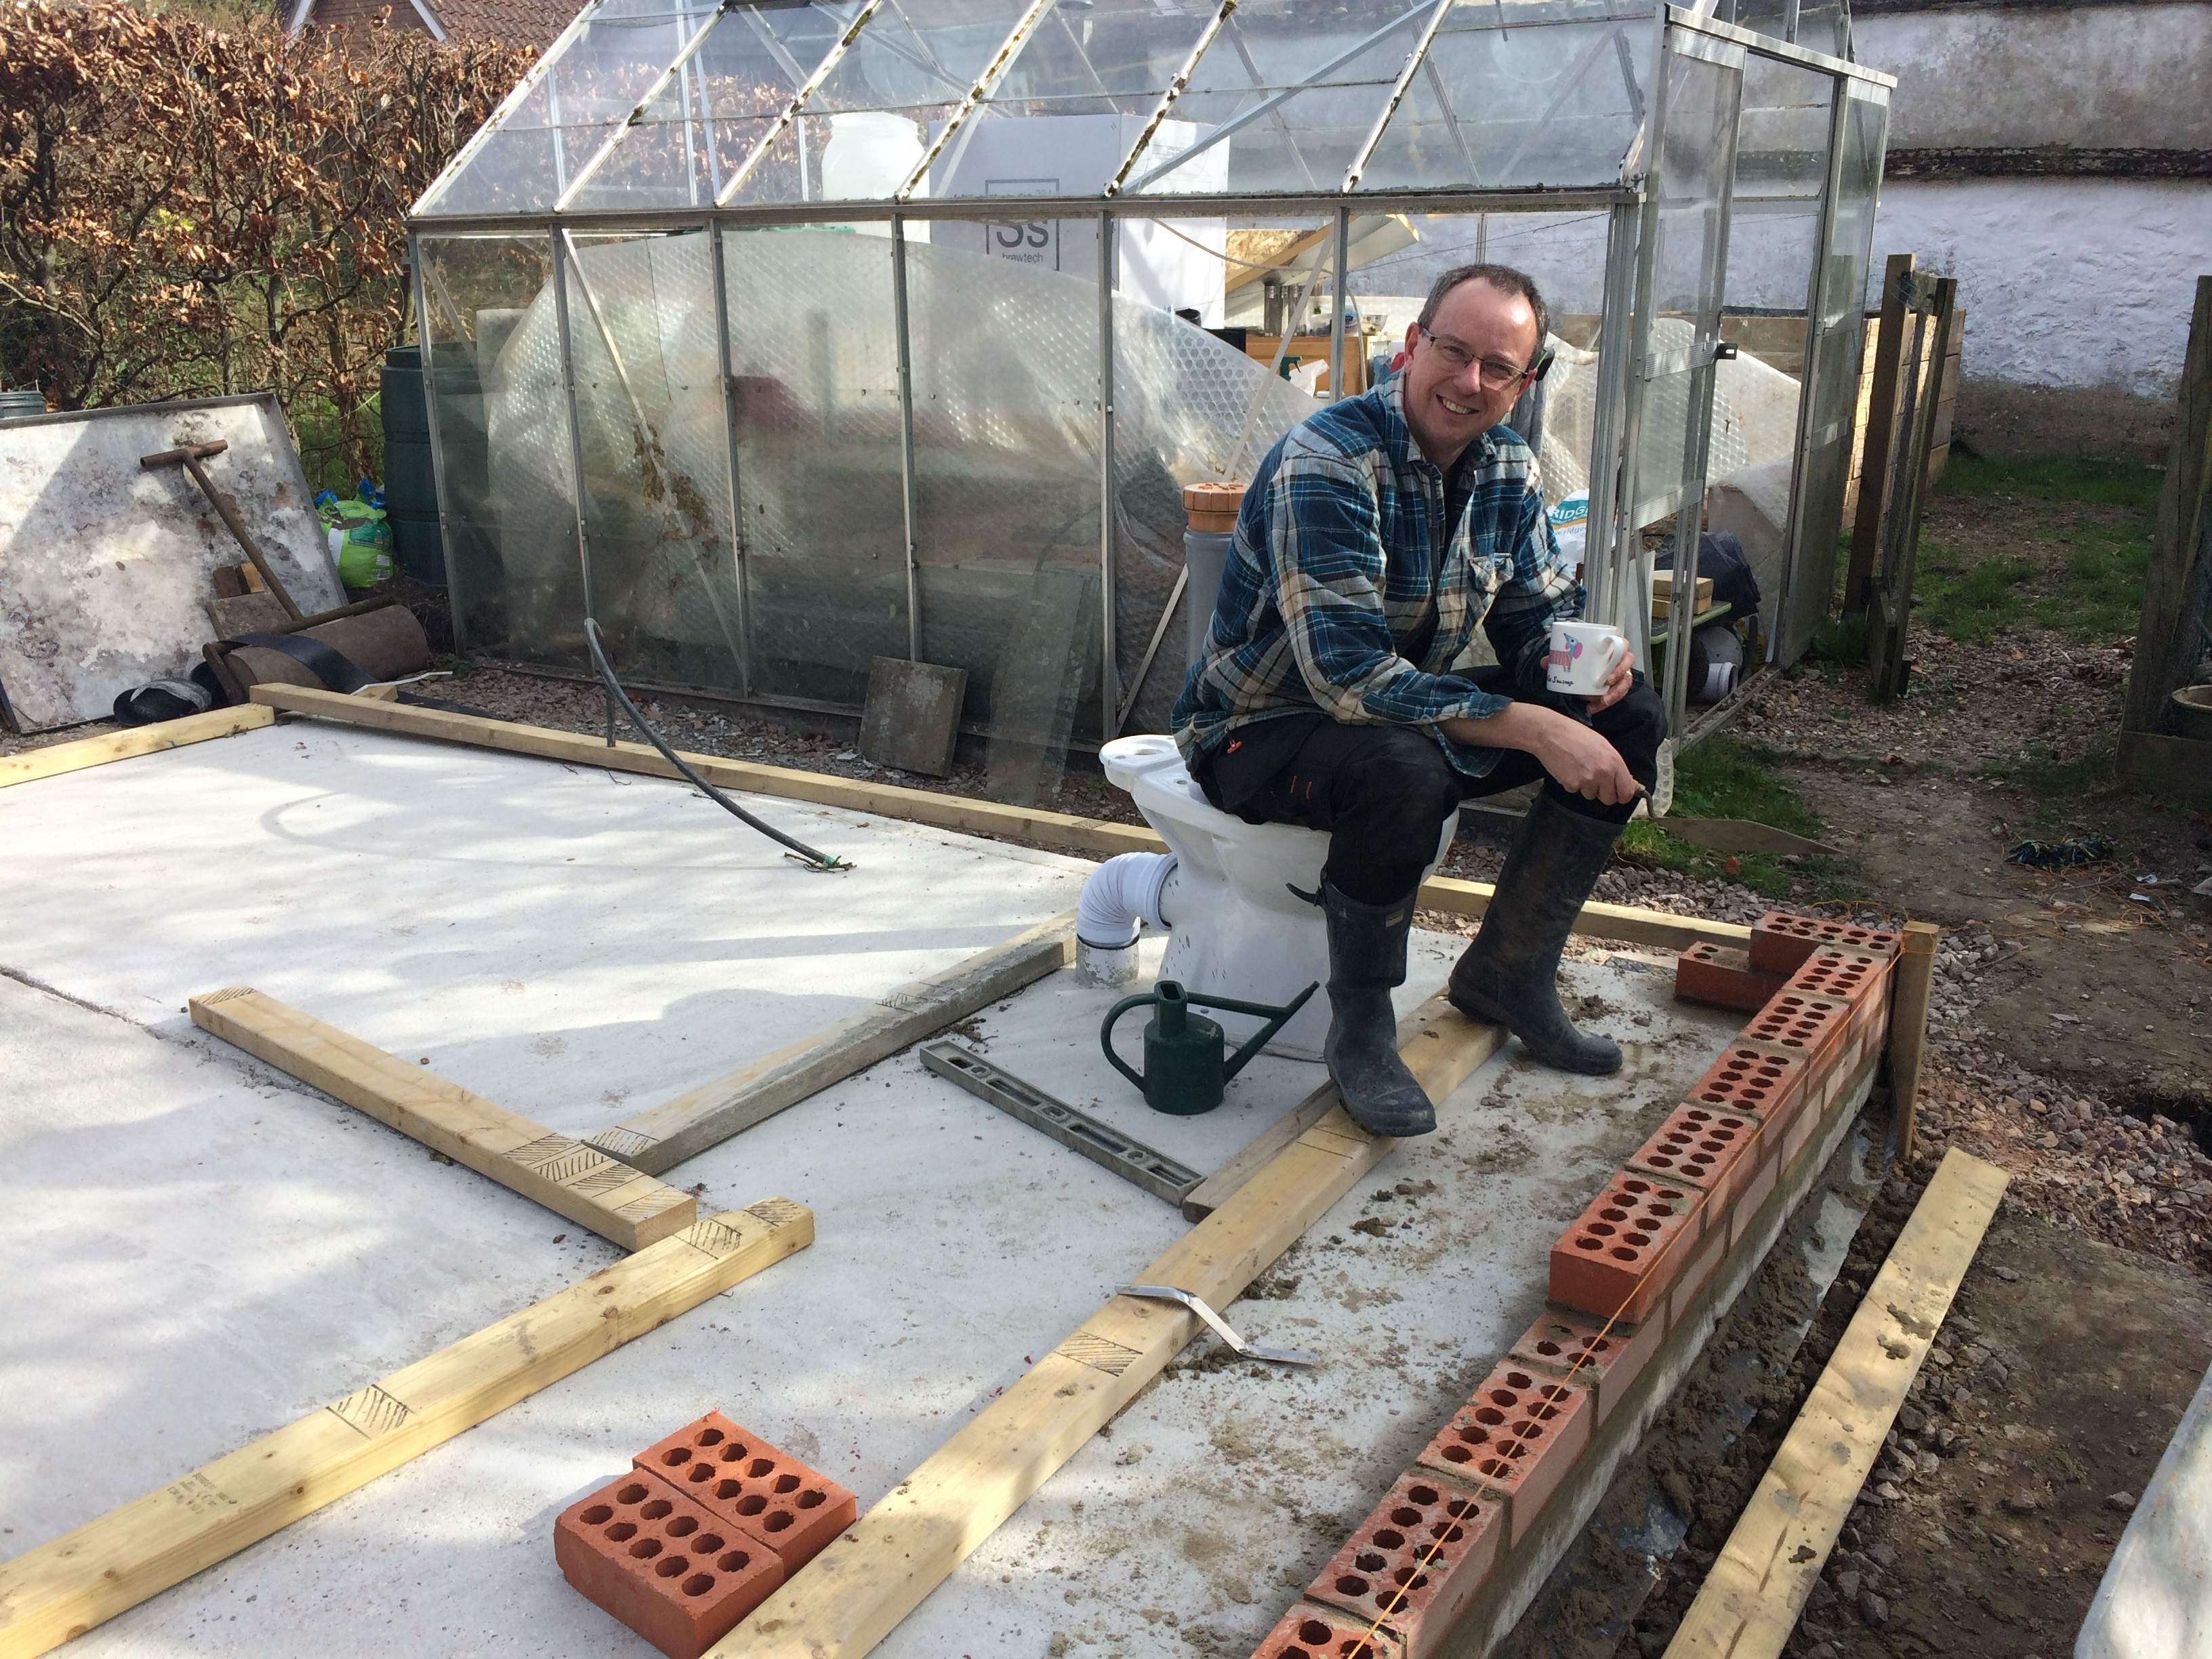
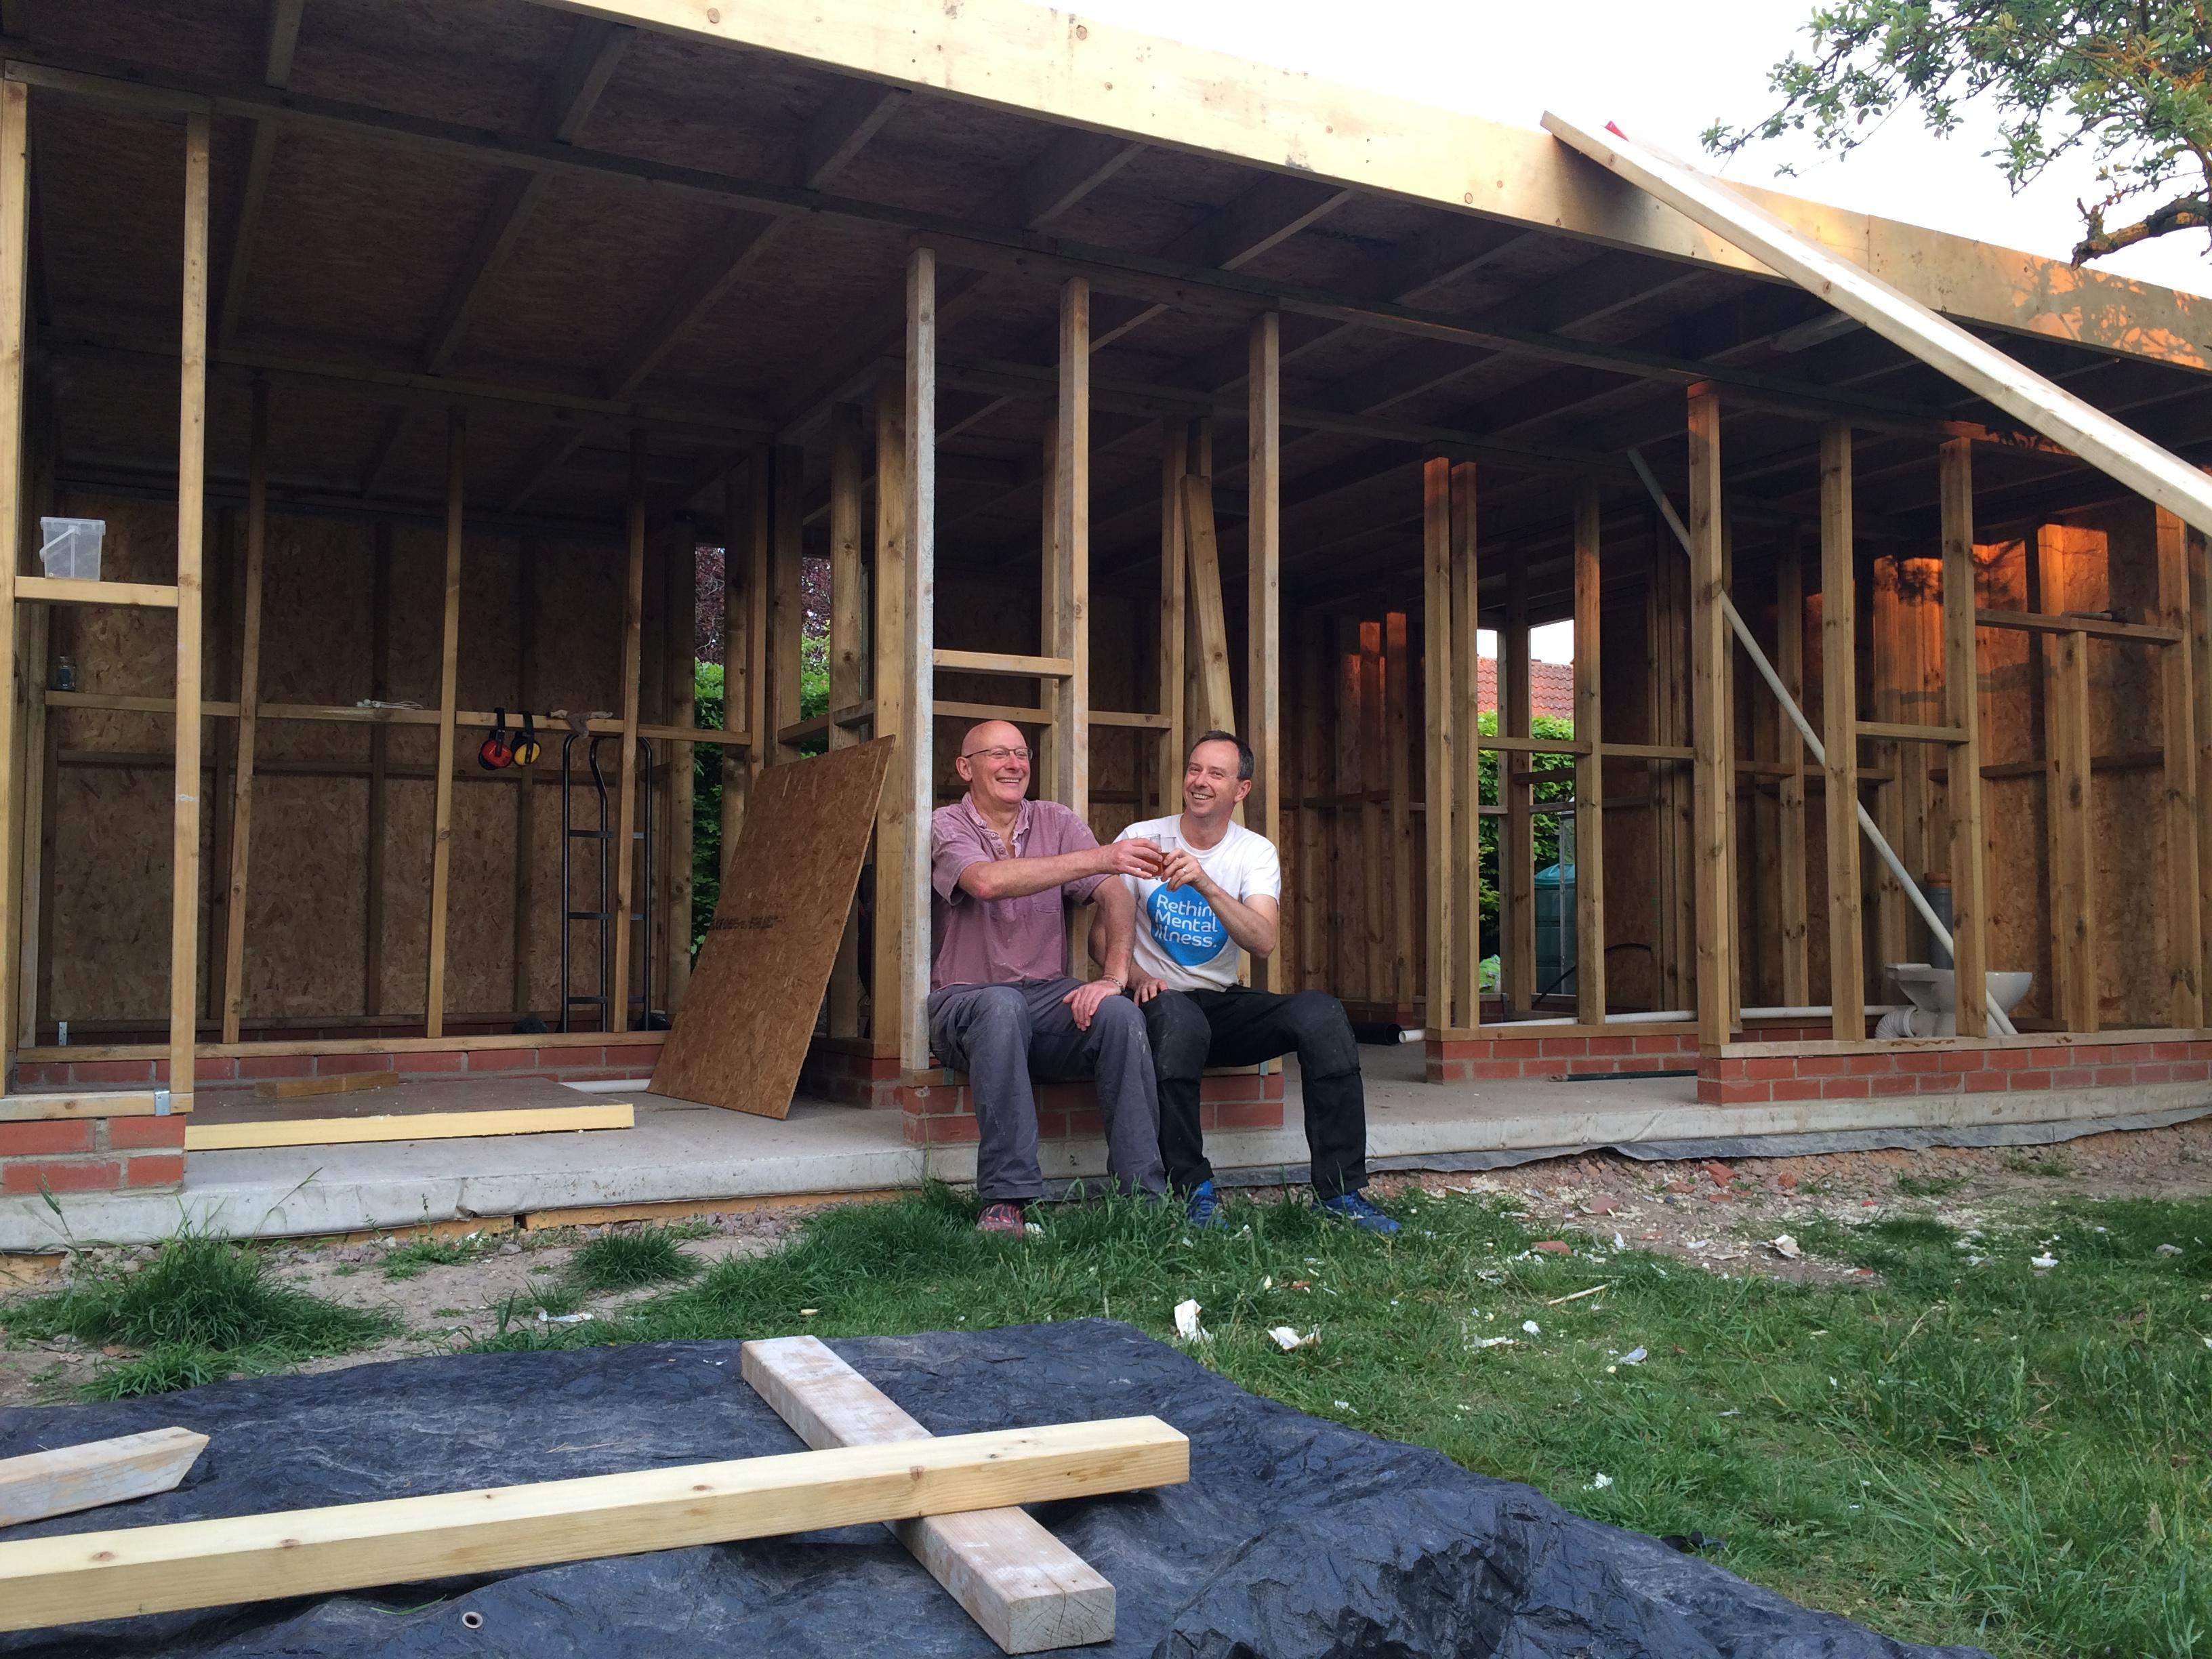
Here you can see me checking the position of the toilet...

Driller Killer

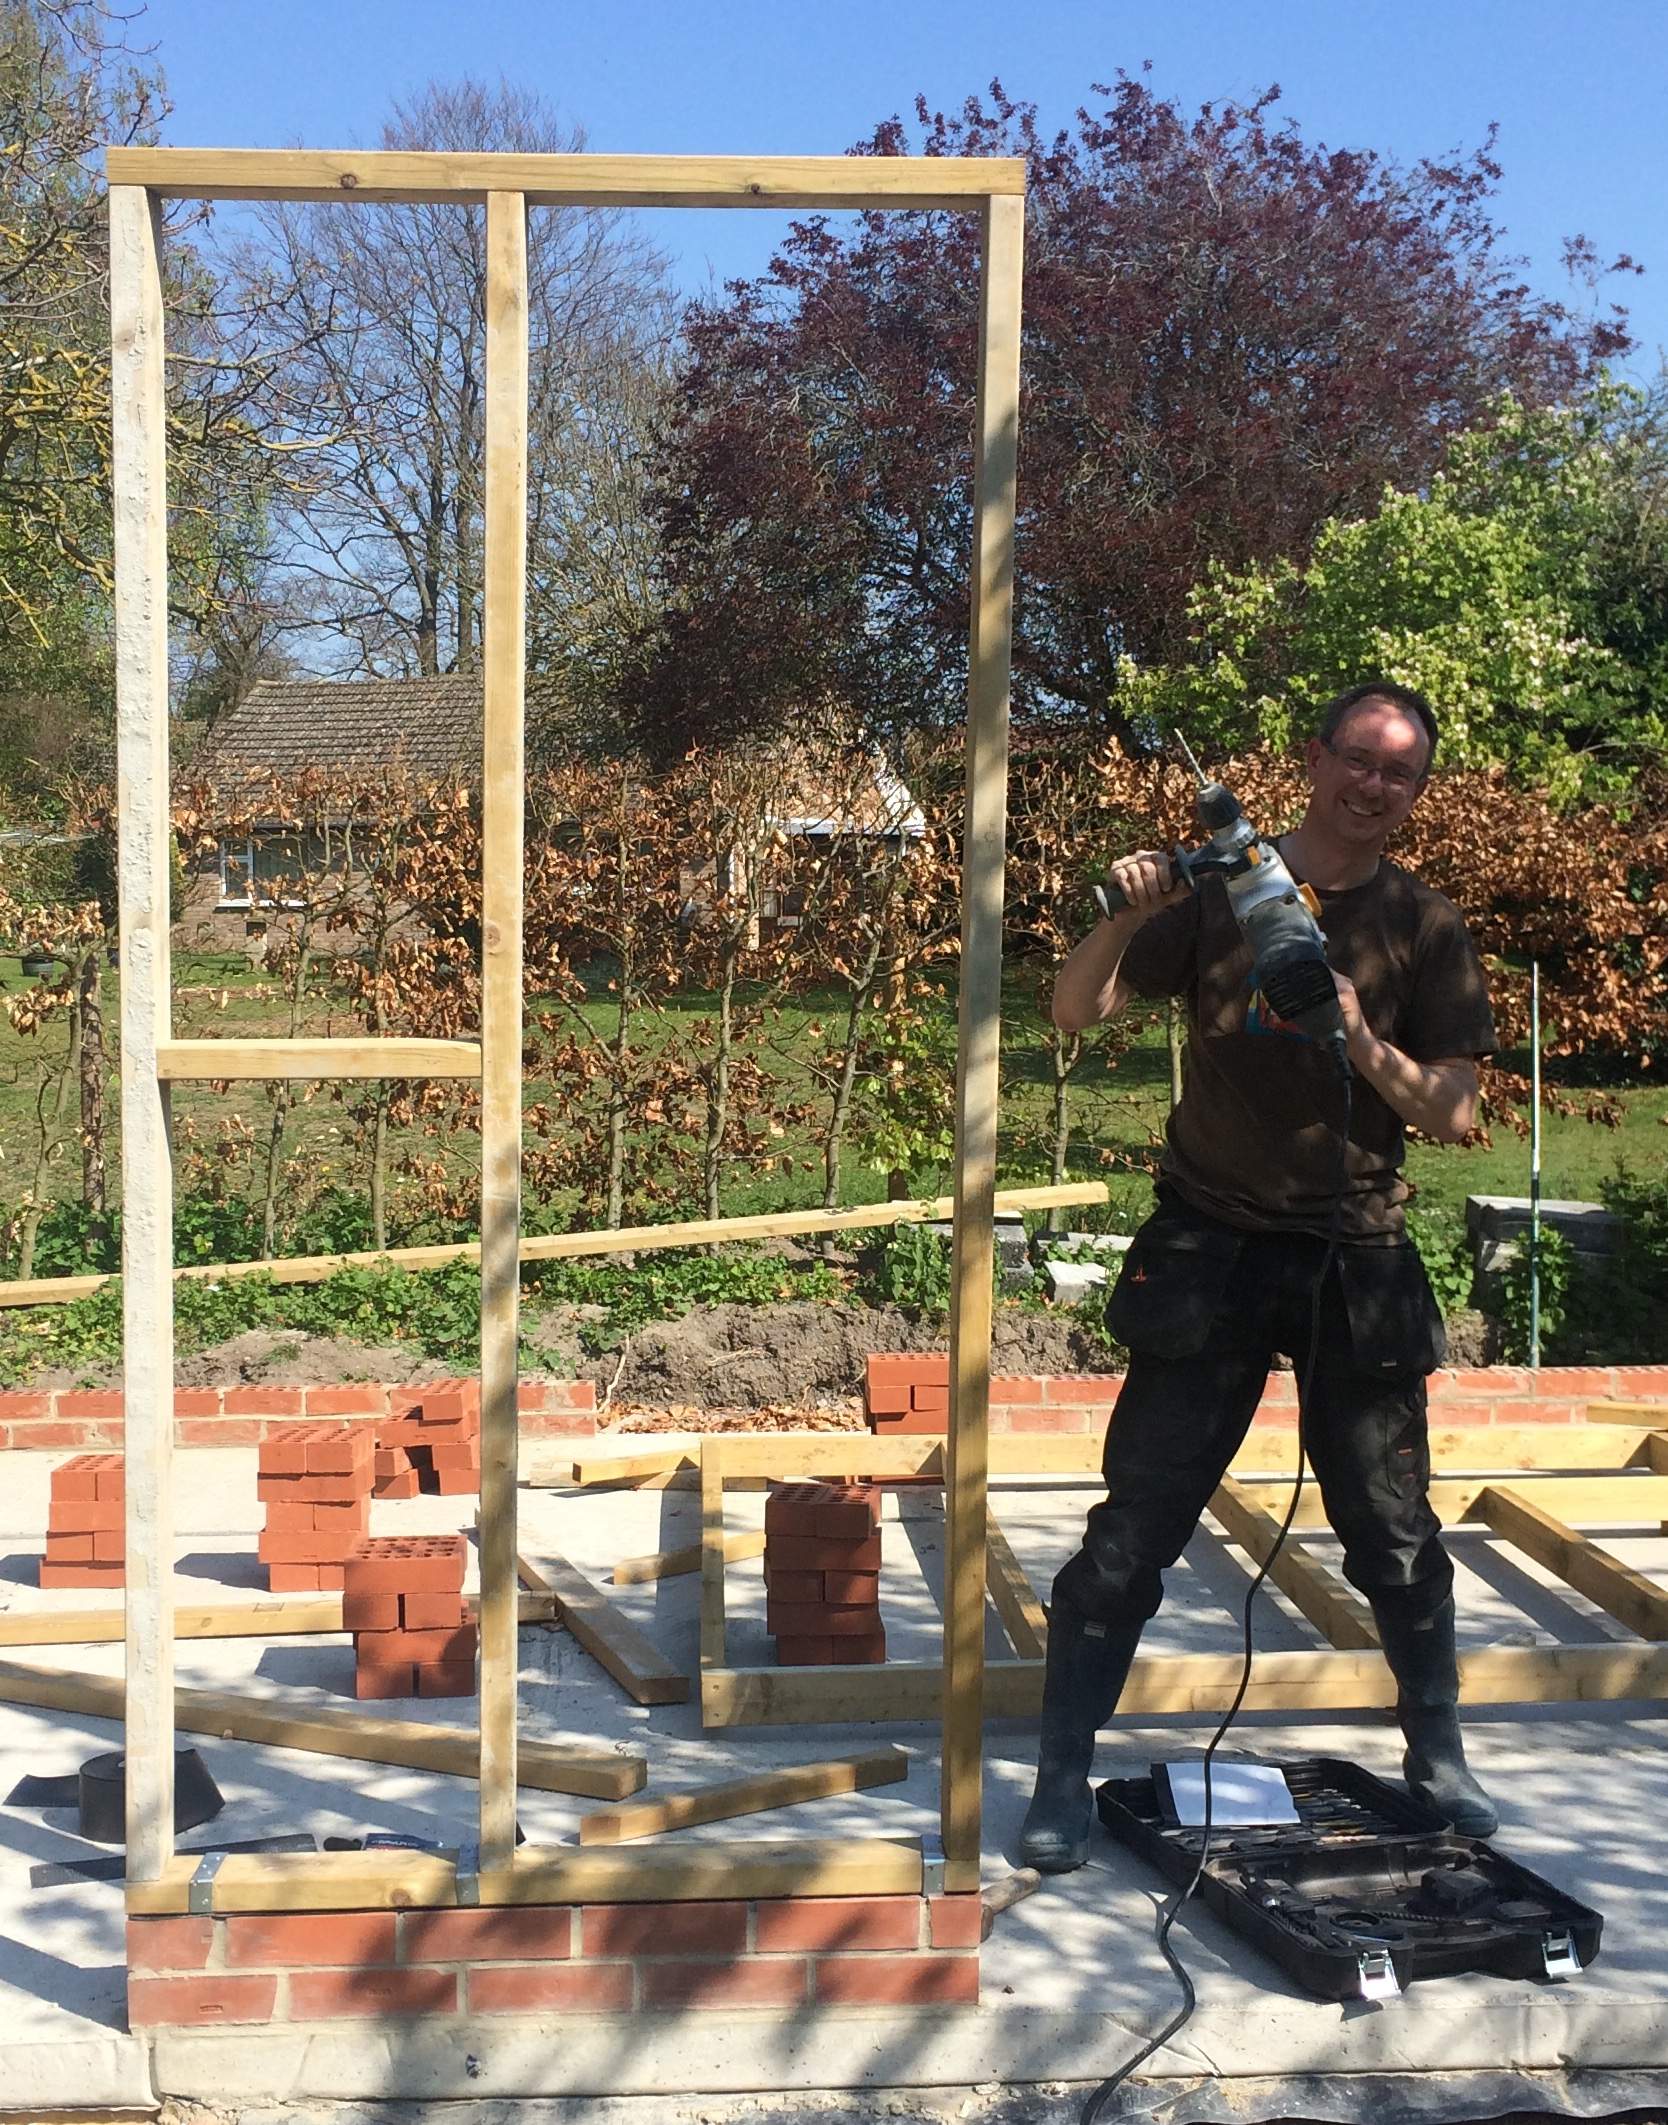
In order to ensure the frame would not move in high winds we fixed each frame to the concrete floor with metal 'straps'. My DIY drill barely made any impression on the concrete so I borrowed an SDS hammer drill. Thanks Colin!

Framing

The frames were constructed with C24 treated 100x47 (4"x2"). The roof was more complex made from 47 x 175 except the outer pieces which were 47 x 200. Each 47 x 175 timber was cut with a circular saw to create a slope on the top edge. 

Warm Roof

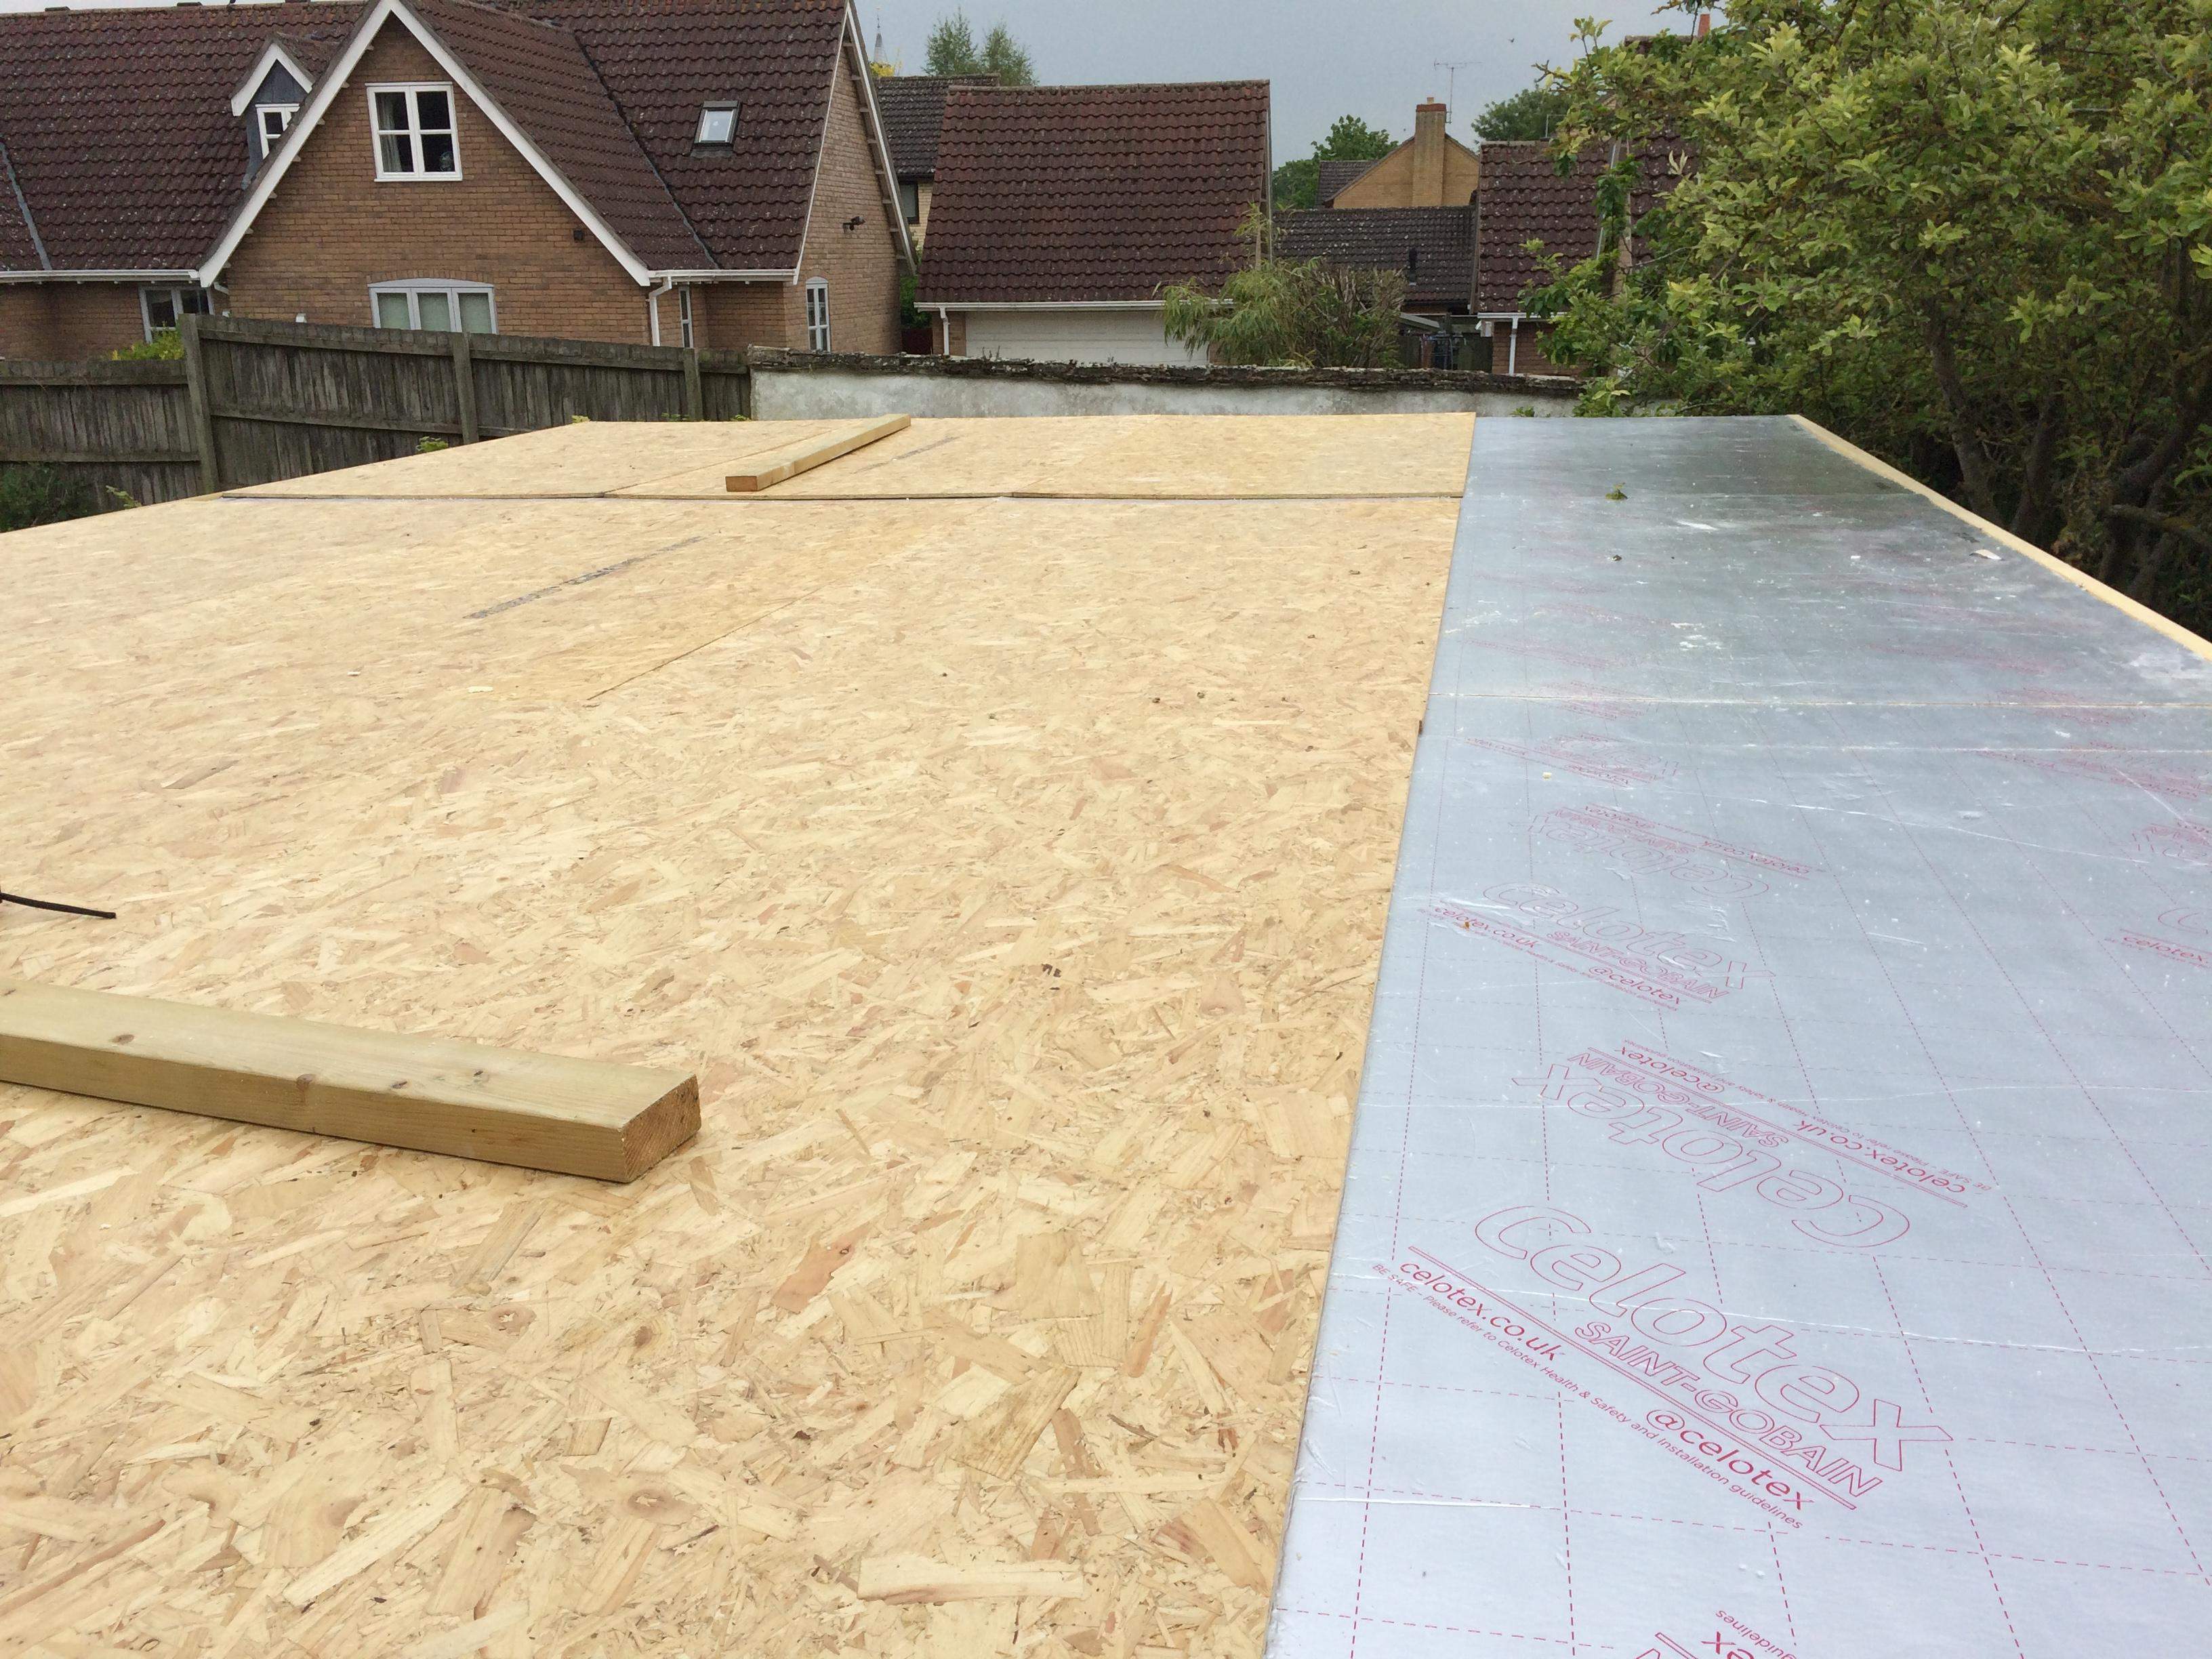
The insulation in the roof was laid on top of a layer of  OSB3 sheets. a final layer of OSB3 sheet was then laid on top. This had the advantage of ensuring the roof cavity within the building was available for all the electrics.

Rubber Membrane

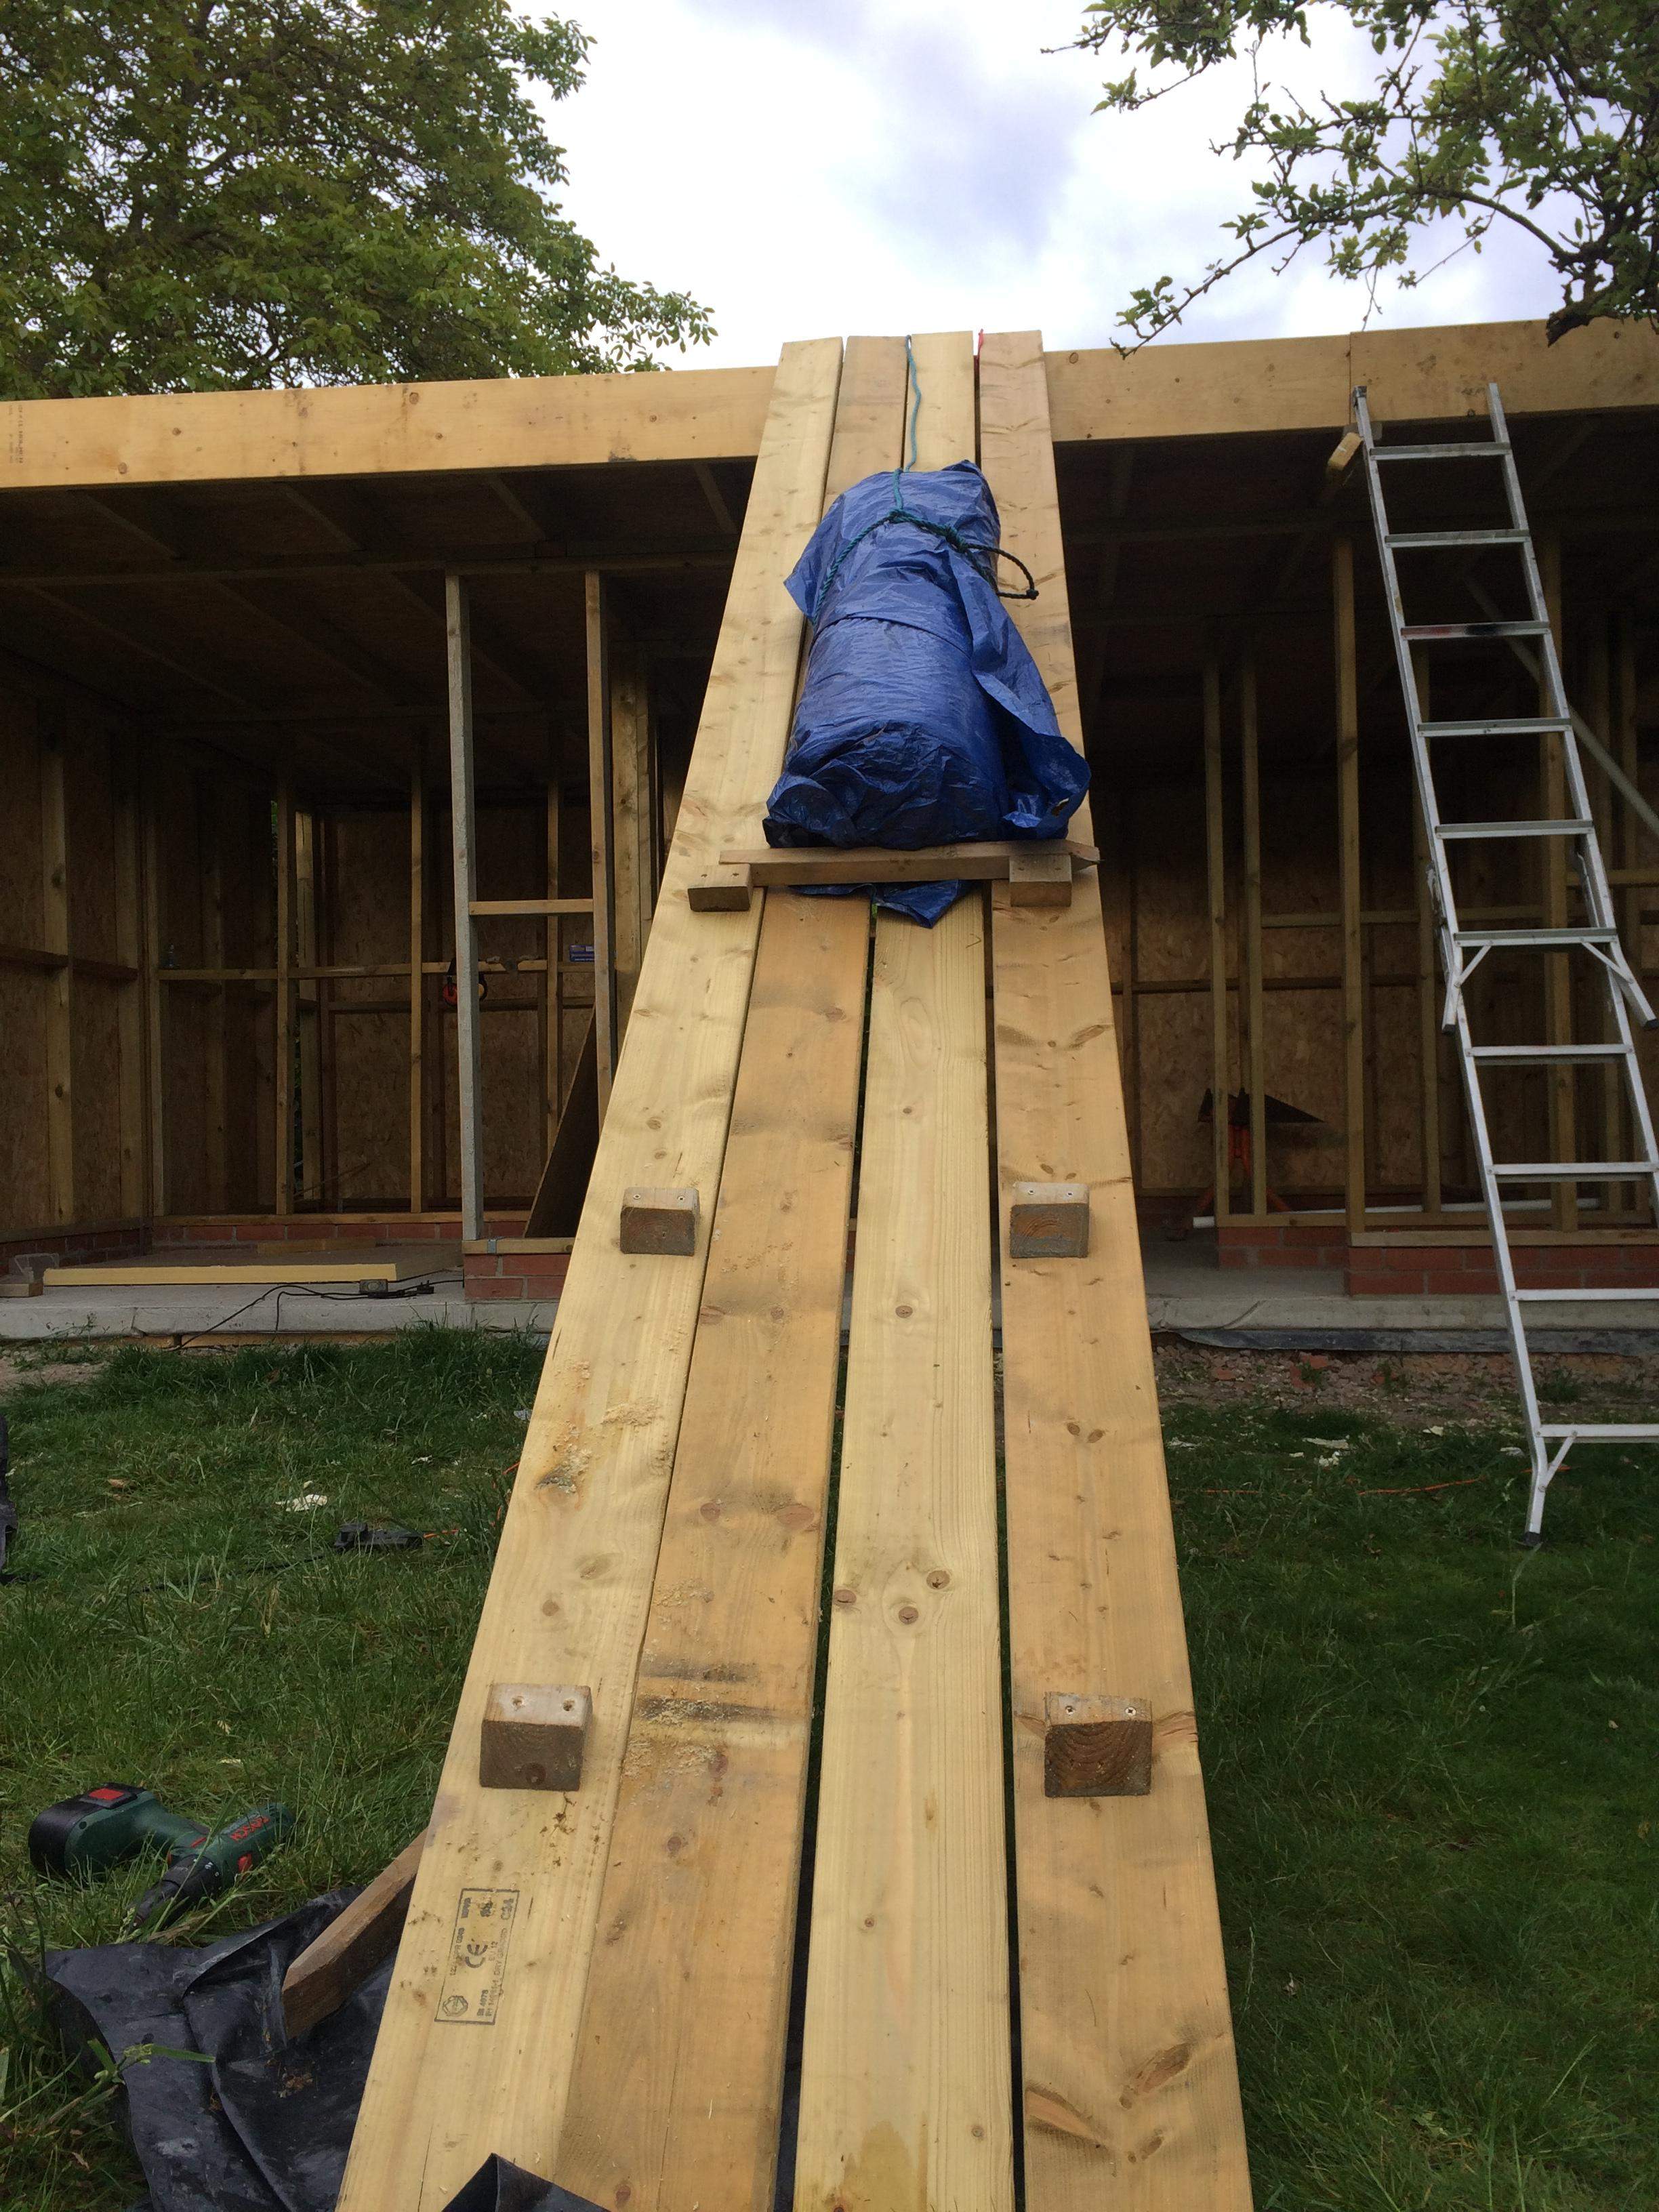
The roof was covered with a single sheet of rubber membrane that was glued to the OSB sheet. The sheet was too heavy to lift up so we had to construct a ramp with movable chock and drag it up in stages.

Sheaving

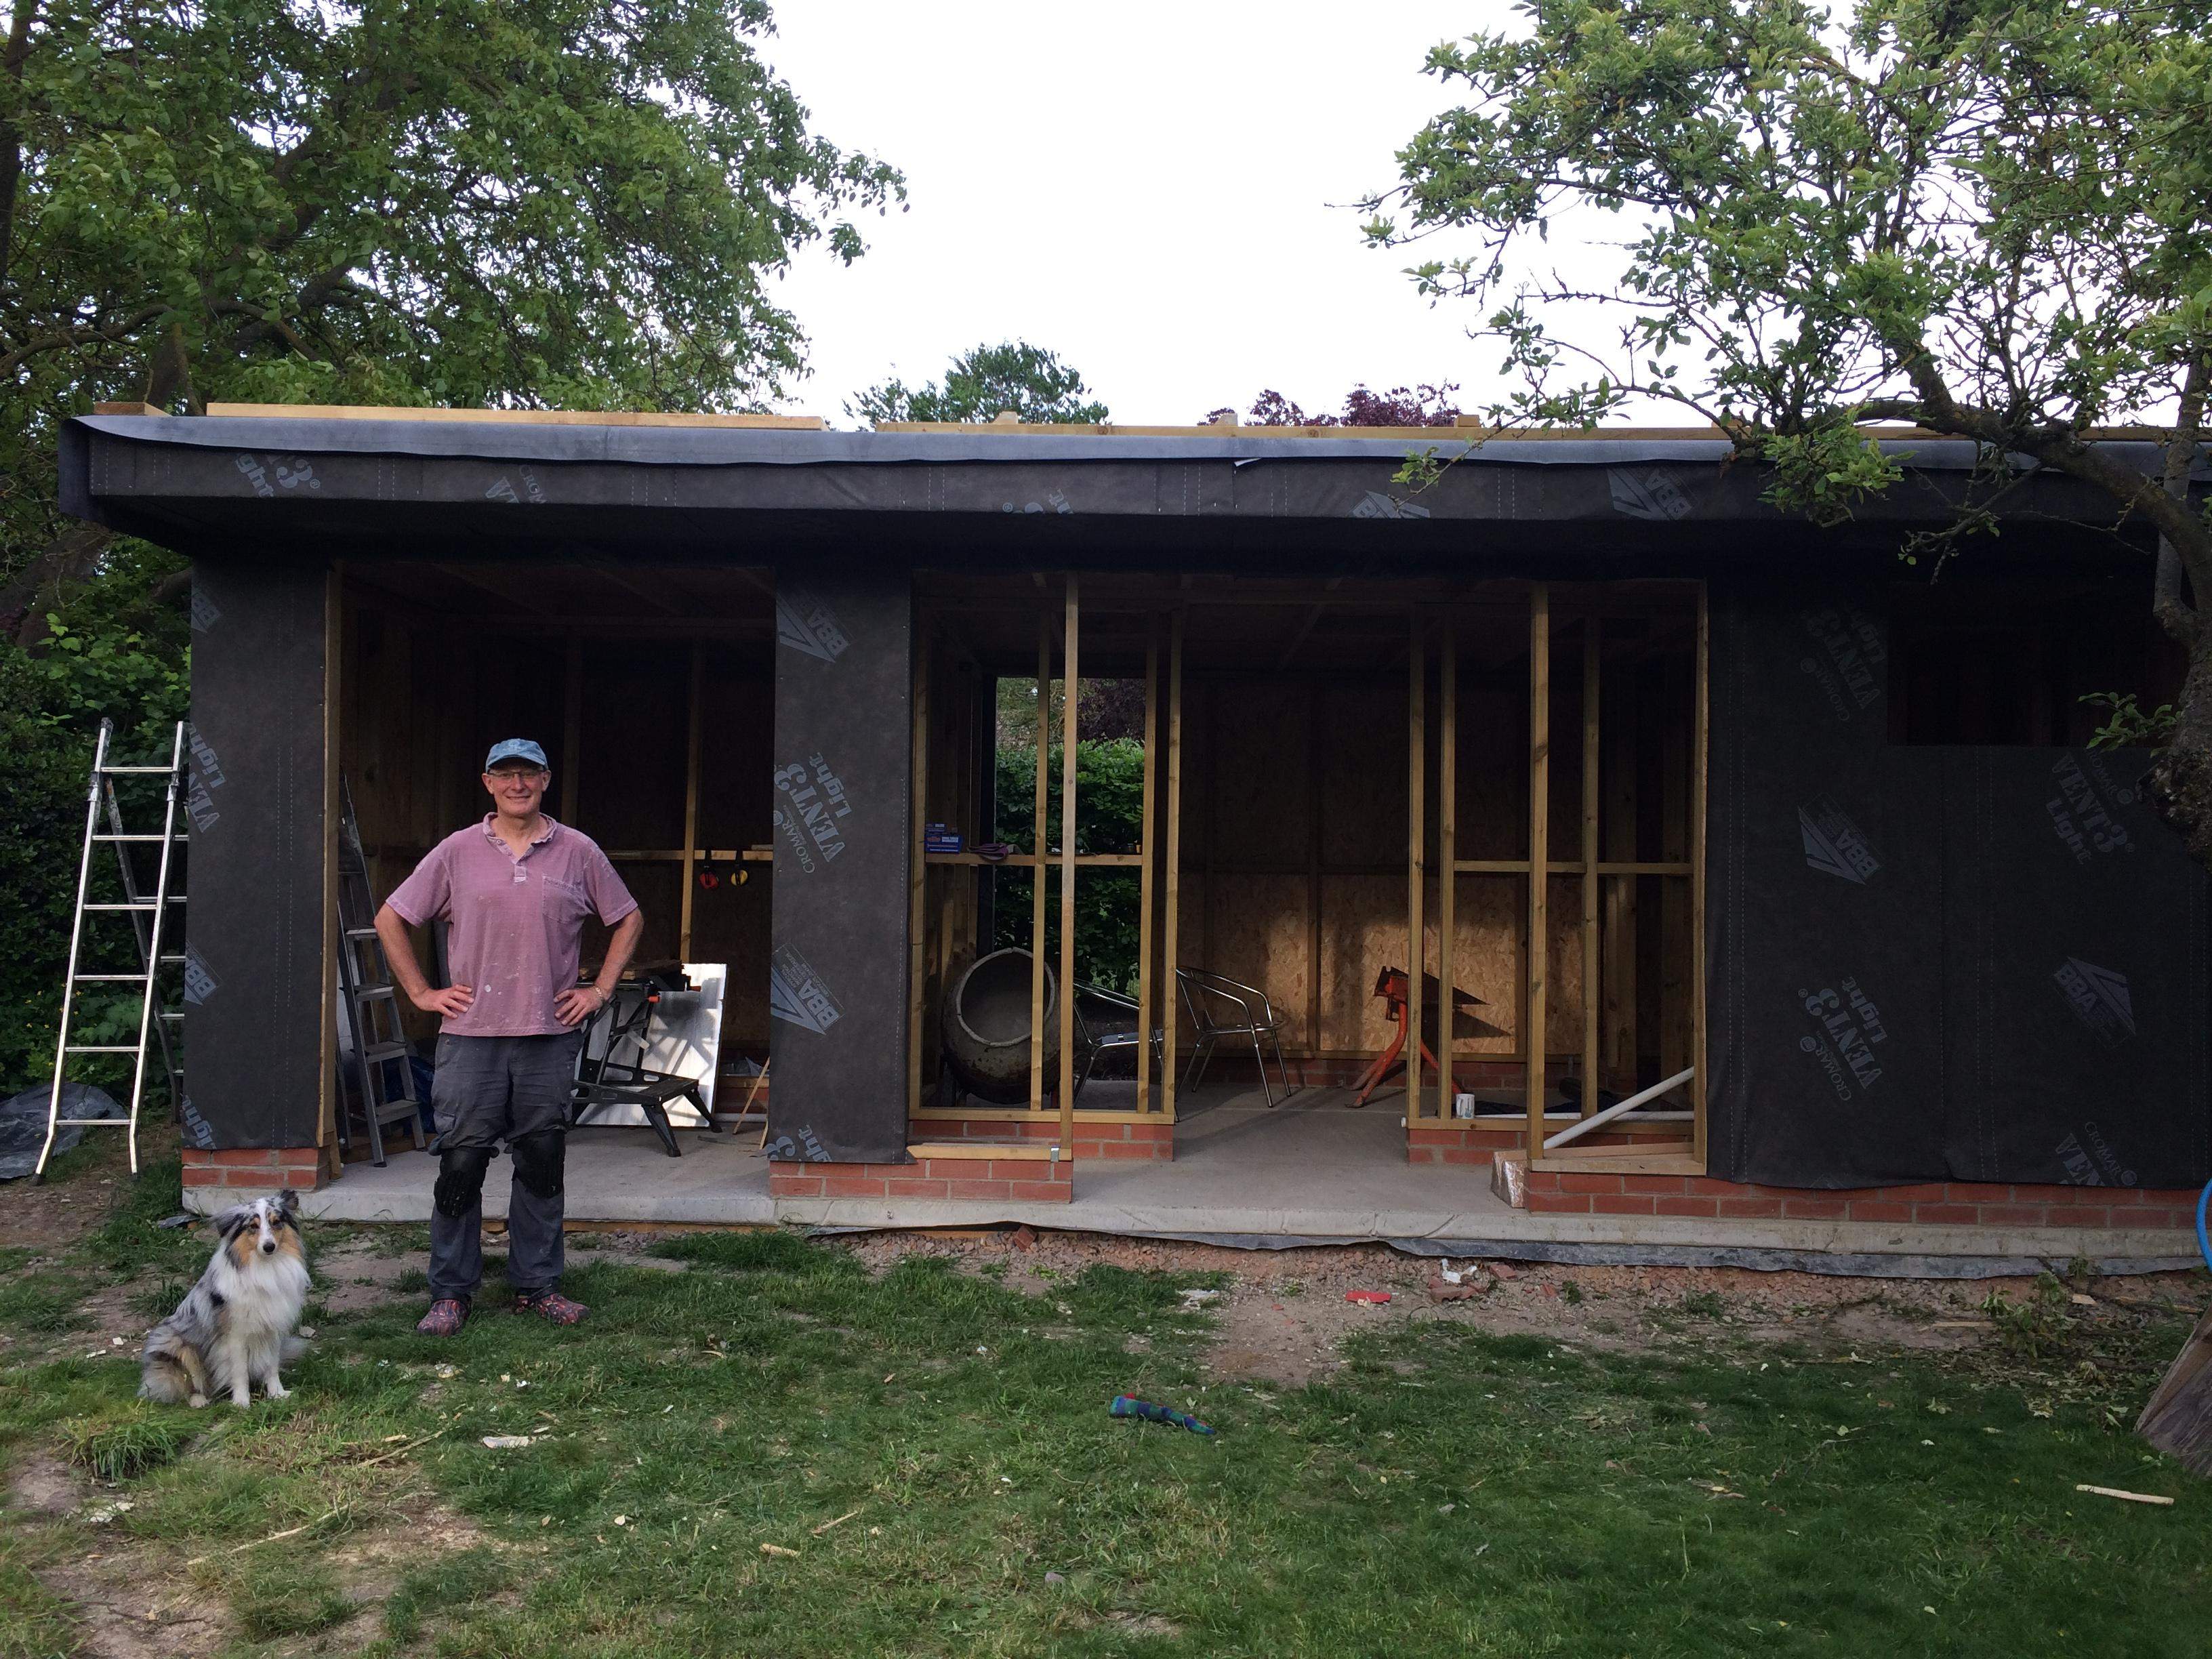
The walls were then sheaved in OSB3 and covered in a breathable membrane.

It was by now July 2019.

Mains drainage

The building was still not connected to the main water supply, electrics or sewers. Time once more to call in the digger and get a trench dug down the garden.

The garden slopes down to the house which meant we had to be careful the pipe didn't slope too steeply. Initially the trench needed to be quite deep getting gradually shallower. Pea gravel was laid under to enable us to adjust the fall correctly and then the pipe was covered in more pea gravel.


Water went next maintaining separation from the sewer pipe and finally the armored cable.

Cladding

Battons

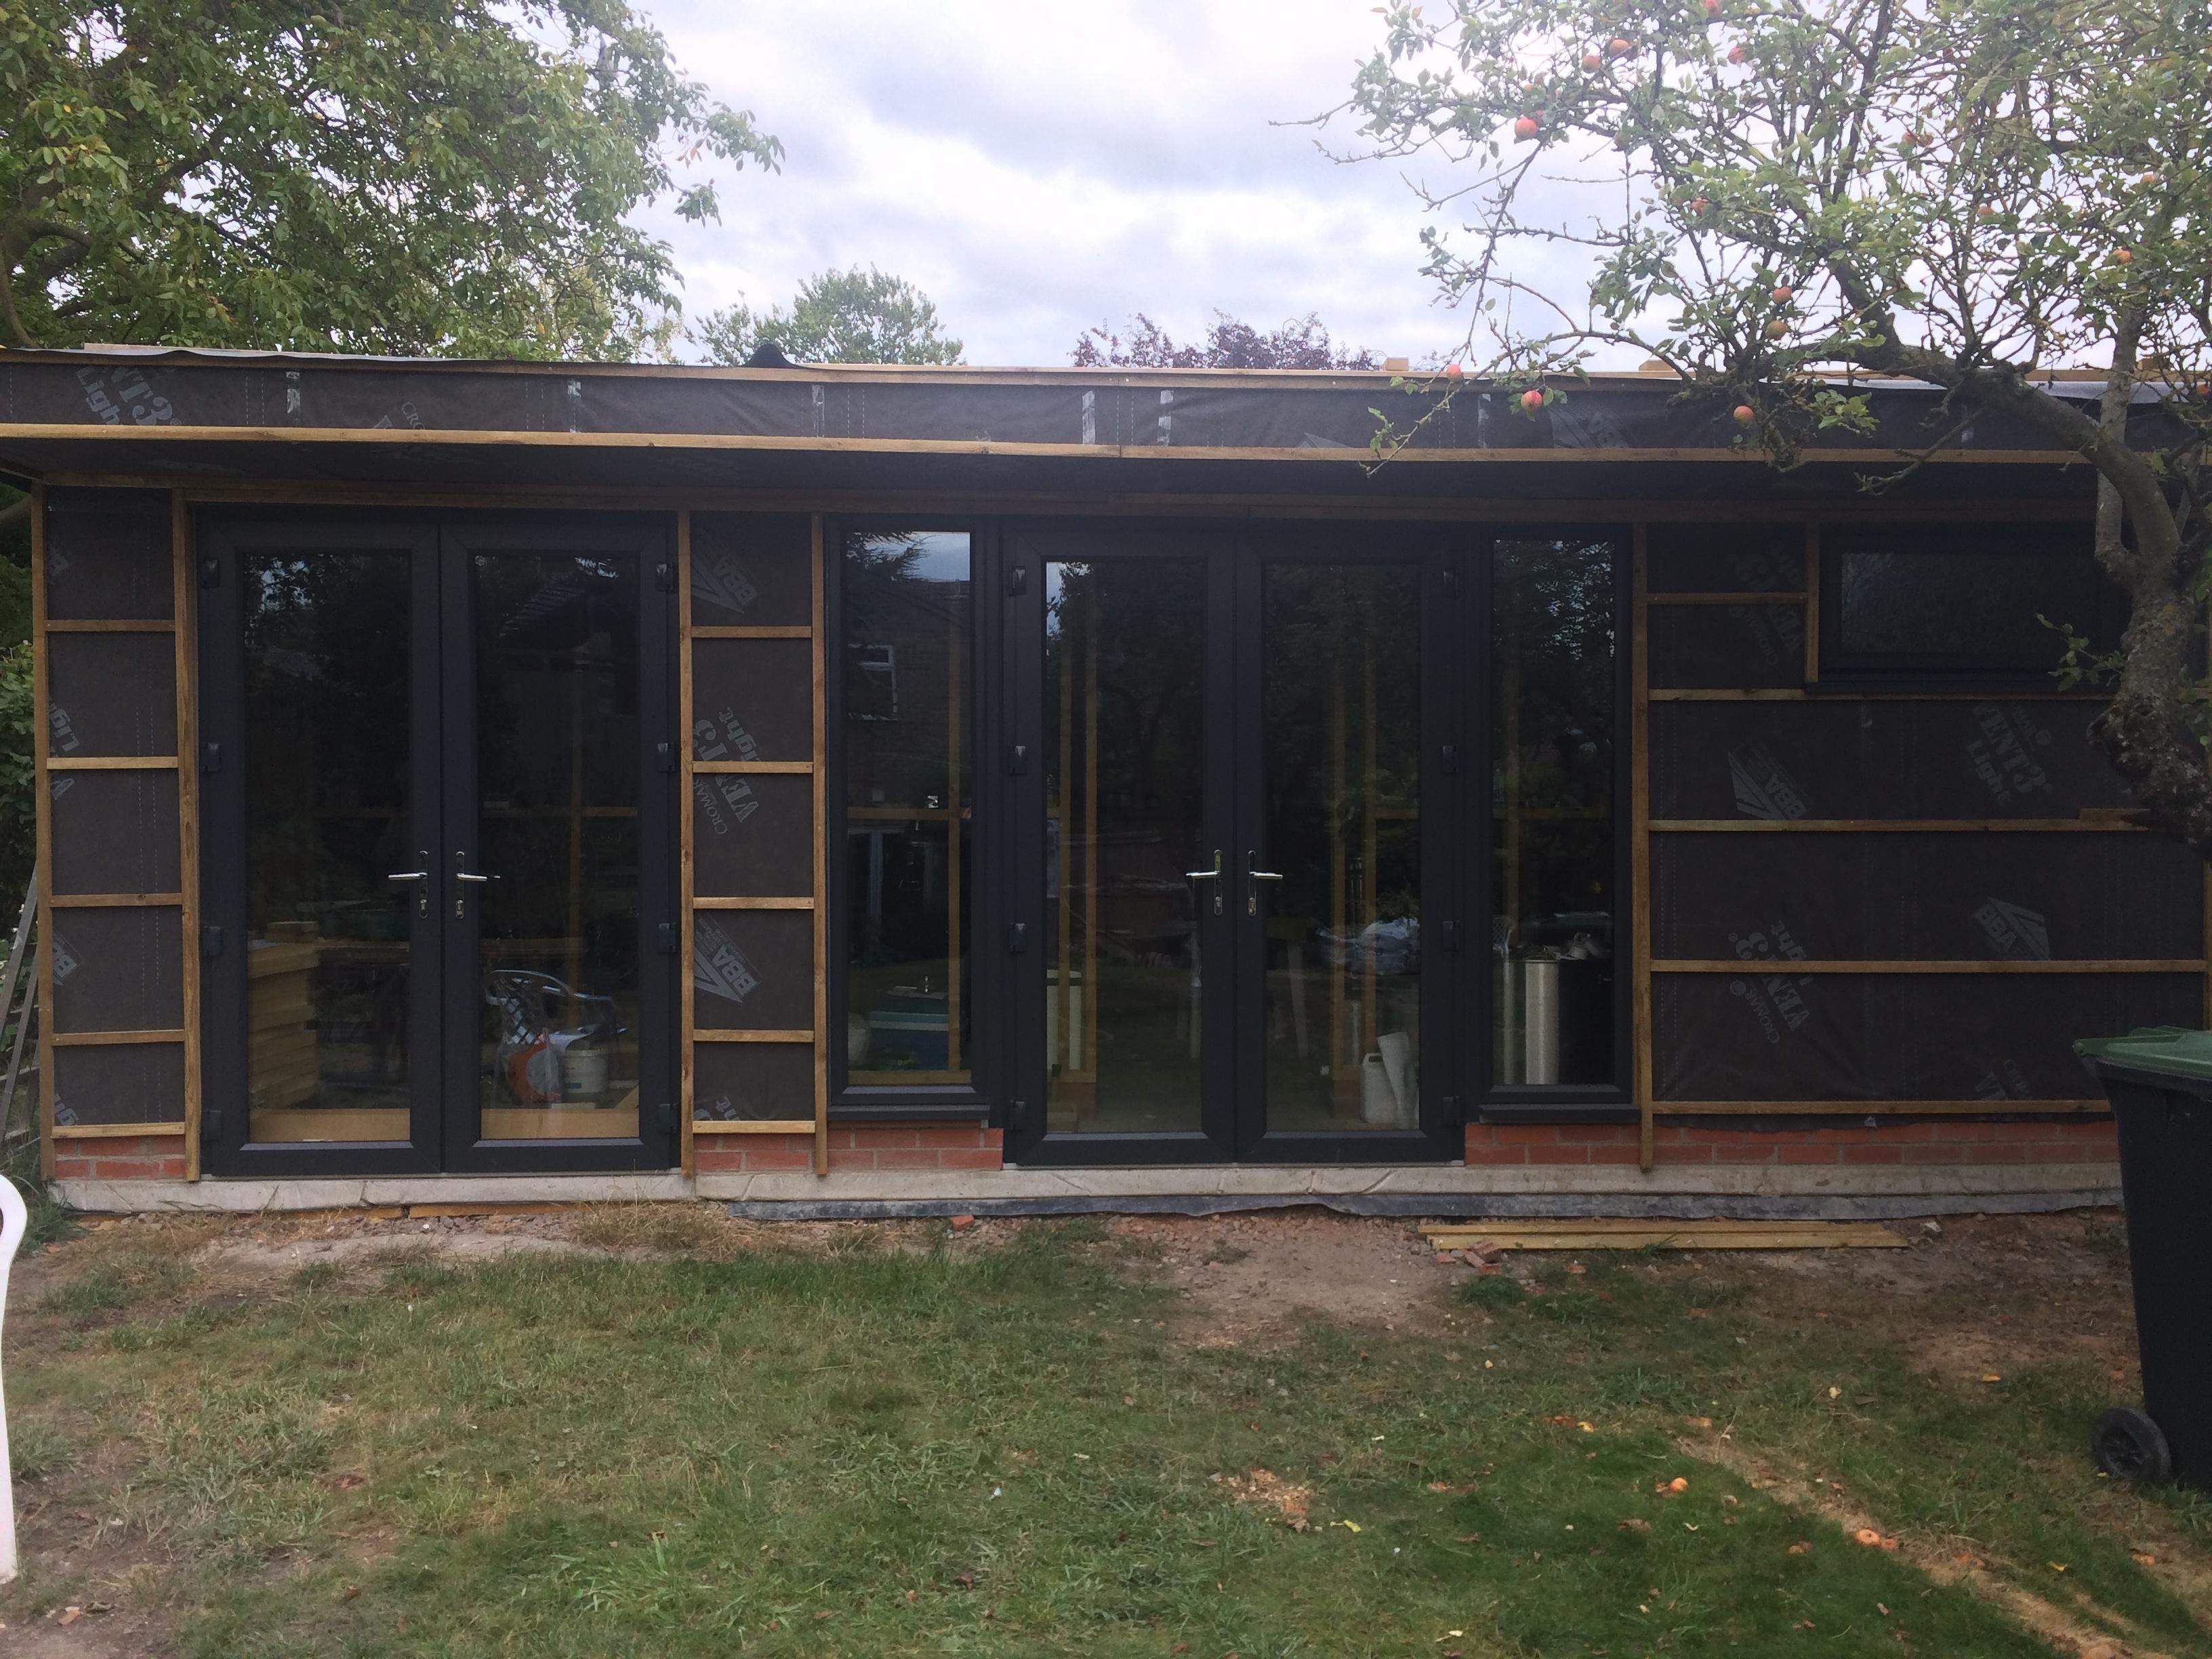
The next stage on the building was to fix battons to the sheaving. I wanted to fix the cladding vertically so the battons needed to run horizontally.

Cladding

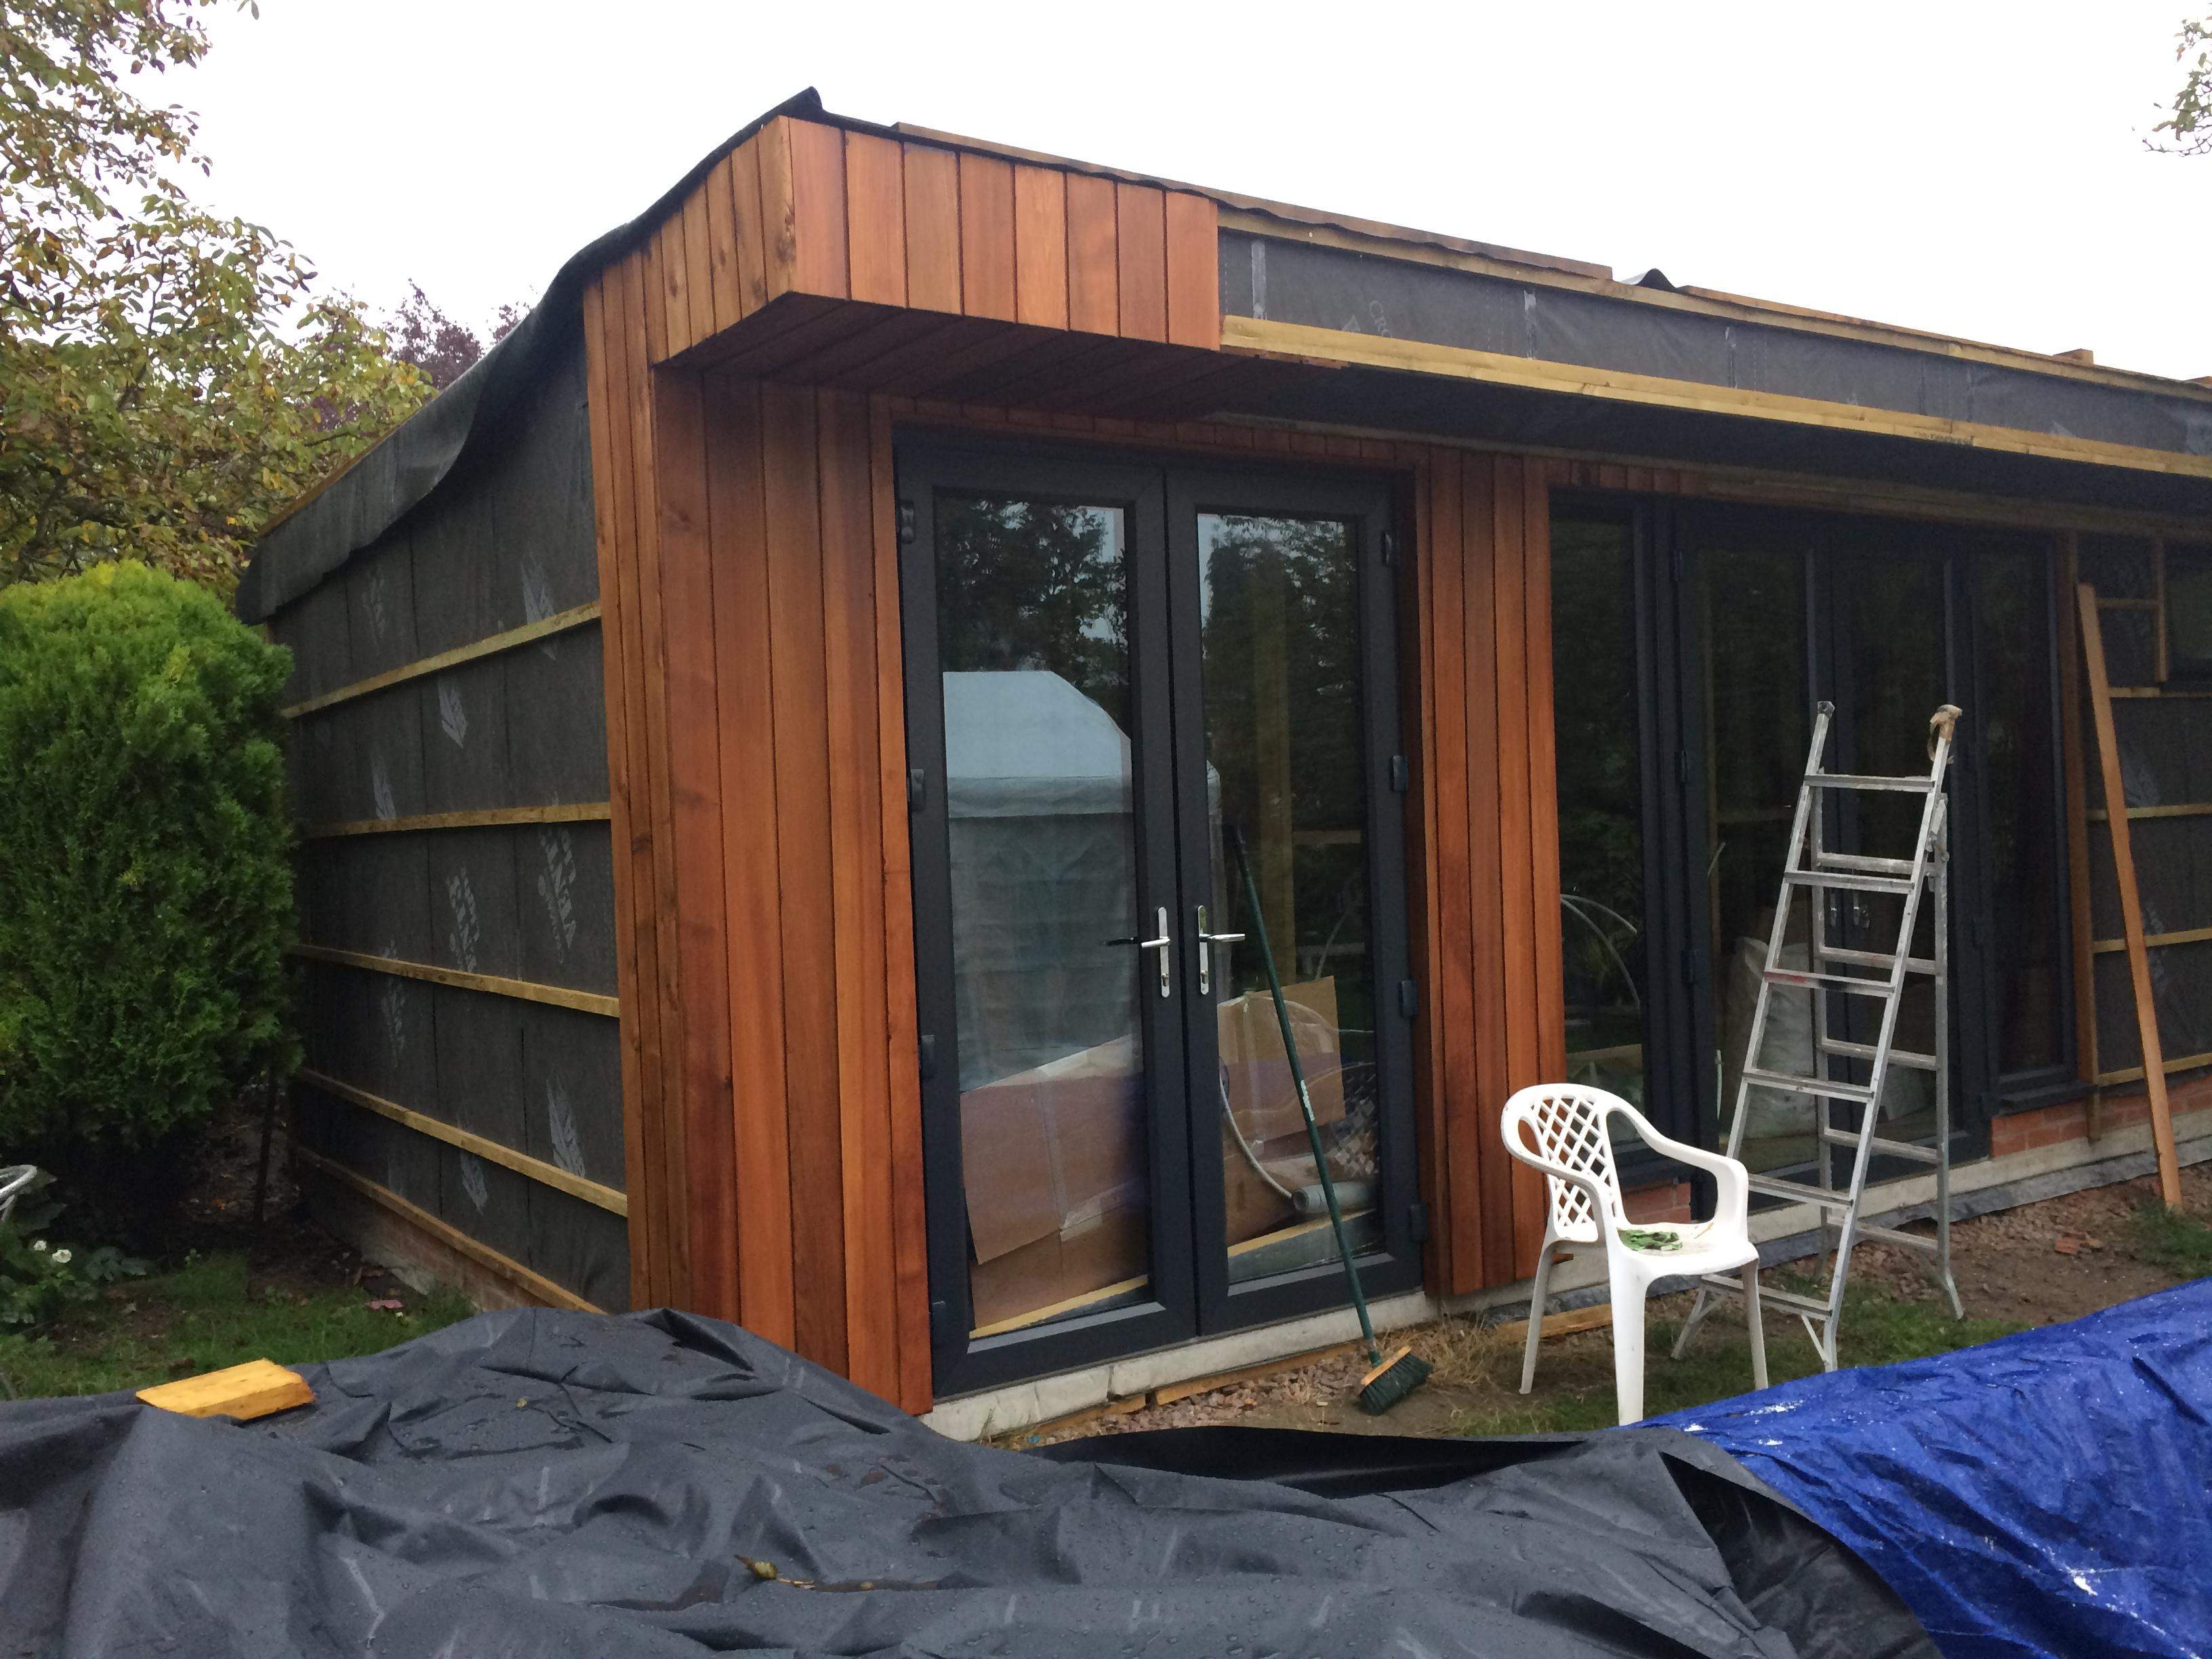
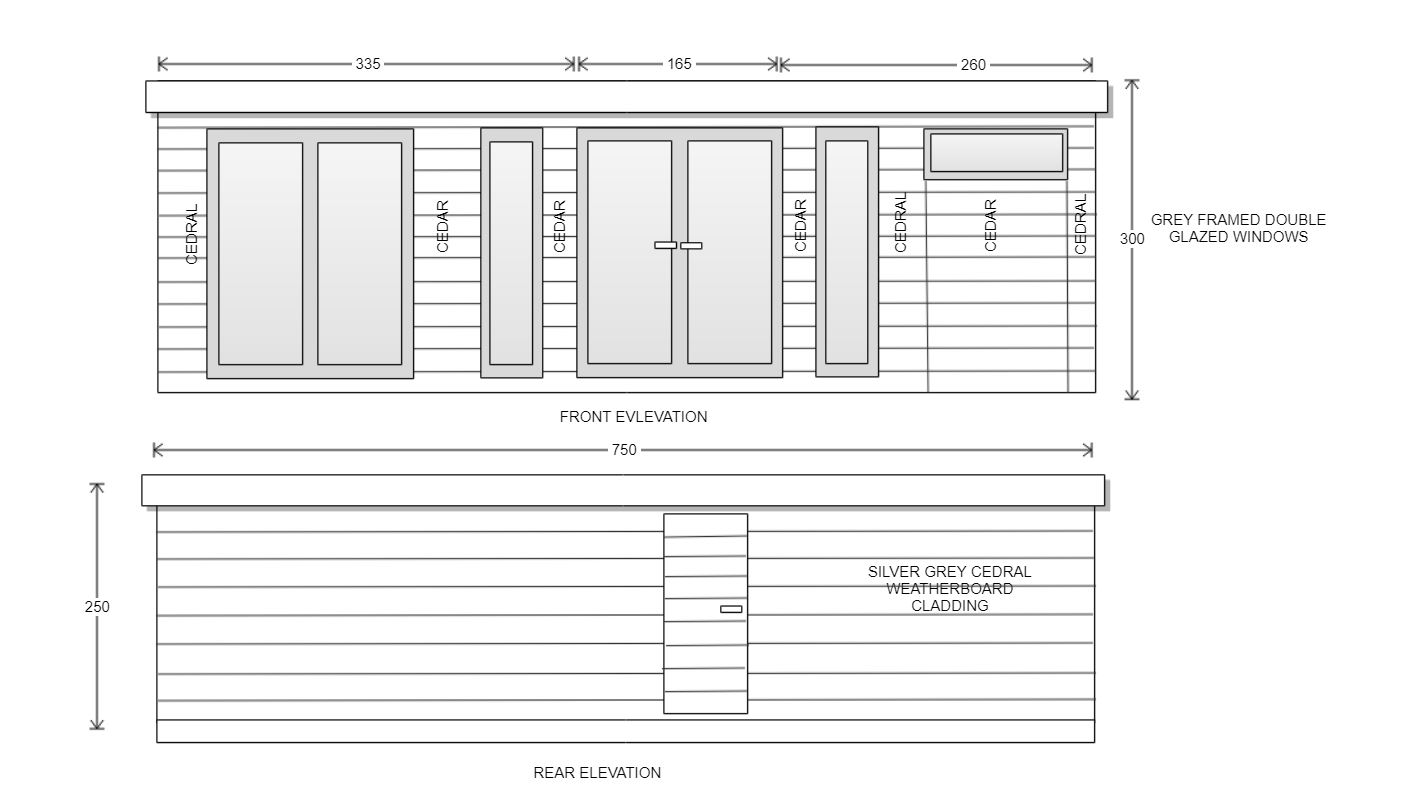
I chose Western Red Cedar for the cladding on the front but British Cedar for sides and rear. Whilst the Western Red is more dense, durable and beautiful, it is a lot more expensive so this was a good compromise of looks and cost.

Doors & Windows

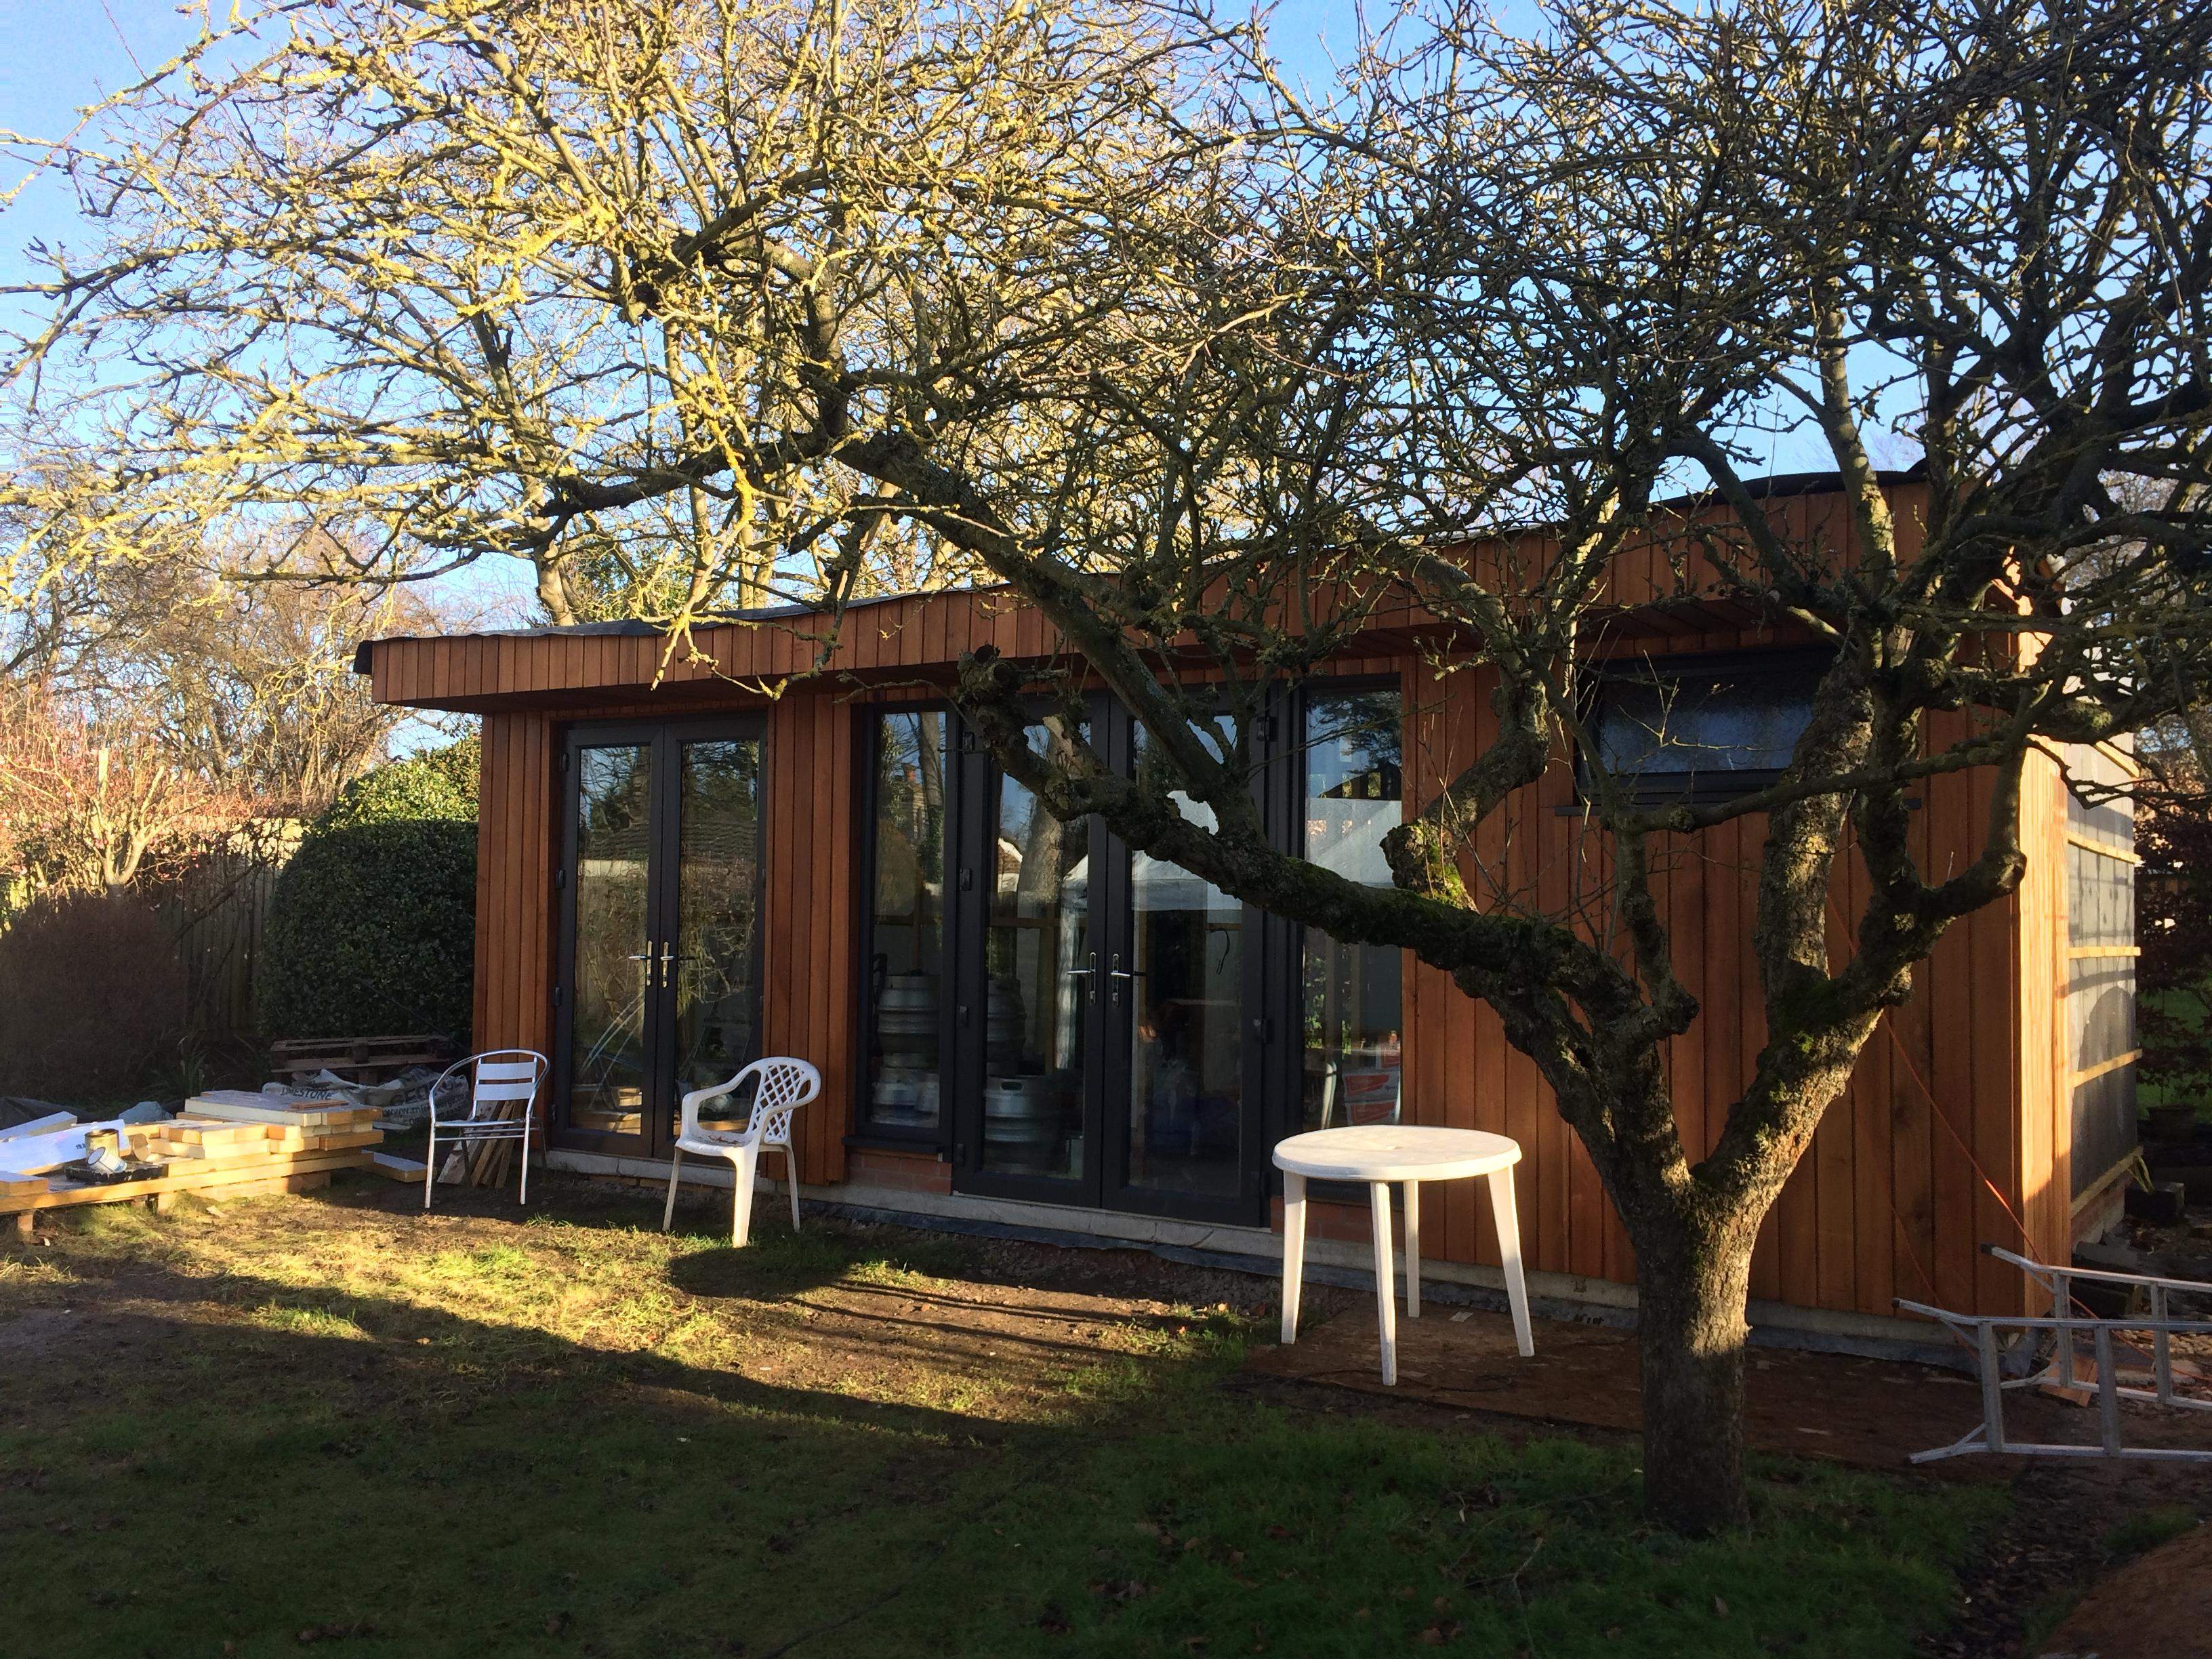
The doors and windows were sourced locally from Steve Watts. They are all double glazed to ensure minimal heating/cooling costs.

Internals

Once the exterior was sealed, I turned my attention to the interior. Electrics and plastering of the internal walls.

Electrics

With the brewhouse being a wet room the electrics needed to be IP65 rated. Time to call in an electrician.

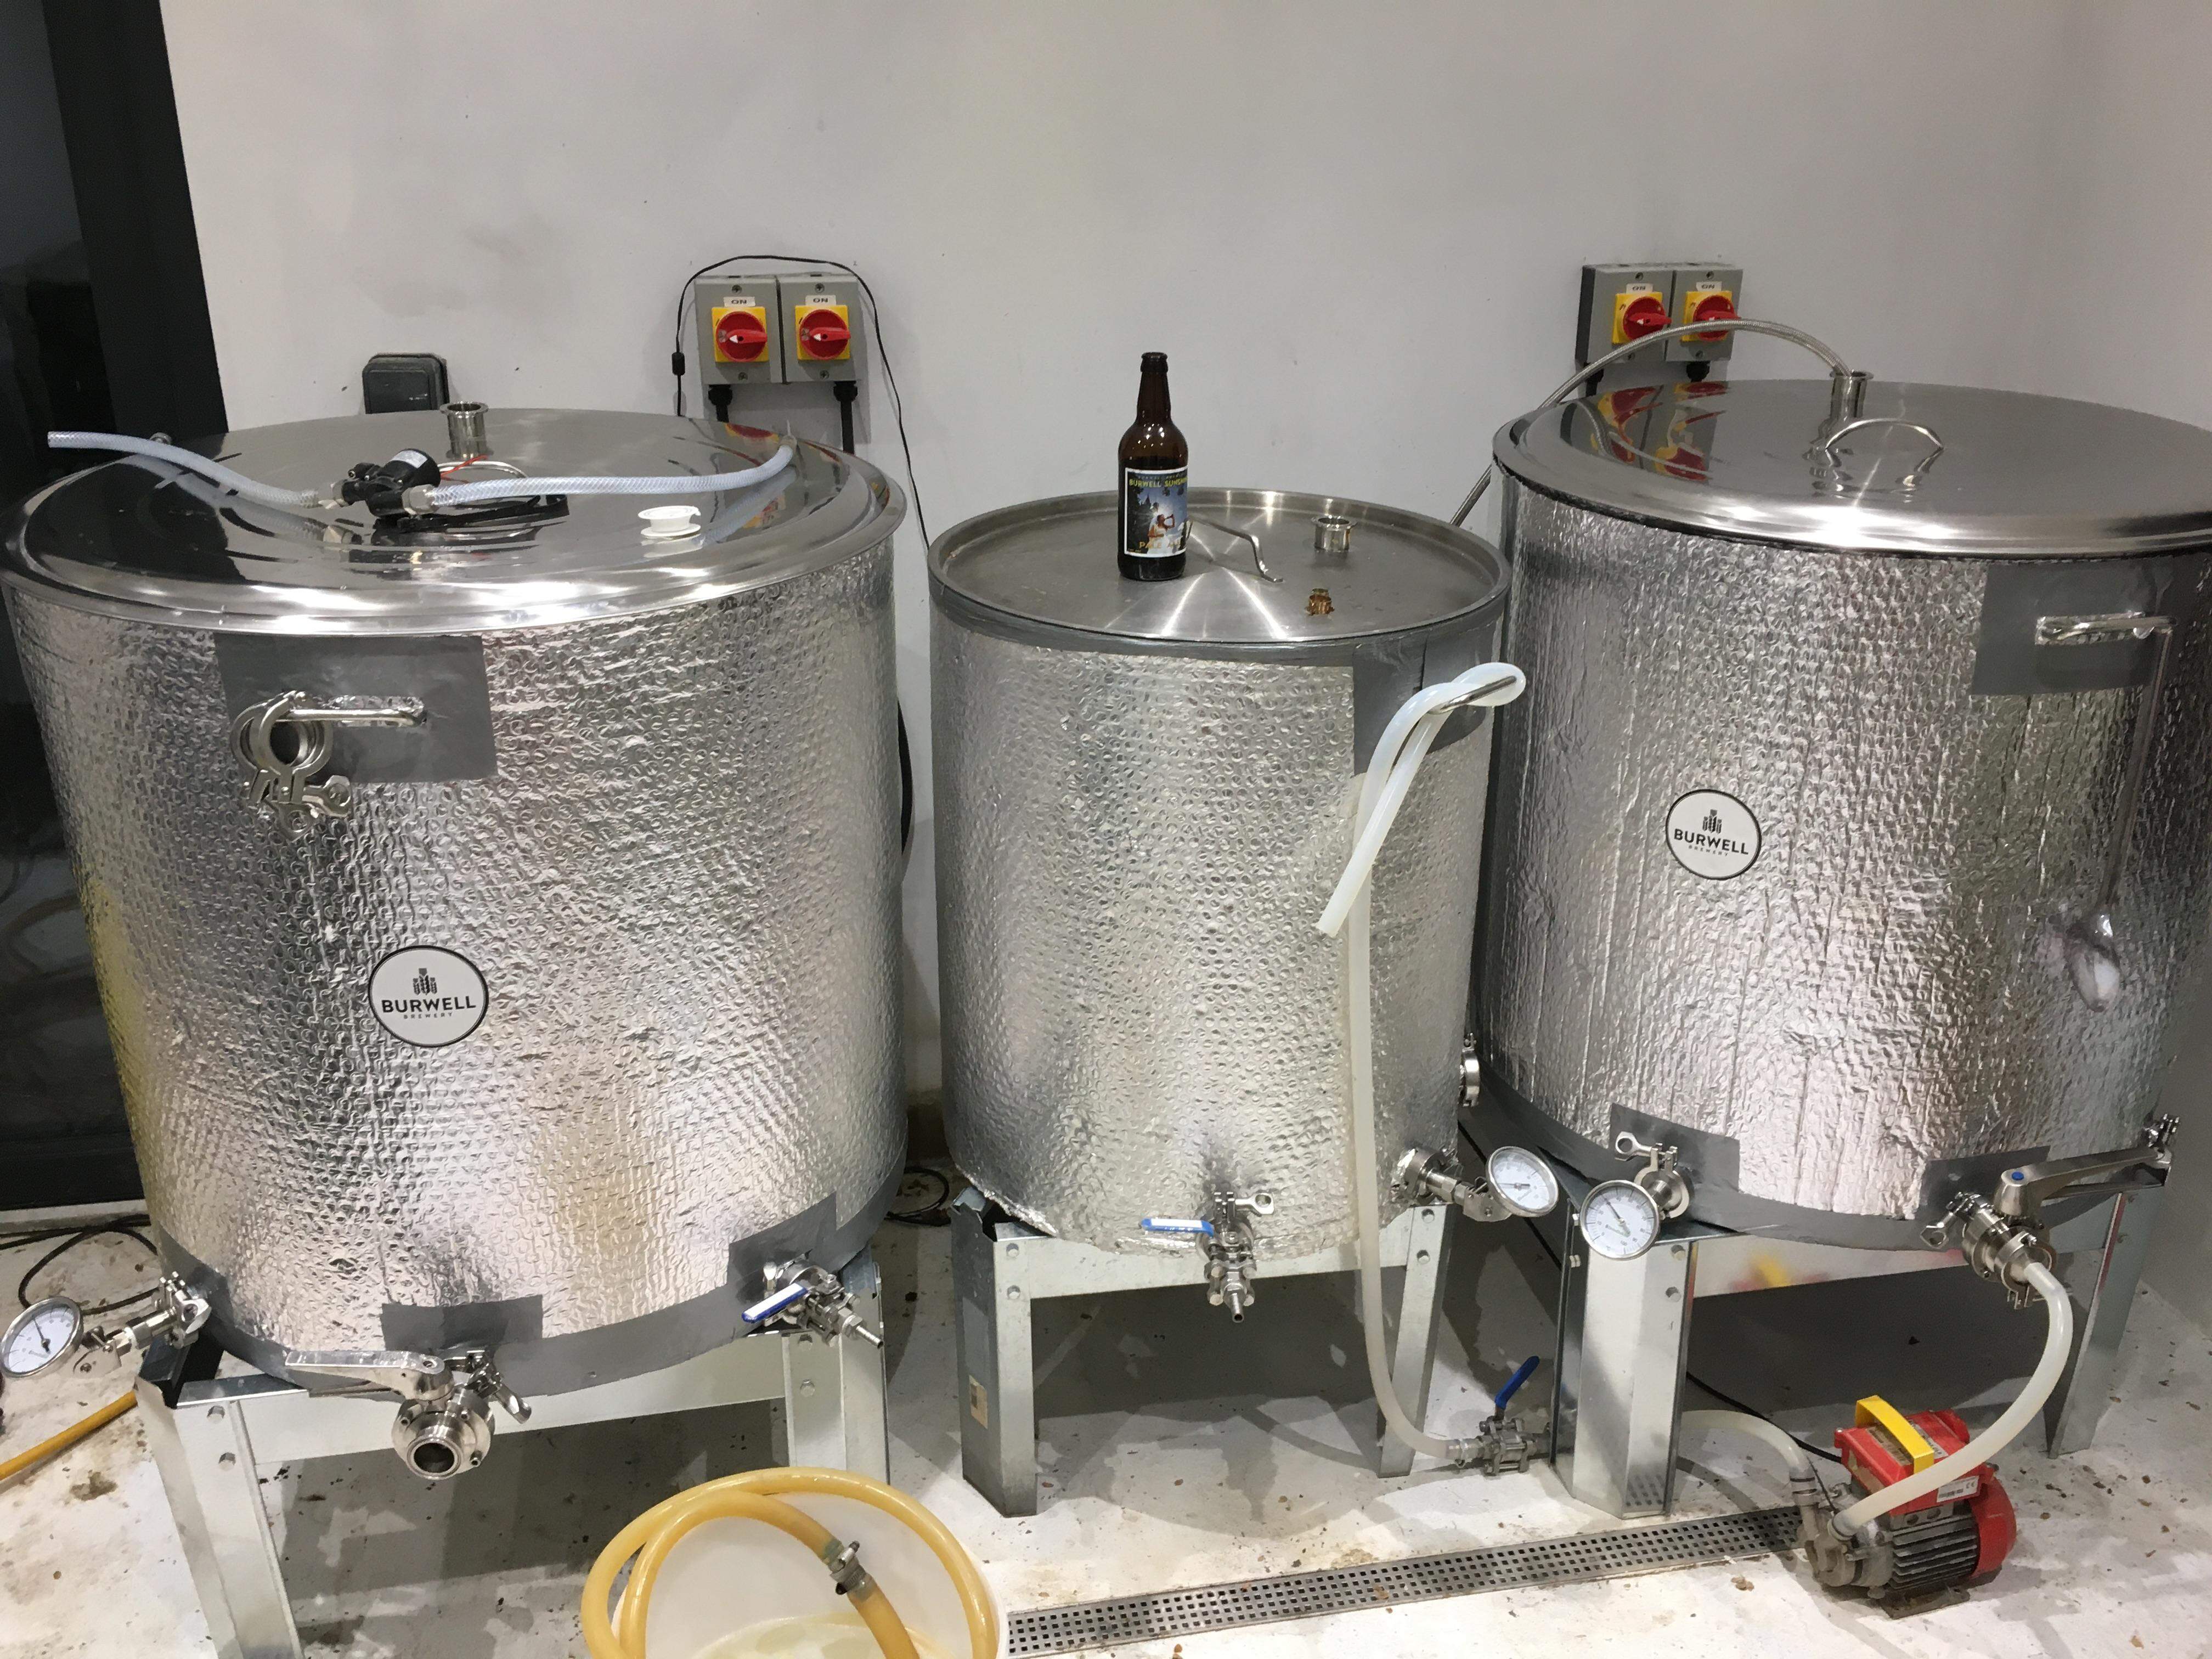
Each of our boilers is powered by two 5.5Kw elements hence the dedicated circuits.

Plaster board

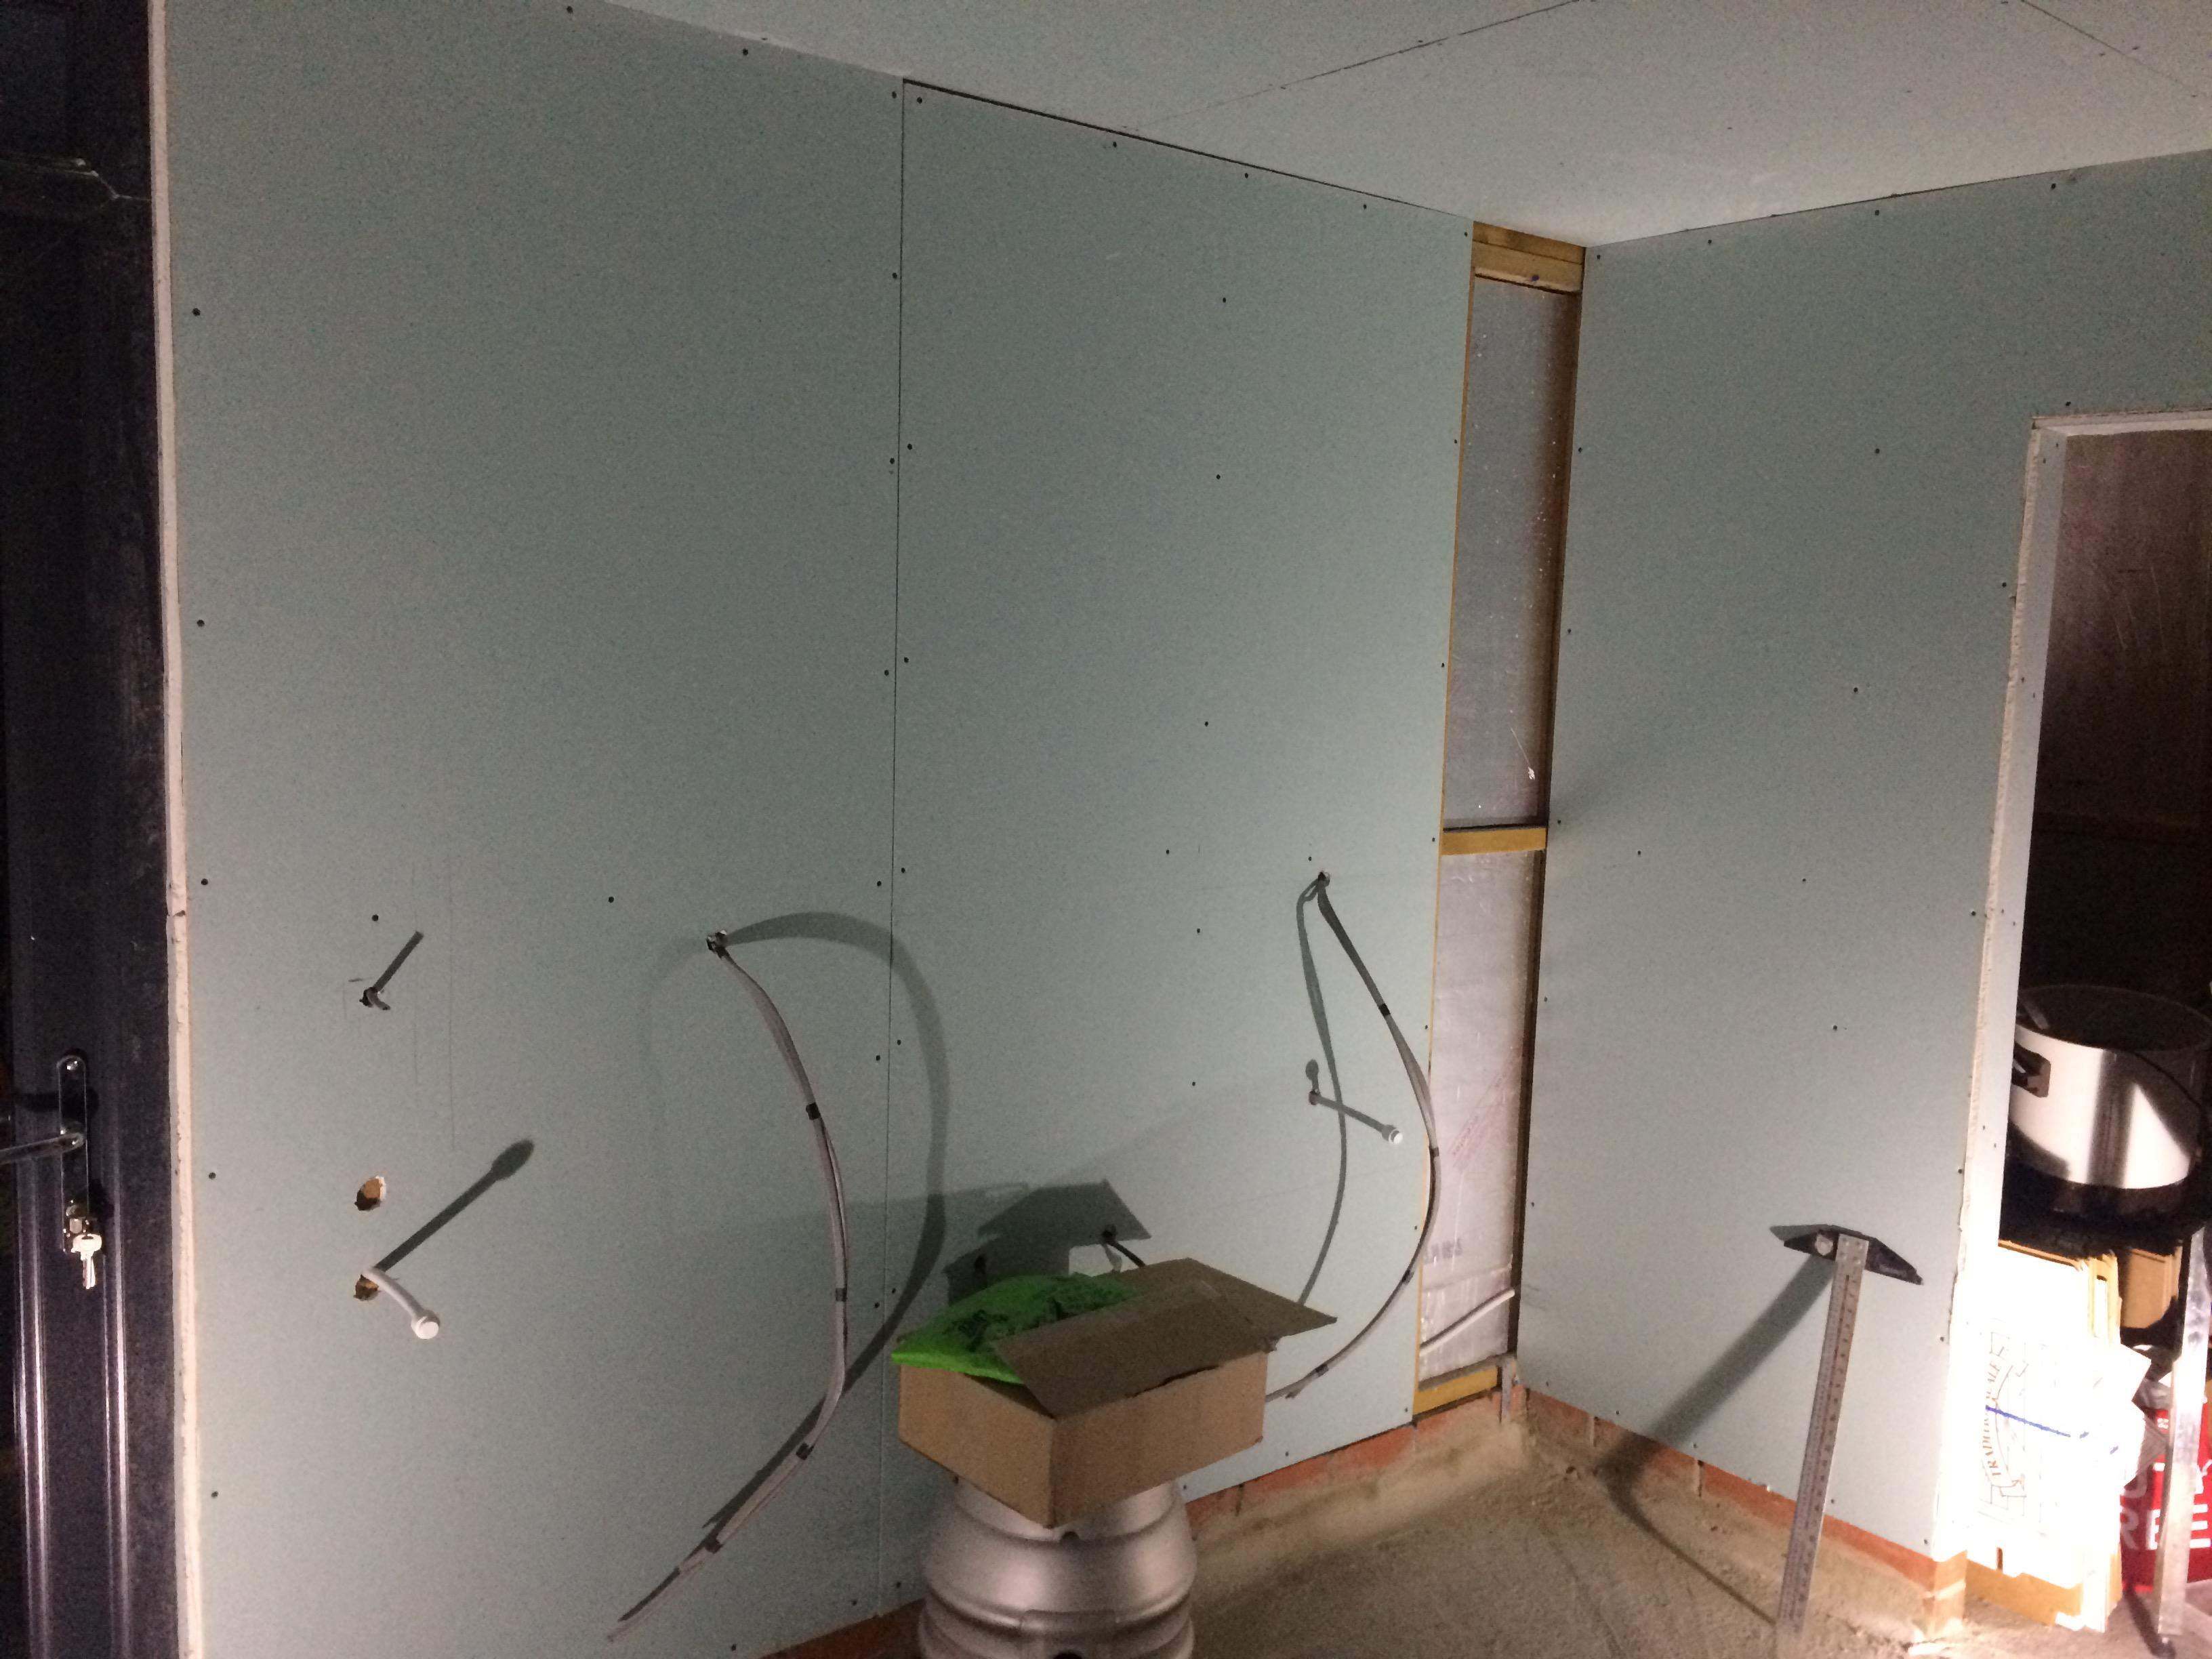
We wanted the walls to be plastered so next major job was to get the plaster board up. I used moisture resistant in the brew house. Note also, it does not go down to the floor. The floors get wet and I did not want the plaster board bases sitting in water, however brief 

Plaster

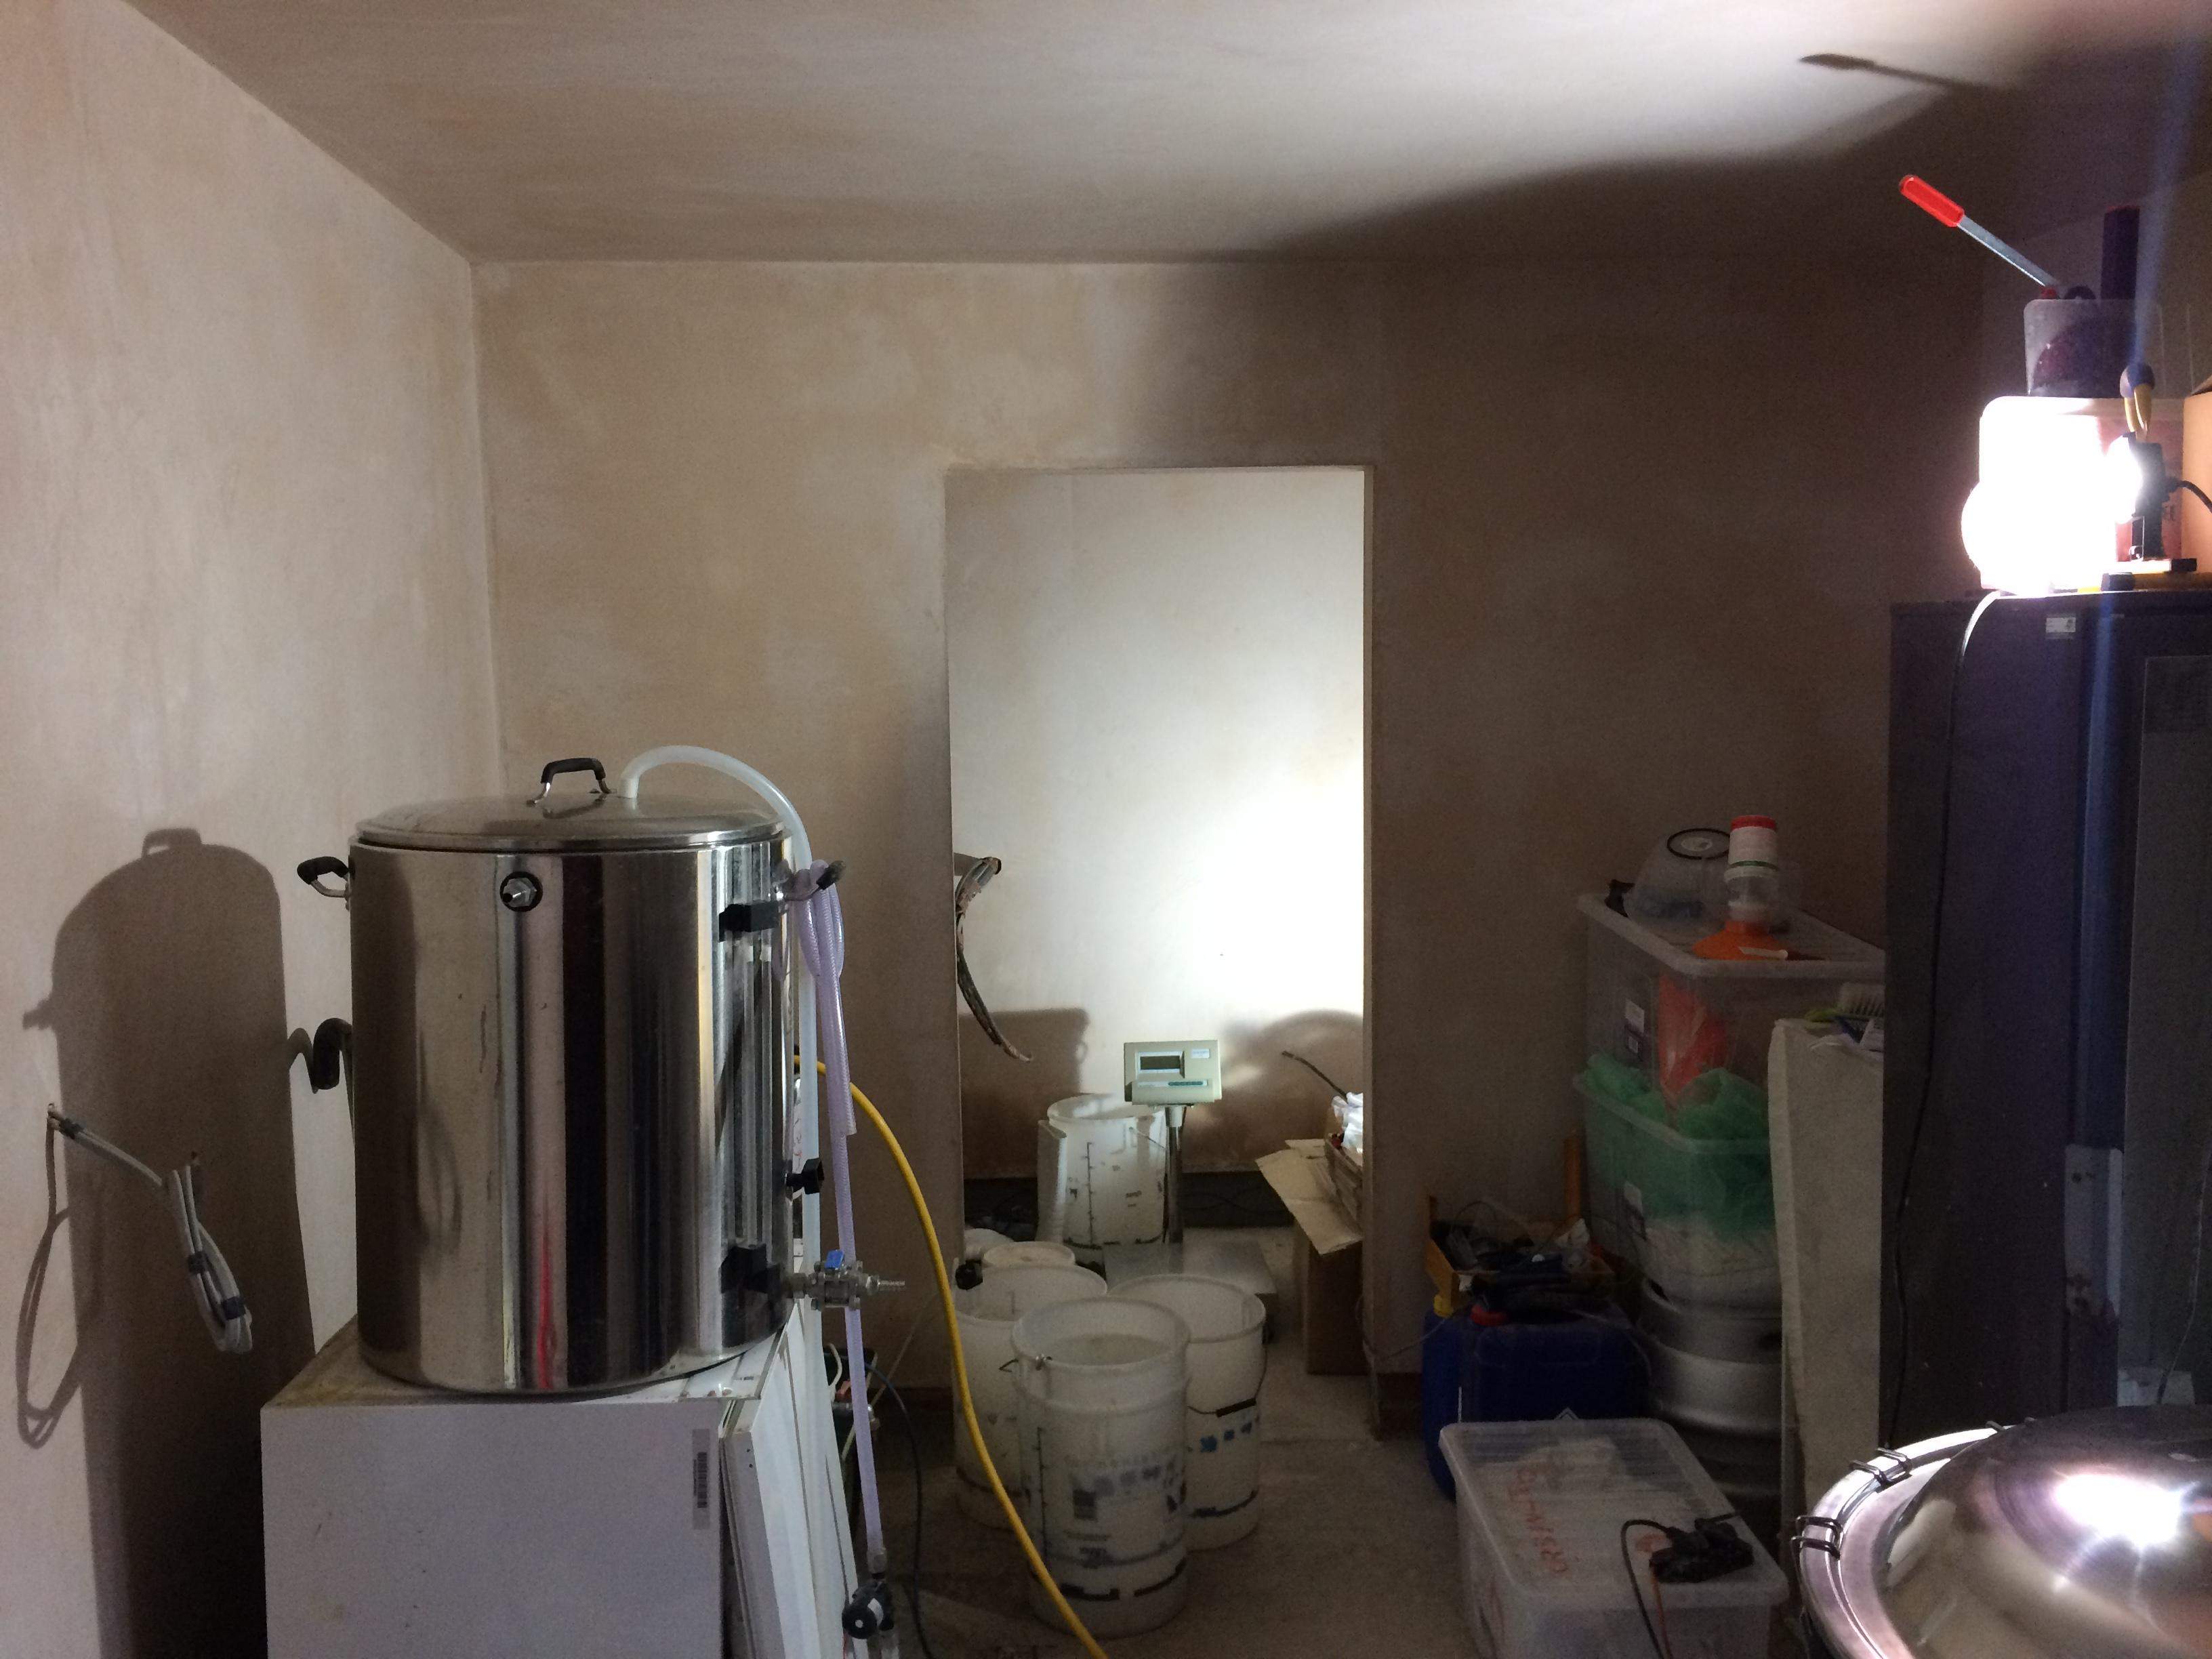
Time to then call in the plasterers. Thanks to Anthony and Adam for this! They also rendered the area between the base of the plasterboard and concrete floor in a concrete render.

Finishing Touches

Most of the walls in the working areas in the brewery are tiled. The floors are covered with a resin coating to be resilient to chemicals. In 2022 we installed air conditioning in the conditioning room just in time to ensure the beer maintained a constant temperature throughout the long hot summer.

One day I will be building a bar and a deck area for the BBQ and for Paul & I to sit on and watch the sunset from our rocking chairs!